Day 1 - bleeding the brakes.
This process is very simple. I've been using the cheap 1-man bleeder kit from autozone or o'reilly auto parts for the past few years, and it always seems to do the job. However, there are a couple things you must keep in mind to avoid air entrapment in the system. I'll show you what and how I do it...
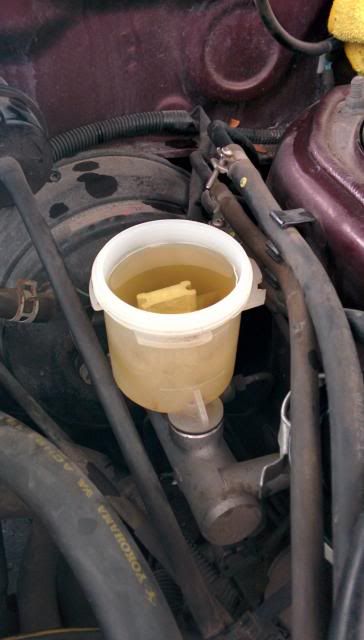
First thing I do is clean out the master cylinder fluid reservoir. I used a syringe to suction out the old fluid, then used microfiber cloths (you could use anything you want, just as long as it doesn't leave lint - blue paper towels should be okay here) to wipe all surfaces I reach into. I used a small screwdriver to press the cloth into small recesses in the reservoir to get every last bit of gunk out. I refilled it with Valvoline synthetic brake fluid (I always use at least DOT 4). When refilling it, try not to splash the fluid in the reservoir, you don't want bubbles in there. Pour it gently.
Here it is, all cleaned up with new fluid.
Next, onto bleeding each caliper. I've found that it doesn't really matter the order you go in, but I usually start at the front - do both calipers, then do the rears. Pictured below is my rear right caliper.
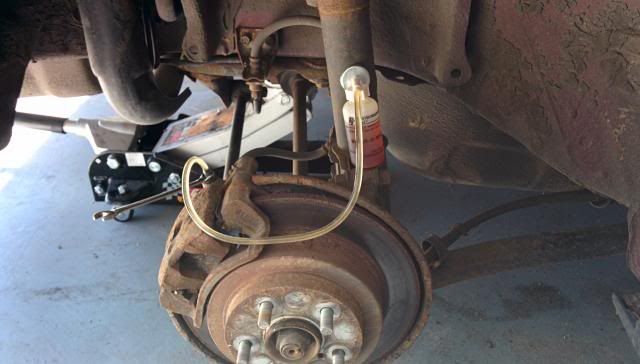
Now, look at the picture above. Obviously you want to place the bottle slightly above the bleeder nipple so the air can rise through the line and not stay in the system. However, what you can't really see is how loose the bleeder nipple is. I always leave my closed end wrench attached while I slide on the tubing to the nipple. I do this so the nipple stays at the exact tightness I need. Each car is different, but on this one I only loosened it about 1/8th of a turn. The thing is, if you loosen it too much, then air can start working its way through the threads of the nipple - then suddenly you see air bubbles in your clear hose and you start freaking out! By keeping it relatively tight, air cannot make its way in there, and you are left with the pure fluid straight from your hydraulic system, with no false positive for air.
Anyway, once you've got the correct tightness/looseness of the nipple, jump in the driver's seat and firmly press down the brake pedal. If your bleed nipple isn't too loose, the pedal will work its way to the floor only when using a fair amount of effort on the pedal, once your foot reaches the floor (or almost to the floor), SLOWLY release pressure. You want the pedal to SLOWLY rise back to the starting position. Repeat this about 5-6 times to fill the bottle with old fluid.
Once the bottle is full, pour it out, go back up to the master cylinder, top it off with fresh fluid, and repeat. I did about 3 bottles worth for each caliper, until the fluid coming out was nice and clear.
Easy peasy.
Day 2 - hardware.
Now that I had time to work on the car again, I replaced the pads and rotors, along with cleaning the slider pins and replacing the boots.
On the rears of our cars it uses 2 separate mechanisms. 1st is the caliper for the brake pedal, 2nd is the hardware for the e-brake. My last car just integrated the e-brake into the caliper, which was nice - but this isn't bad either.
Brakes are simple. Remove the lugnuts. Remove the bolt that holds on the lower caliper sliding pin. Slide the caliper off the pads/rotor, then remove it from the top pin. Next, you can remove the 2 bolts holding in the caliper bracket. Once the bracket is clear, remove the rotor.
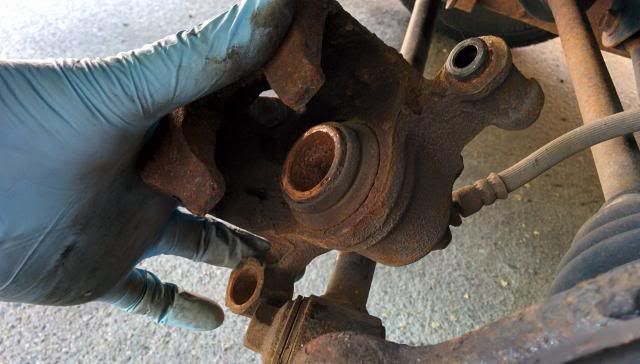
(old hardware + bracket)
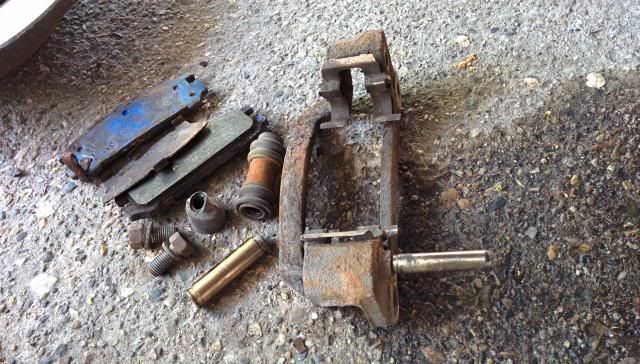
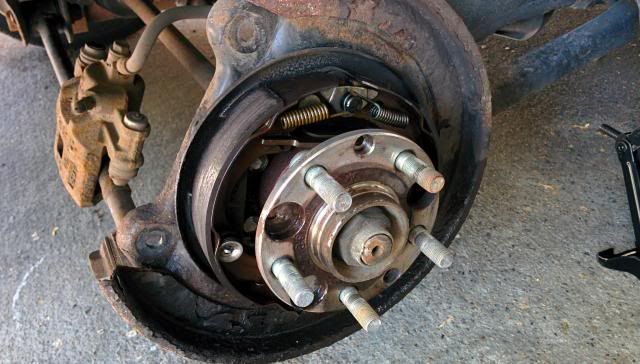
I used some brake parts cleaner to clean up the e-brake hardware/shoes. These drum-style brakes can be a pain in the ass to work with, thus I didn't touch anything in there other than using the parts cleaner, as there seems to still be a decent amount of life left on the shoes.
Now, before installing my new rotors and pads, I went to work on cleaning up the original slider pins so I could re-use them. I used this type of silicone lubricant so it won't damage the new boots.
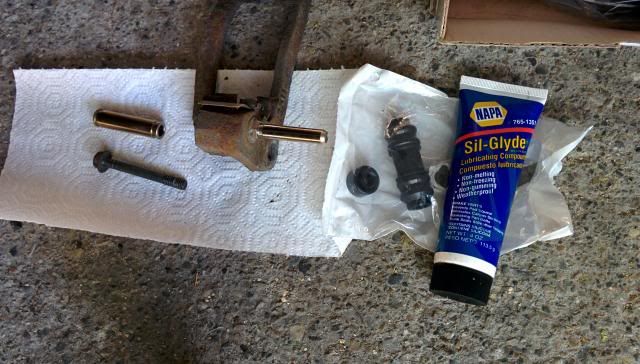
(also cleaned out the upper slider pin female tube)
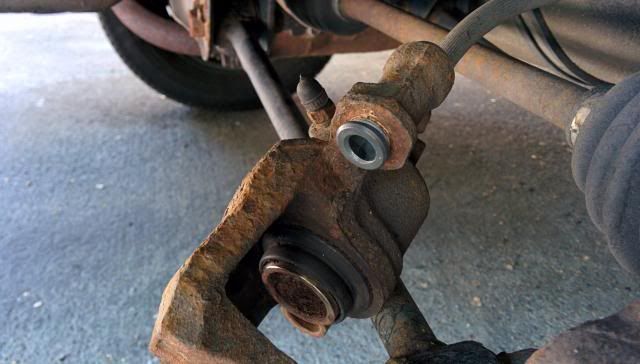
Next, put on the new rotor (clean it off with brake parts cleaner first, to remove all residue), install the bracket. Put on your pads in the bracket. Before installing the caliper, you must reset the piston. There are special tools to make this easy, but I can't find mine. That said, I did it manually. Literally. I used my hands. First I opened the brake master cylinder reservoir lid to relieve a tiny bit of pressure, then I went to push in the piston back into the caliper to make enough room for the thick, new pads. It takes time and patience and LOT of effort, but it can be done by hand. Once the piston is far enough back into the caliper, install it.
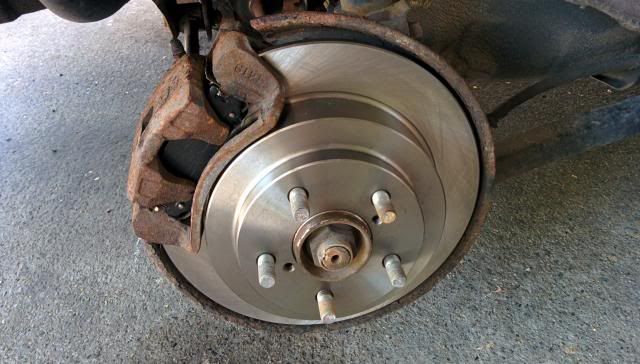
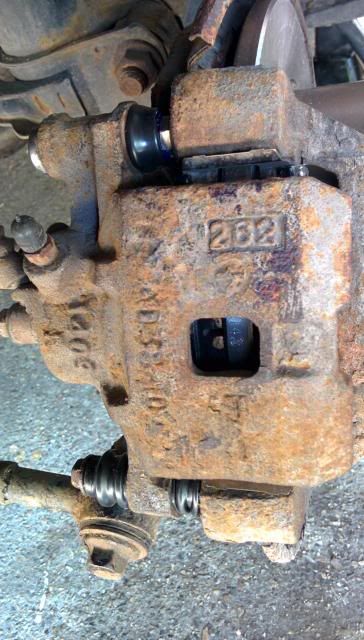
For the front brakes things are actually more simple, as you don't have to worry about all the e-brake hardware. Even so, it's really the same process....
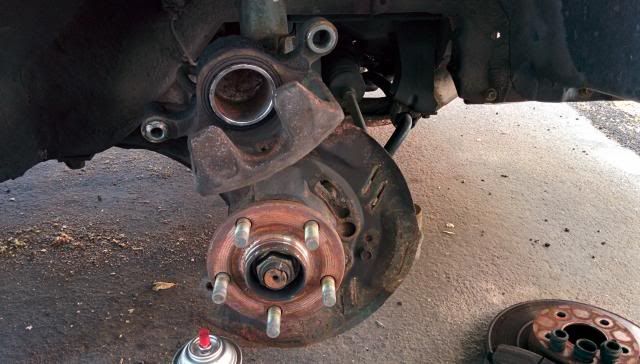
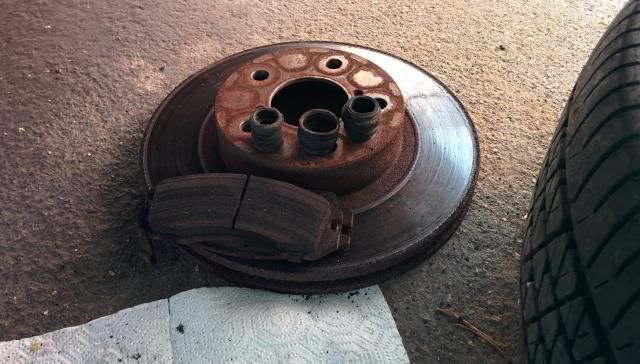
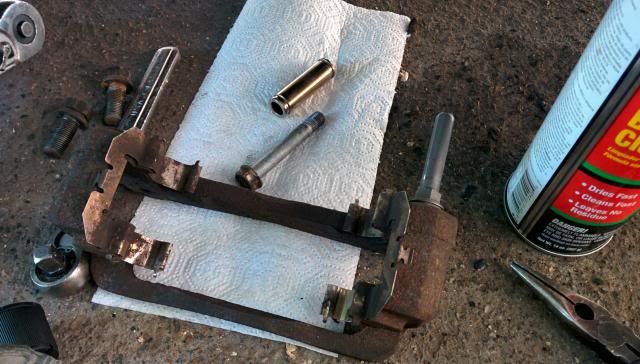
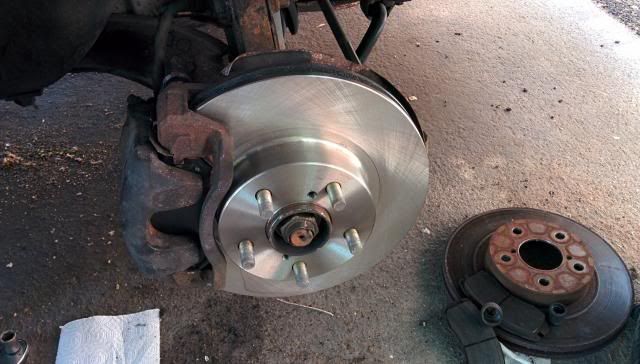
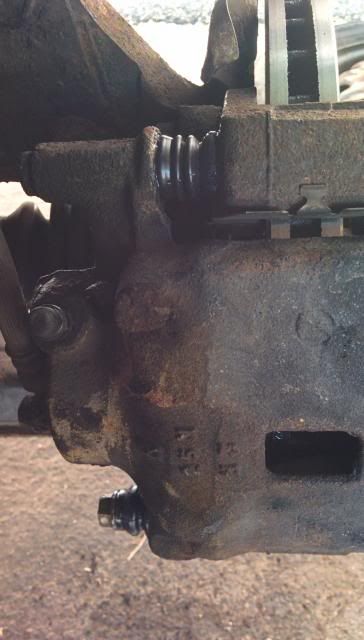
On the last pic you'll notice I left a thin amount of grease on the boots. That wasn't intentional. Haha. Oh well.
Anyway, that's about it. One last thing though, if you're working on your brakes and you notice fluid seeping out around the caliper piston, it may be worthwhile to buy some rebuilt, semi-loaded calipers. As rebuilding them yourself can be a huge pain in the ass. The caliper piston boots/seals are looking pretty old on mine, and I'm worried about leaking fluid. The pedal feel is fine, but if I start losing fluid from the master cylinder that will be my first guess as to where the leak would be. Even so, I'm not gonna replace them unless I actually notice a problem. Time will tell!
The end. Thanks for reading, and I hope it helps out if someone has questions or is unsure about something!

