(6/24/14)
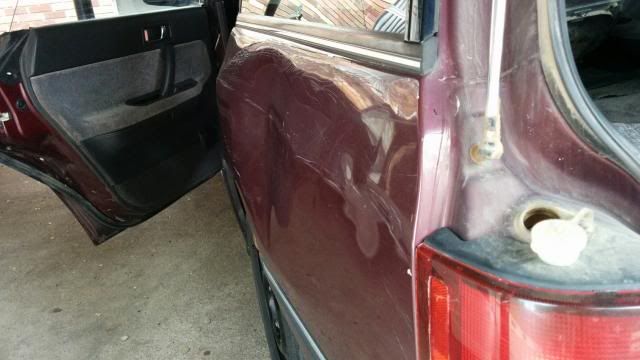
So today I had some time to work on the walrus dent; however, I didn't do as good of a job as I'd hoped. I pulled off the interior paneling, then attempted to push out the dent. On to the pics..
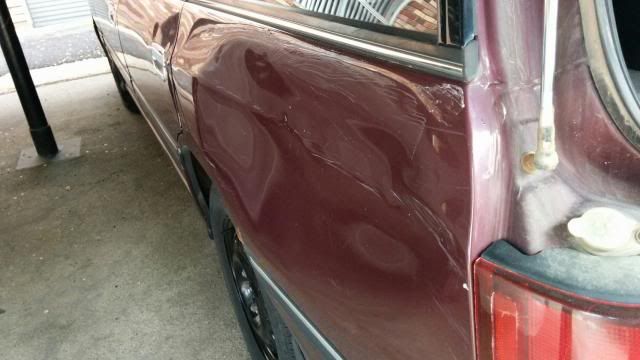
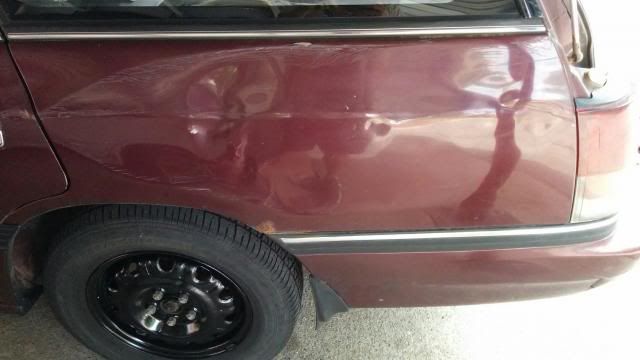
(Here it is, before)
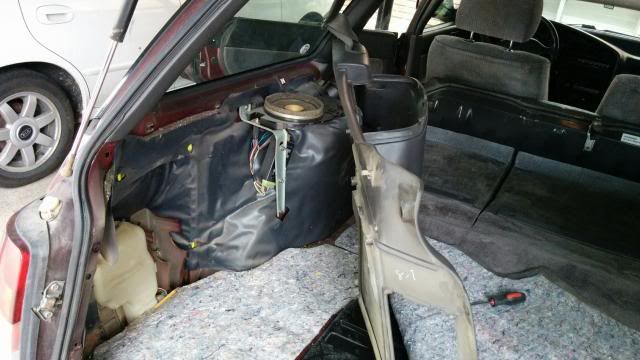
(Interior paneling coming off)
(I first attempted to push right in here, and it popped a big portion out - good start!)
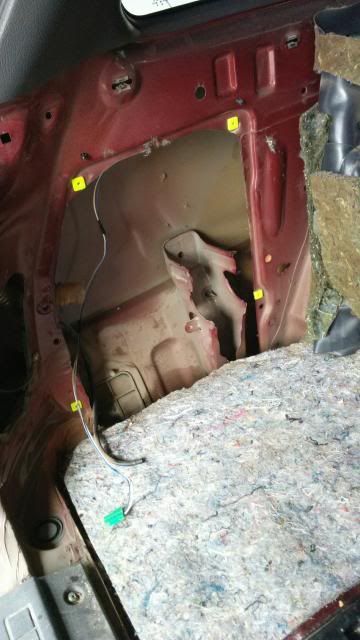
(Next, I tried to push the rest out, but I couldn't quite reach in there. I used some wood, which helped, haha.)
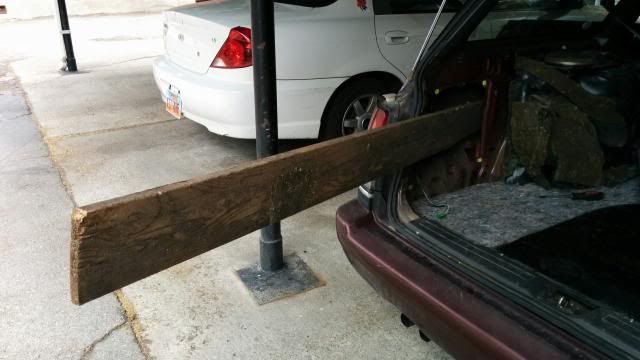
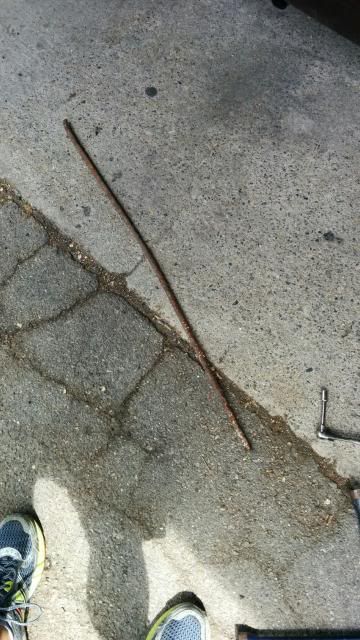
(I still wasn't satisfied, so I had the *bright* idea of using some old rebar that was laying around... Didn't help, in fact, it made some outward dings making the whole thing look worse...

)
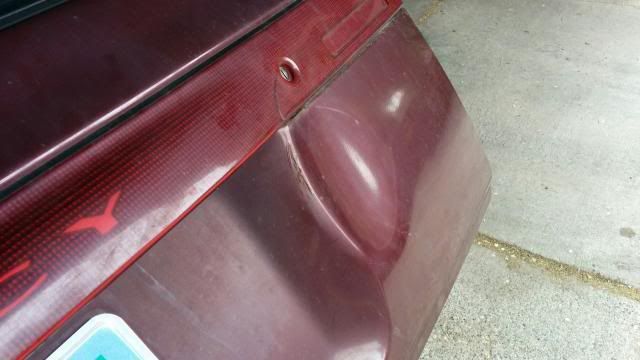
Needless to say I am now a bit bummed out. I made it better, but I also made it worse. Haha. I should've just used one of those suction cup dent-pullers, I'm sure that would've given better results (and it would've been substantially easier. Oh well). Anyway, I decided to tackle another dent in the rear lift gate.
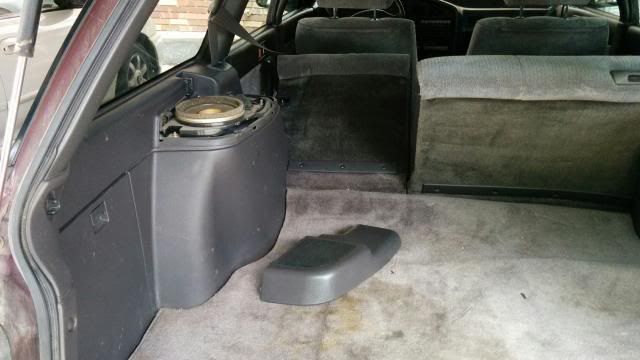
(before)
(paneling removed, it was really simple)
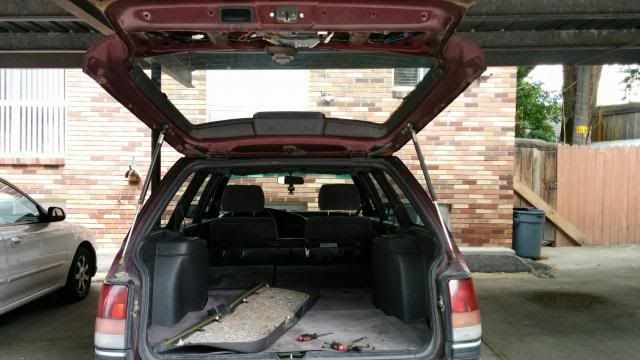
(reached in, pressed it out with my hand. It's not perfect, but it's a lot better)
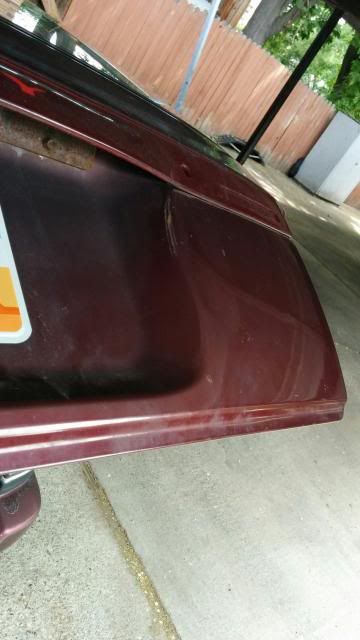
Although I wanted it to look better, I decided against using any 'special' tools and left it as is. Anyway, while I was back there, I noticed that my rear defroster wiring had broken off from the window. The soldering completely cracked off.
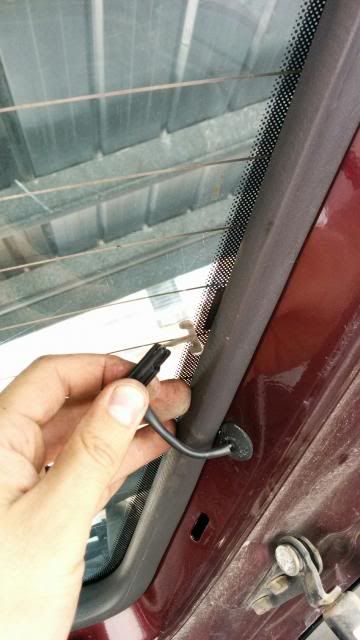
I attempted to re-solder the terminals, but I had no such luck... I'm competent at soldering and I used all my tricks, cleaning each side w/alcohol, removed the old solder with a copper braid, use flux on both mating surfaces, etc.....but apparently I'm not good enough to get these things to work. I either need more heat, or just to use some other method besides solder. Needless to say, I failed.

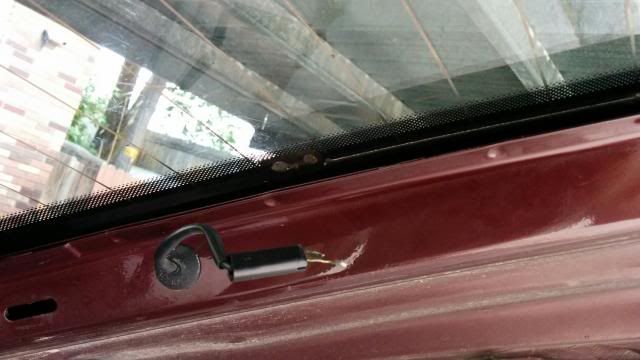
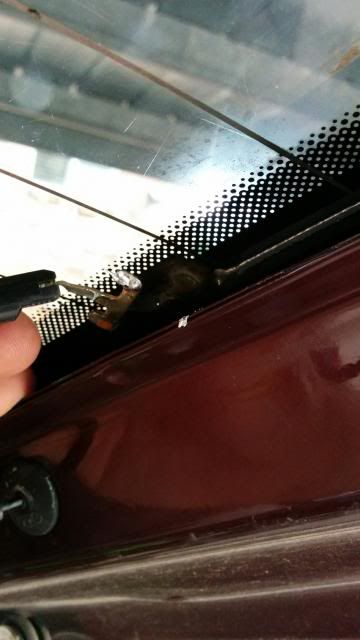
(here it is after spending too much time on it)
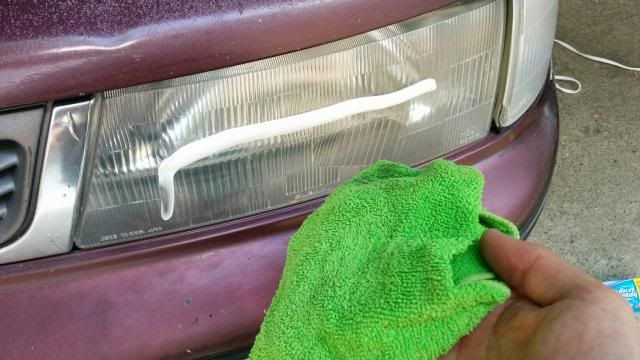
To try and end things on a lighter note (*baddump tssss*), I decided to use the old toothpaste method of cleaning up my headlights. I just found some youtube videos illustrating it, then went to work.
(before)
(cleaned the headlight first, then put on a bead of paste)
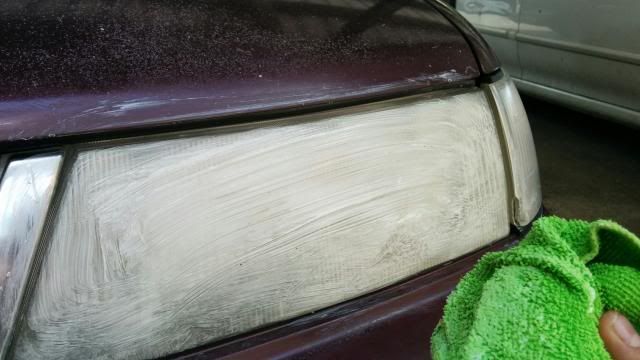
(rub, scrub, rinse and repeat)
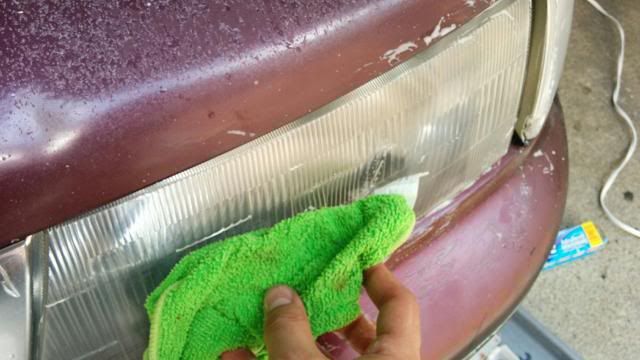
(here is the finished product on the driver's side, also a comparison)
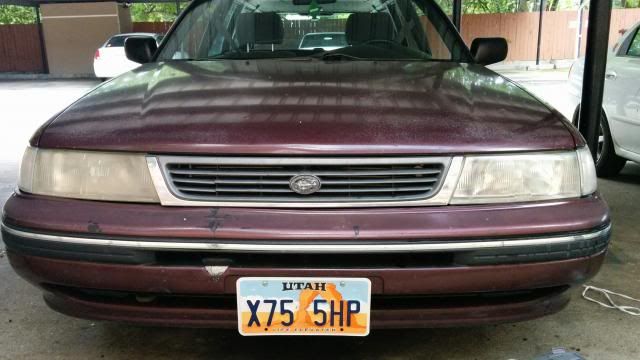
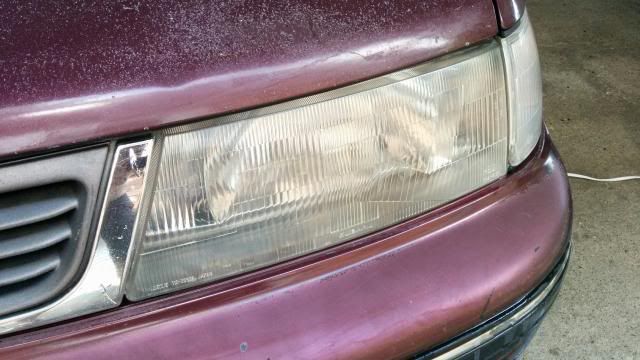
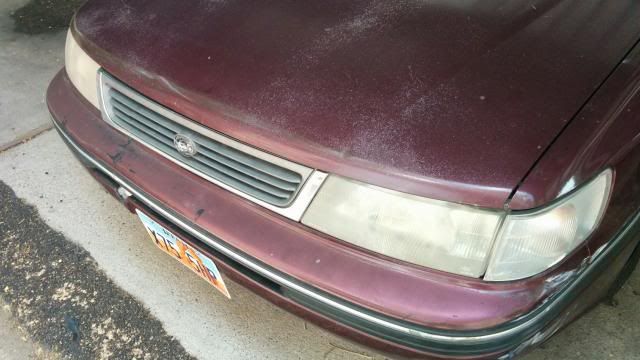
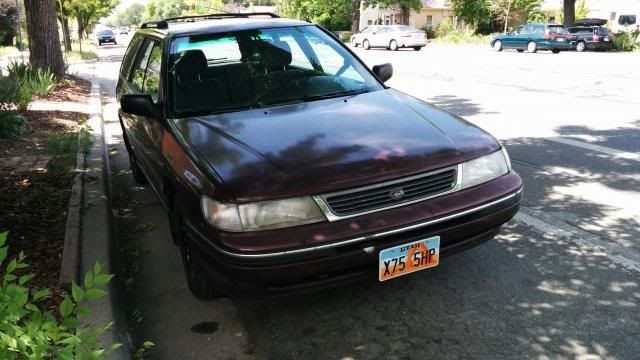
Seeing that it ACTUALLY worked (to a certain extent), I went ahead and did the passenger's side. This time it didn't seem to go as well, as there apparently was more oxidation on the inside of the housing compared to the driver's side. Oh well, it still was an improvement. Here is a pic of the front end all finished up. (Gotta fix that grill, though!)
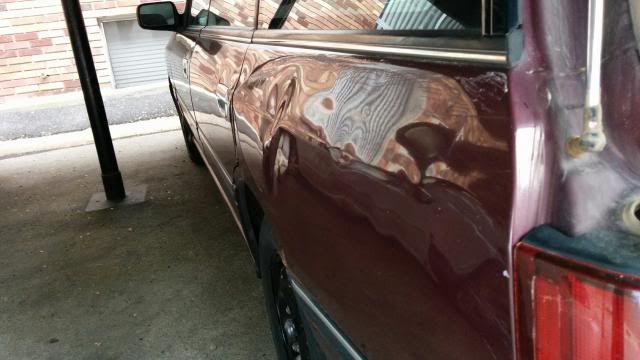
Last, but not least, another set of pics of the ghetto dent removal job I attempted. Haha.
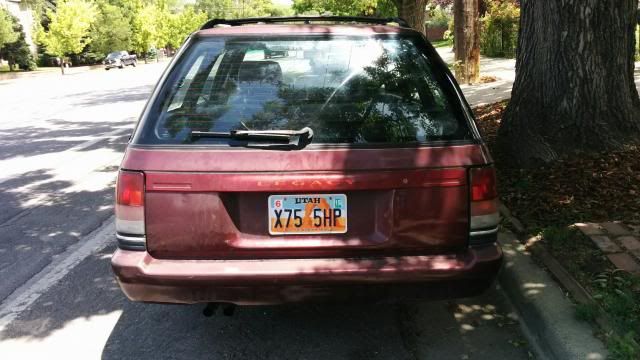
The dent in the rear lift gate is almost non-existent, which I'm very pleased with. The walrus dent really does look better, and I'm debating on whether or not I should try to grab some sort of suction cup to pull a little more out. Regardless, I'm hoping that the dull sheen of the plasti-dip will help hide the imperfections.
That's it for today. Next up, I'll be doing a half-ass job on the rust spots to smooth things out a bit before painting.
Thanks for looking!


