Busy weekend to say the least, I have made some awesome progress on the EDM city lights.
Recipe for baking EDM headlights as fallows:
First pre heat oven to 200°F. Next Begin disassembling exterior hardware from headlights(metal clips, auto levlers, bulbs exc.)
Find something to support the headlights in the oven, I used a couple small pieces of cherry wood for extra flavor.
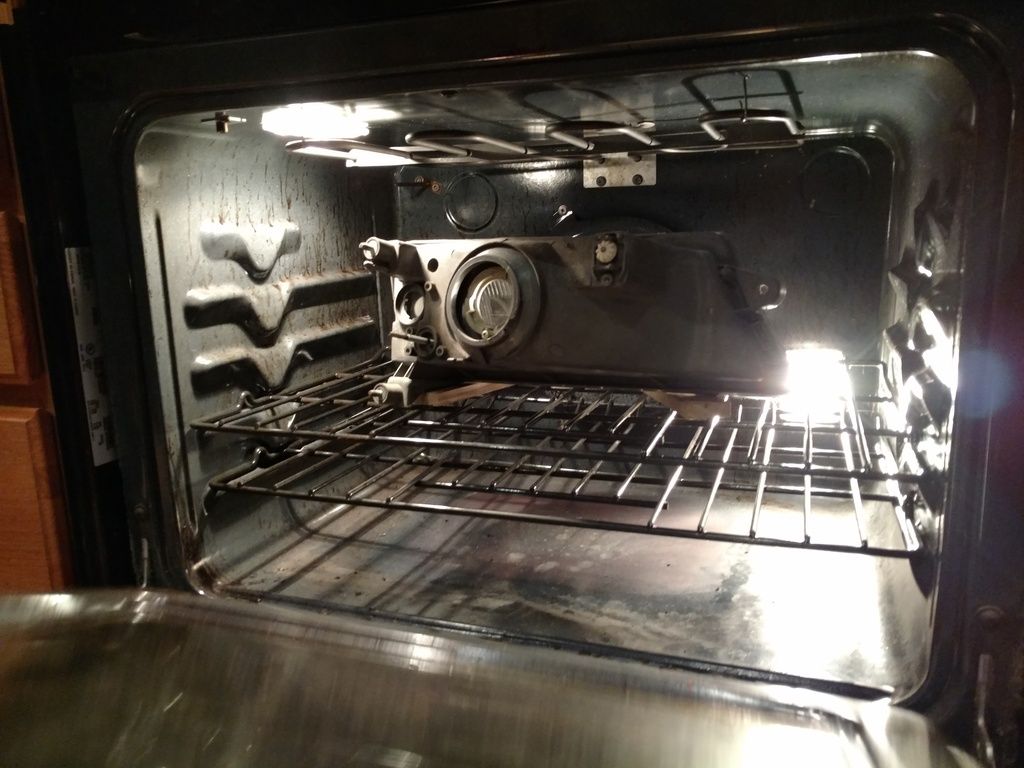
Once you and oven are ready, go ahead and bake for 15min.
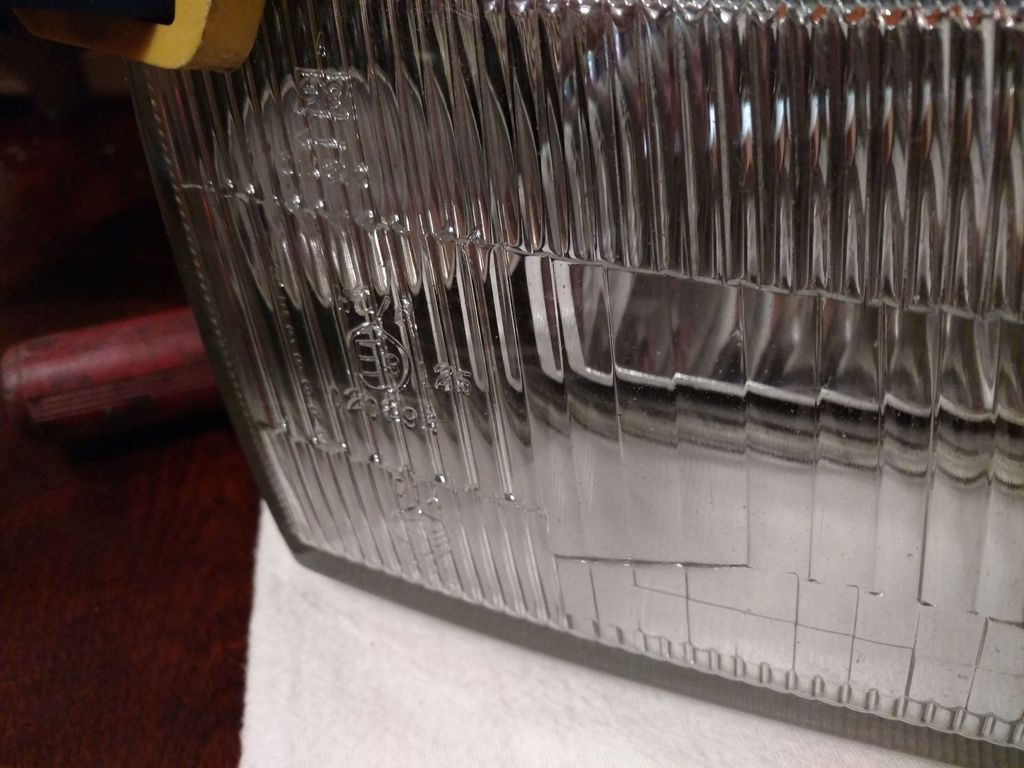
Once 15min. Is reached its time to remove the light from the oven, caution it will be hot! Especially the glass as it really soaks the heat in, use gloves/mittens. Have something safe to set the headlight on like a towel, its time to act fast before it cools down.
With a couple flat head screw drivers carefully begin separating the glass from the plastic housing. Be extra careful of the sealant, if at all possible try to prevent from stringyness and keep the sealant to plastic housing and less on the glass.
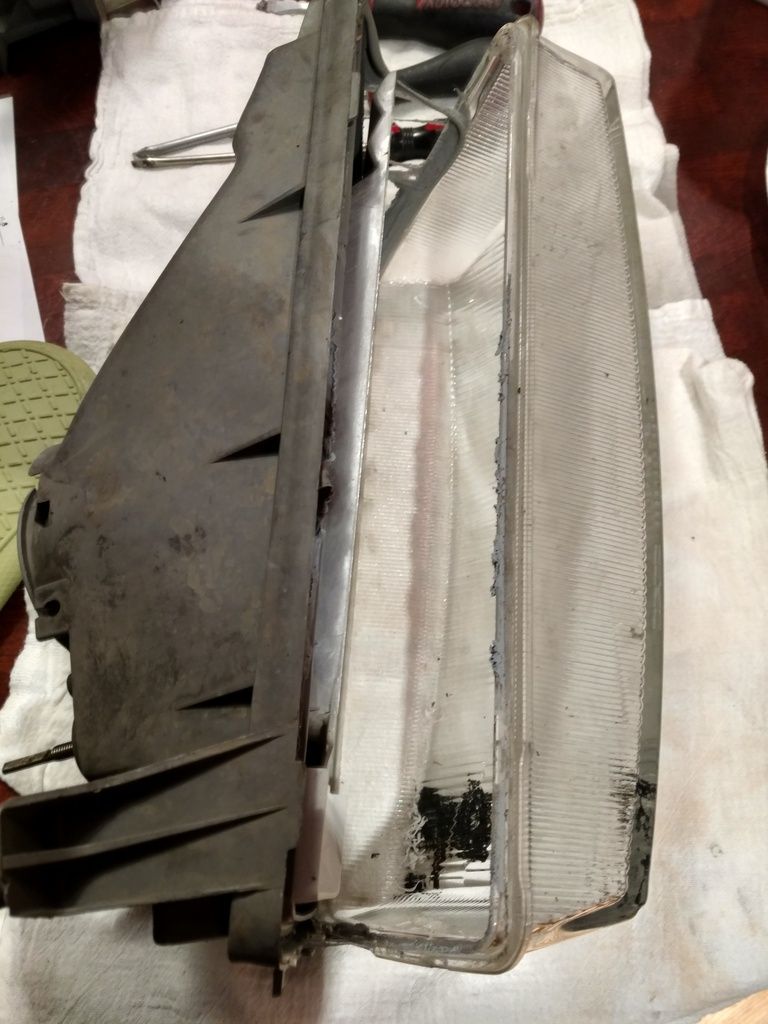
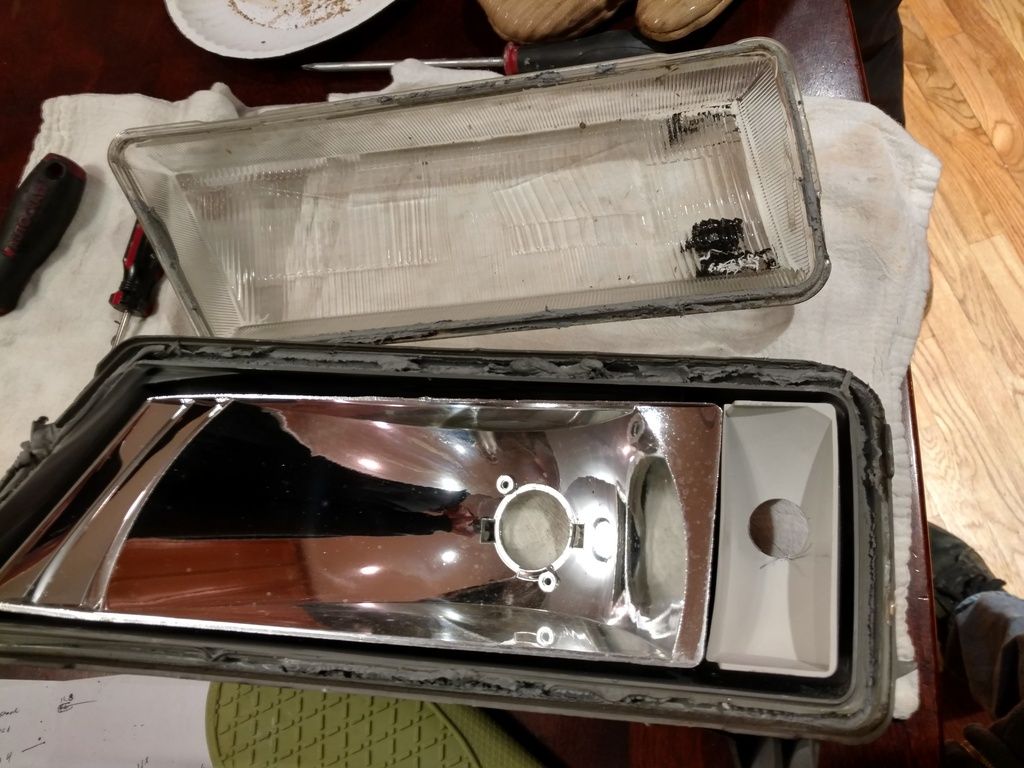
Congratulations you have just successfully baked for first batch of ridiculously expensive EDM headlights!
Now for the part that I'm after, city light housing.
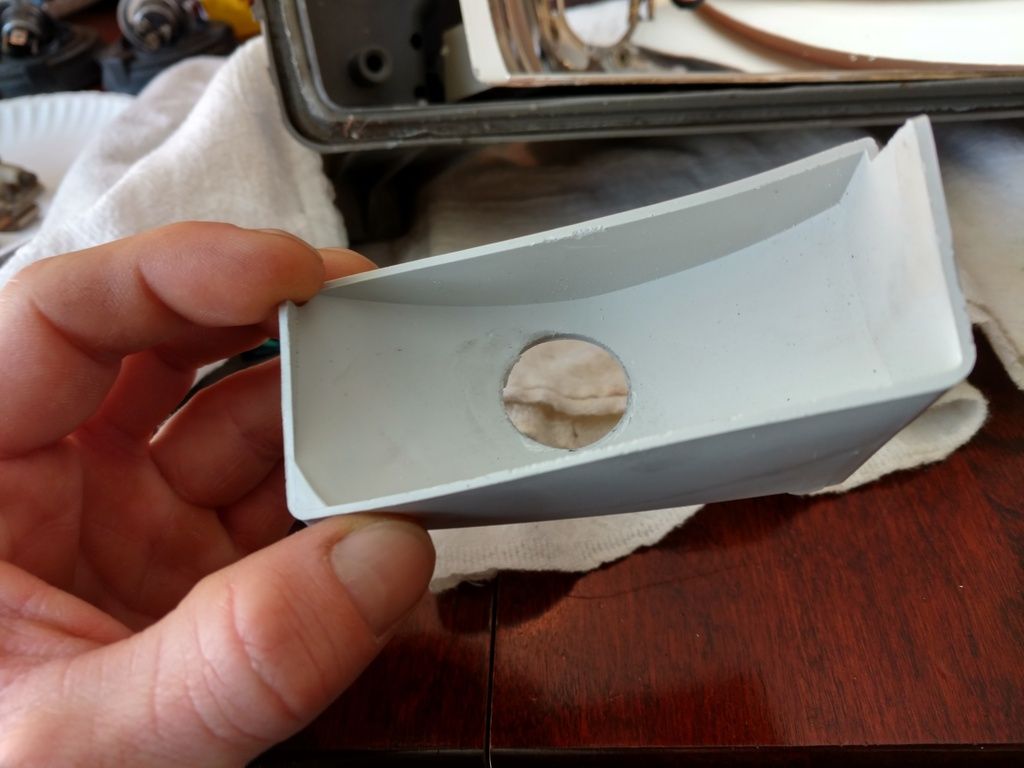
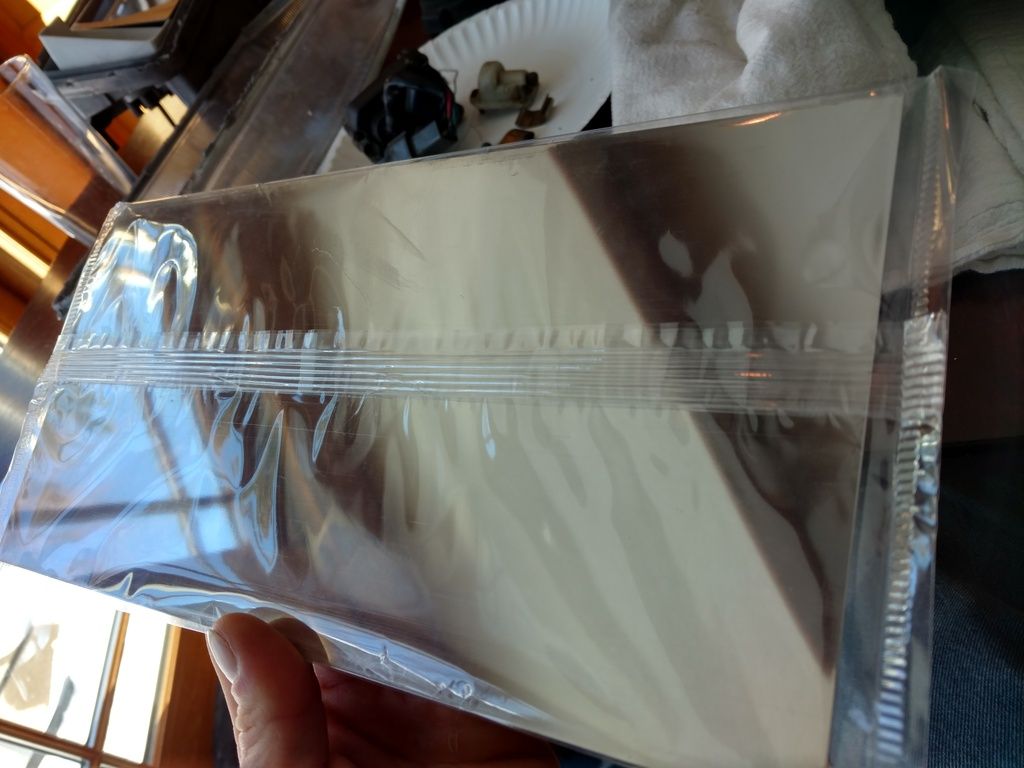
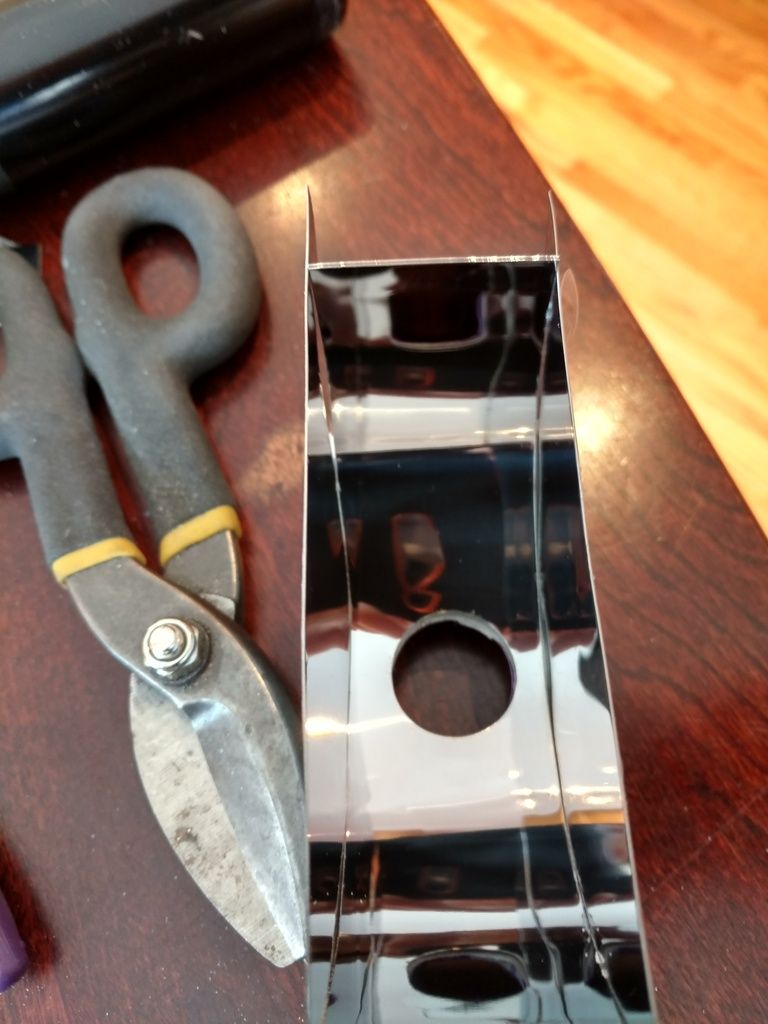
At a hobby store I found a very thin SS sheet with a mirror finish. I planned to use this to construct some reflectivity for the city lights.
I decided based on available room and design that I would build something around the existing housing. I made templates to help get the right angles and sizes.
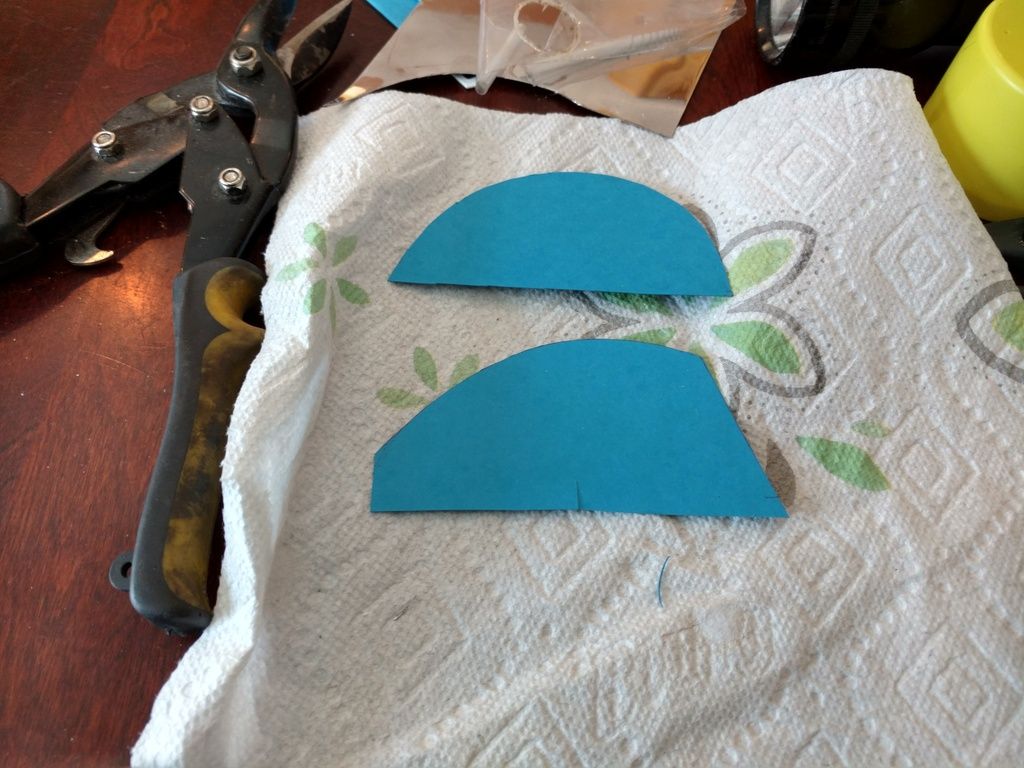
This is what I came up with in ruff form:
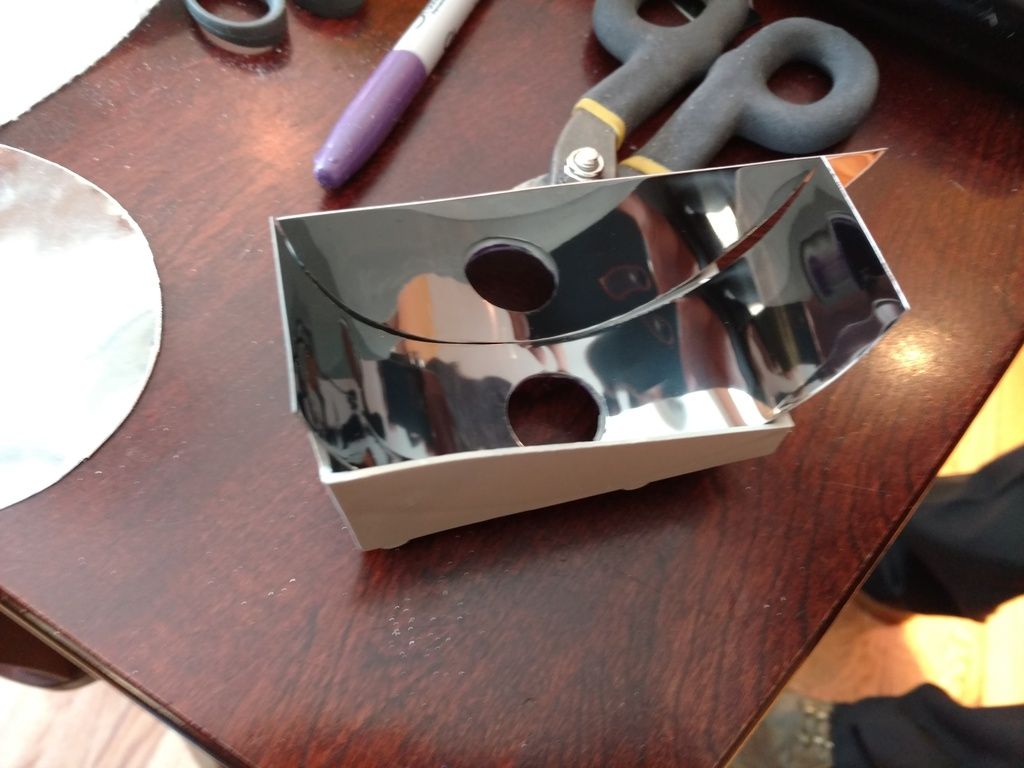
After lots of testing using several different styles of LED's, I just couldn't come up with exactly what I was looking for. While this design certainly increased light intensity, it didn't help to create a more focused and narrow beam. I found that especially with LED's and there design that this would be difficult.
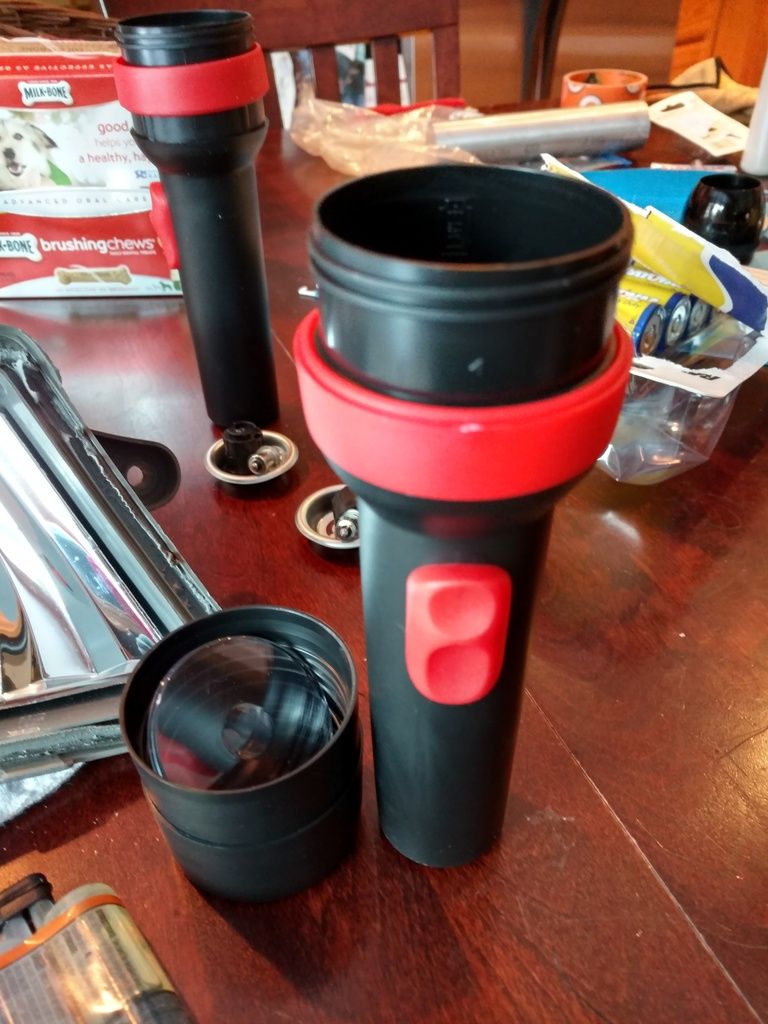
I decided to go back to the drawing board and perhaps give one of my first thoughts of using a flashlight reflector a shot in the dark.
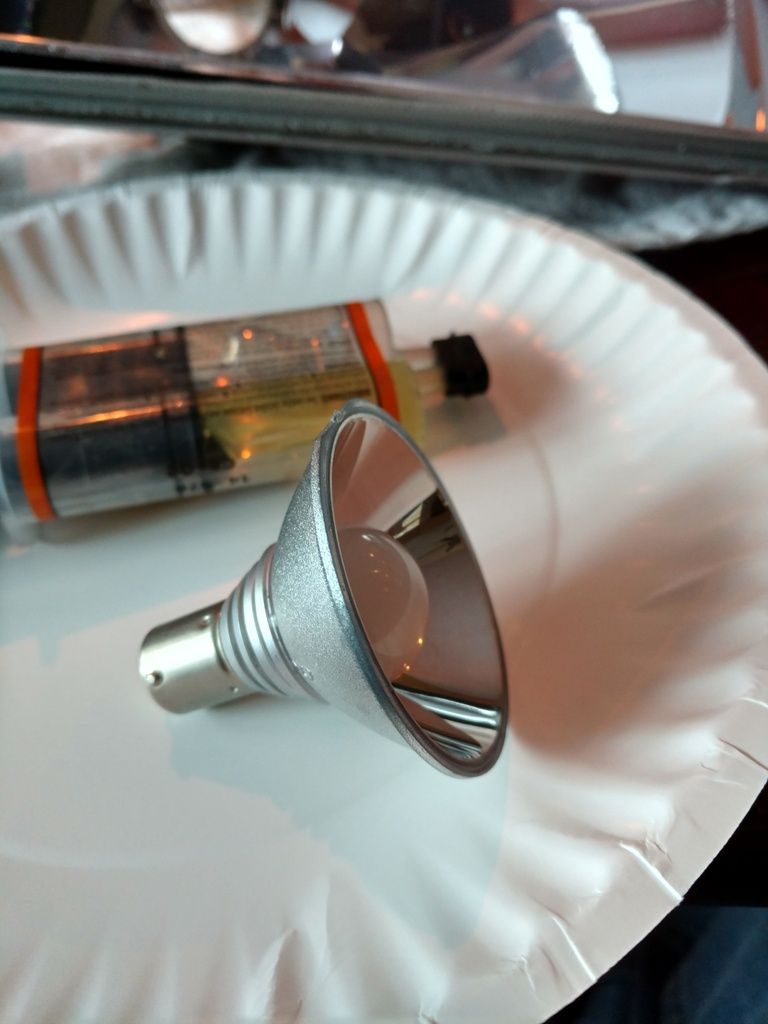
Cheap $5 flashlights sold in a two pack at Walmart:
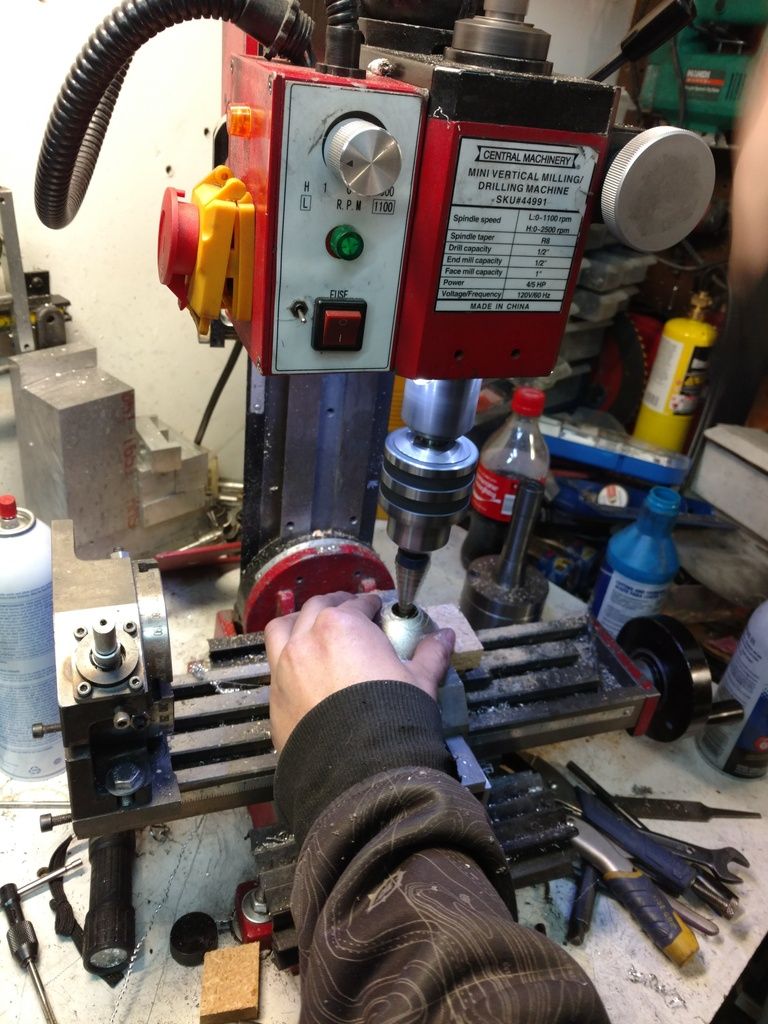
Customizing the reflector:
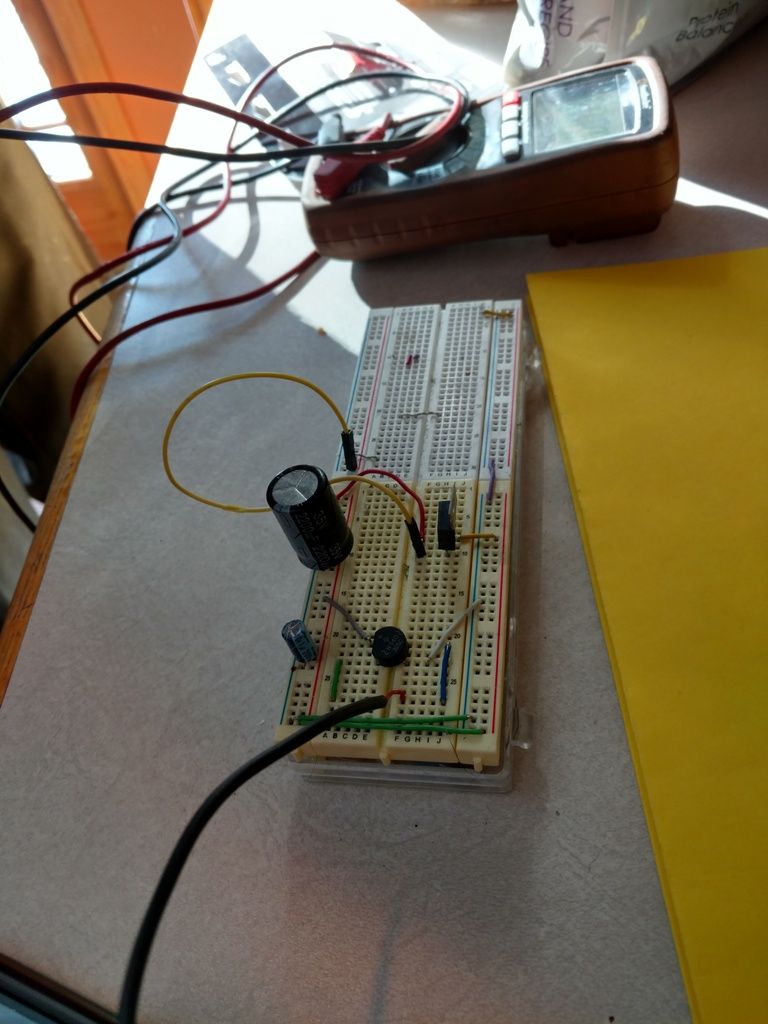
This was used to power up the LED's in the house converting 120v to 12v. Pretty nifty:
I tried several different LEDs trying to find the best result. Here is an example of a 360° LED bulb with the cone reflector. Pretty crazy:
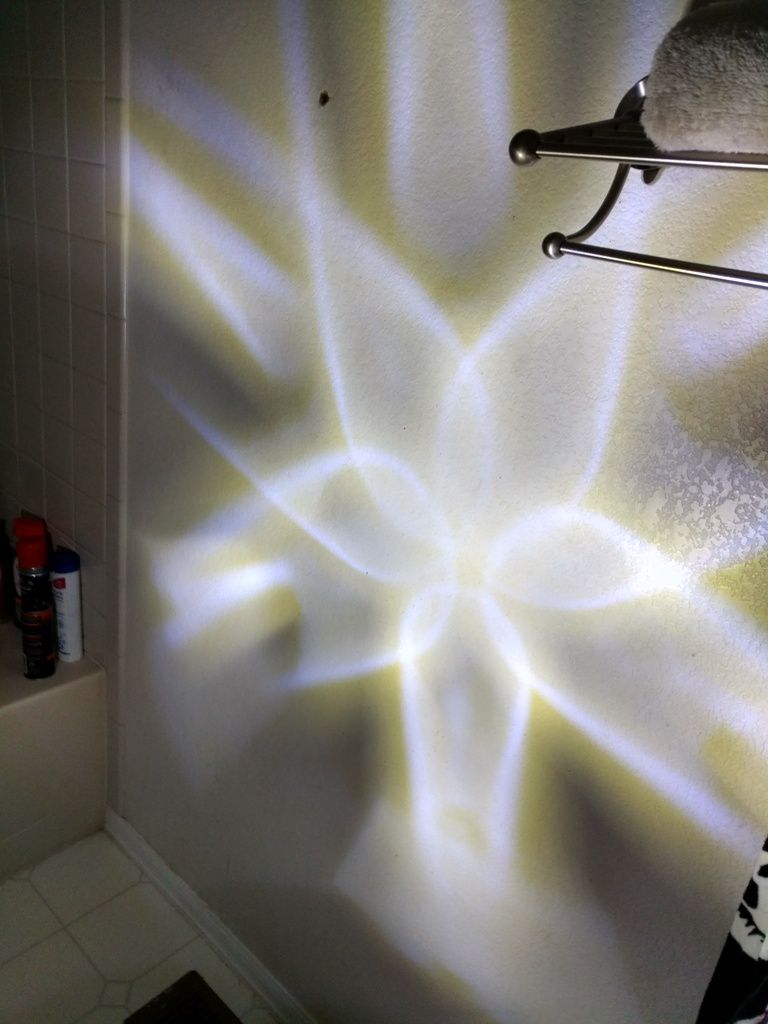
Basically in conclusion any side mounted LED design, like the 360° just won't get the correct pattern. I knew that if I could find a front facing LED design I could get better results.
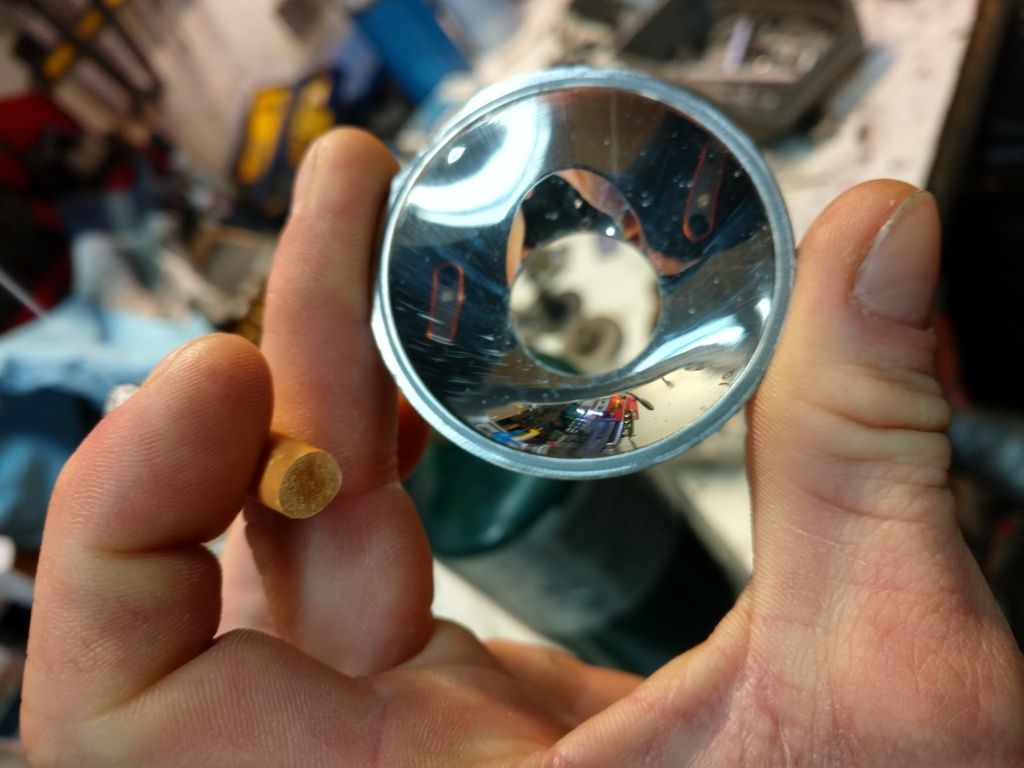
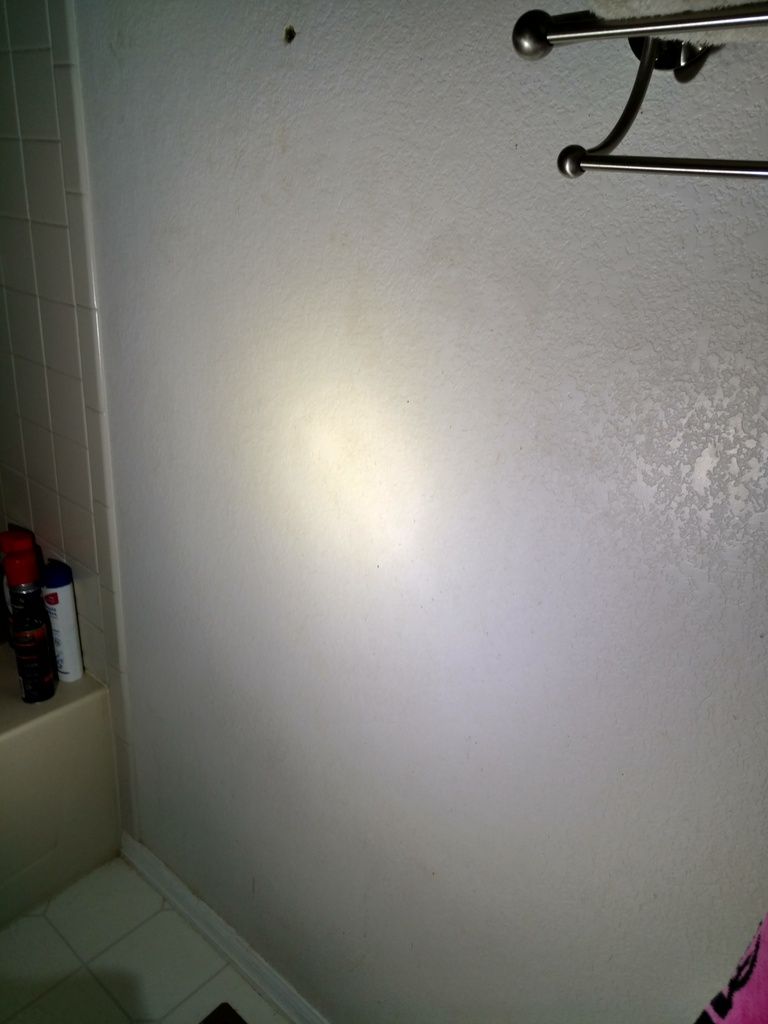
So I found some other LEDs to try. This is what I came up with, in this photo I have finally achieved what I was after, a nice focused beam without any scatter. Notice the nice clean circle formed in the center:
In my final design I got rid of the factory city light housing and replaced it with my custom flash light reflector. I had to trim about an 1/8th in. Over hanging plastic from the headlight reflector so it could still be adjusted with out having interference with my new piece. It in no way affects the headlight beam or reflection, it was more like the manufacture didn't trim the plastic very well.
Sylvania 6000k off-road use only front facing LED.
Hard to see it in there:
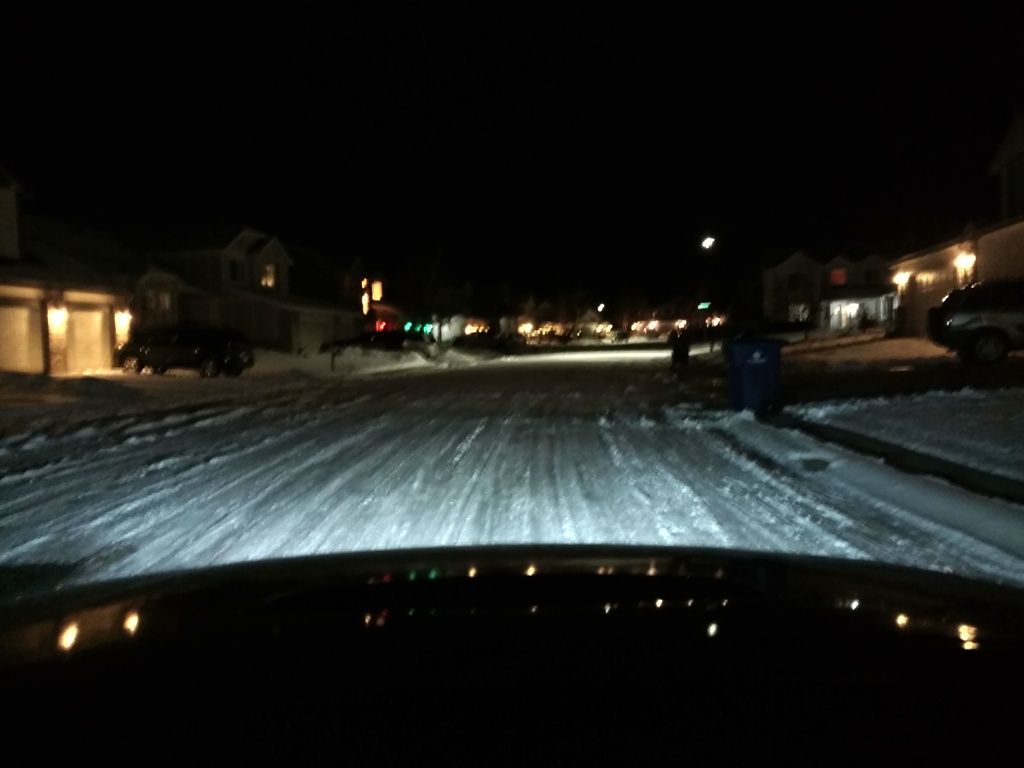
I have to say I was surprised. My buddy thought I had my headlights on lol. The results:
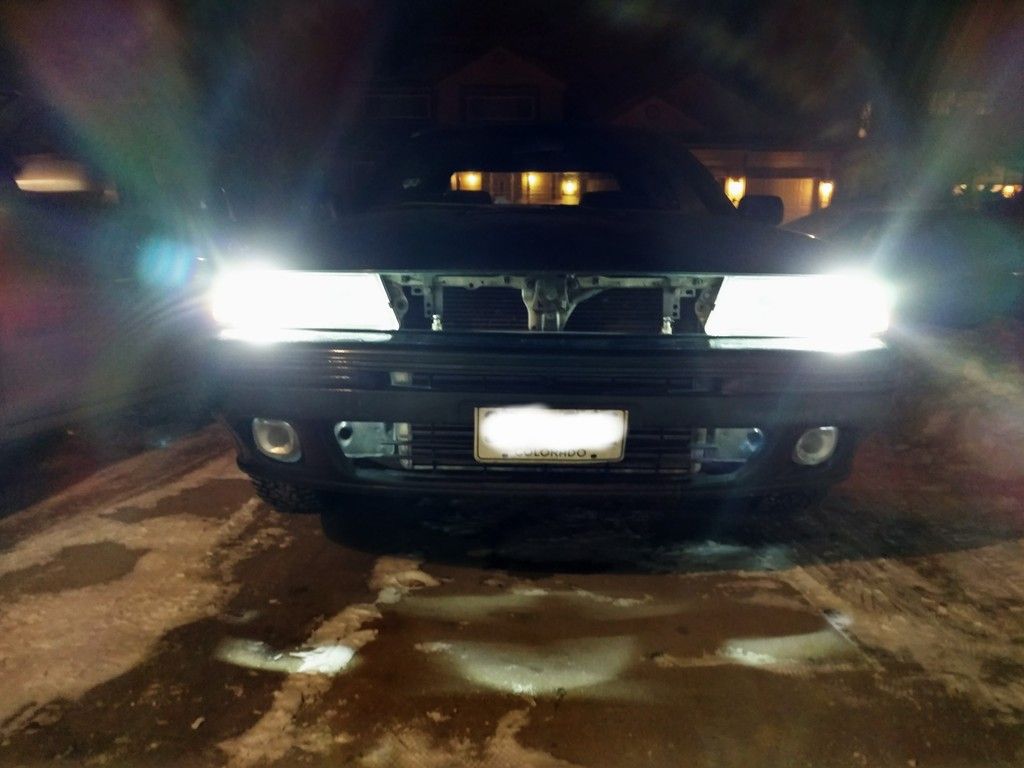
Just city lights:
Side notes:
I took apart the auto levlers and regreased the moving components. I took the glass to a buffer and used compound, cleaned things up nicely. I tried making a 1in. Extension sleave on the cone reflector to focus the beam even more, which it did, but it didn't fit to well in the headlight housing so I ditched that idea.
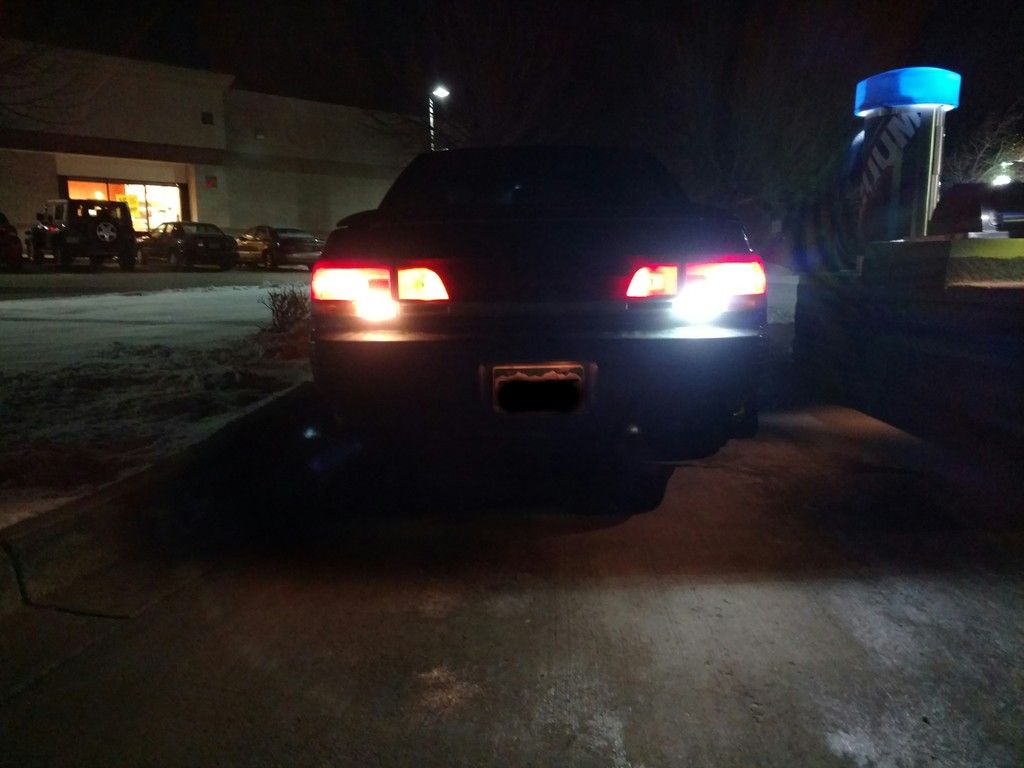
Bonus LED conversion pictures.
Incandescent vs. LED blinkers:

Incandescent vs. LED reverse lights: