Re: Stereo system build thread
Posted: Wed Dec 15, 2010 7:46 pm
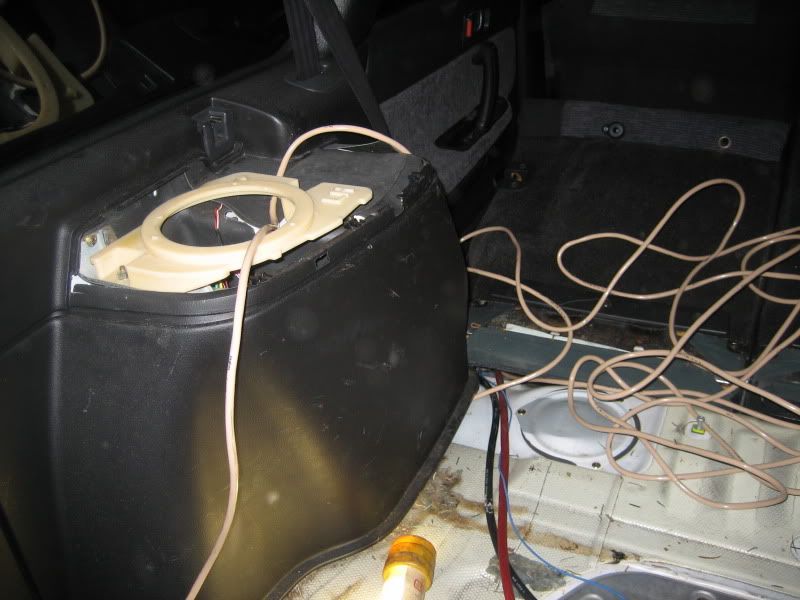
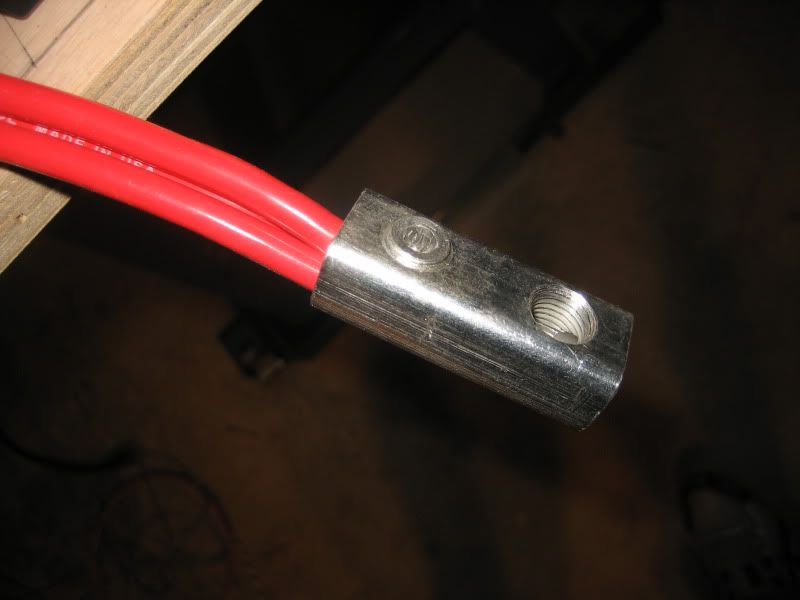
I've never figured out what that metal is for either. I was going to replace my speakers at one point and was going to do the same thing.
A forum for 89-94 BC-BF(BJ) Legacy Owners and Fans
https://bbs.legacycentral.org/


I know what you are saying here but you are a little off so let me correct you (with all due respectLegacy777 wrote:Mike,
I think if you run a lot of juice to the fronts, you'll just have to turn down the gain and probably have cleaner power, vs. if you bridge the 8 ohm down to 4 ohm. Also, the amp will probably run cooler @ the 8 ohm load.
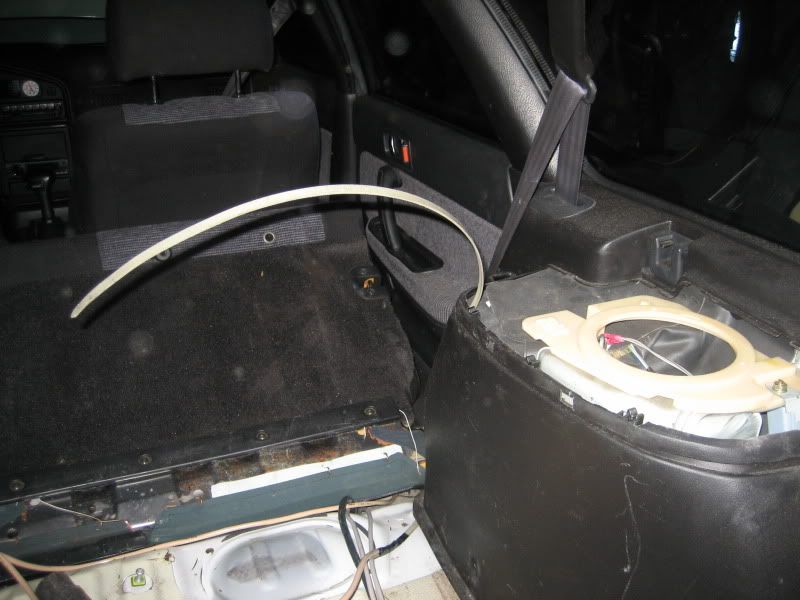
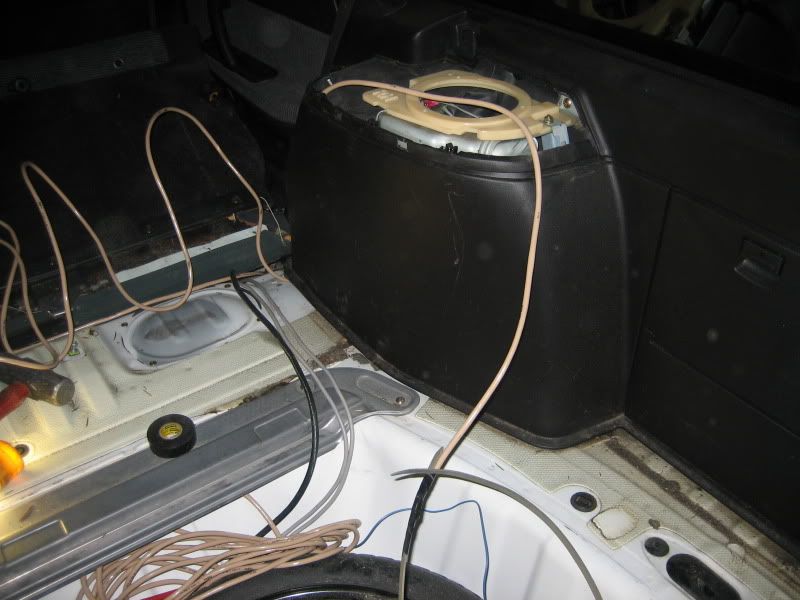
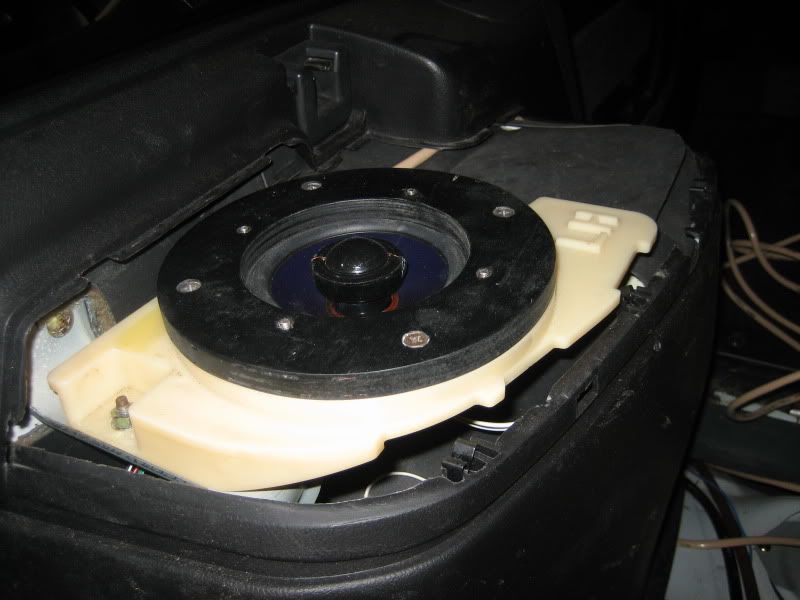
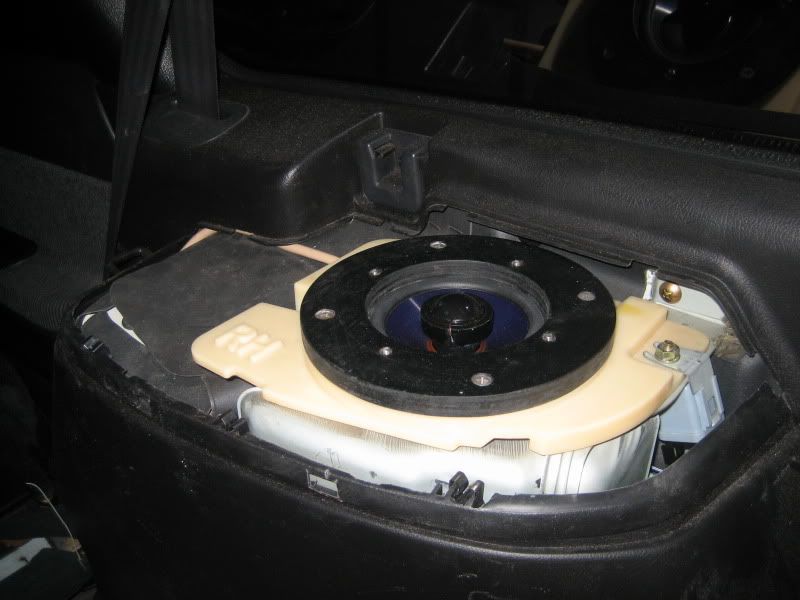
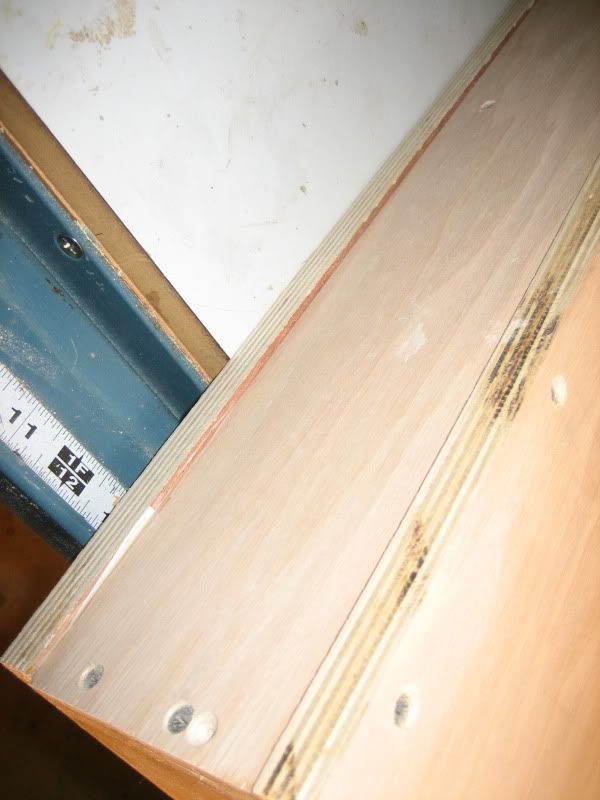
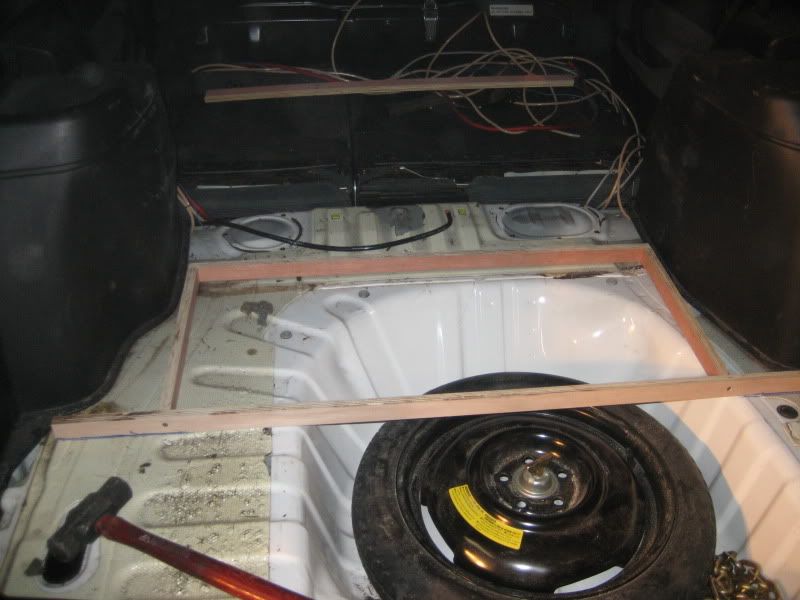
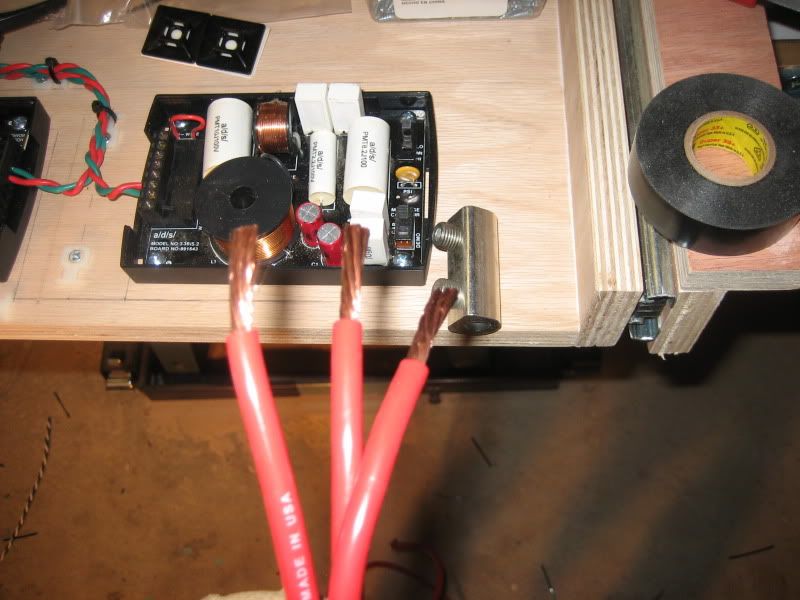
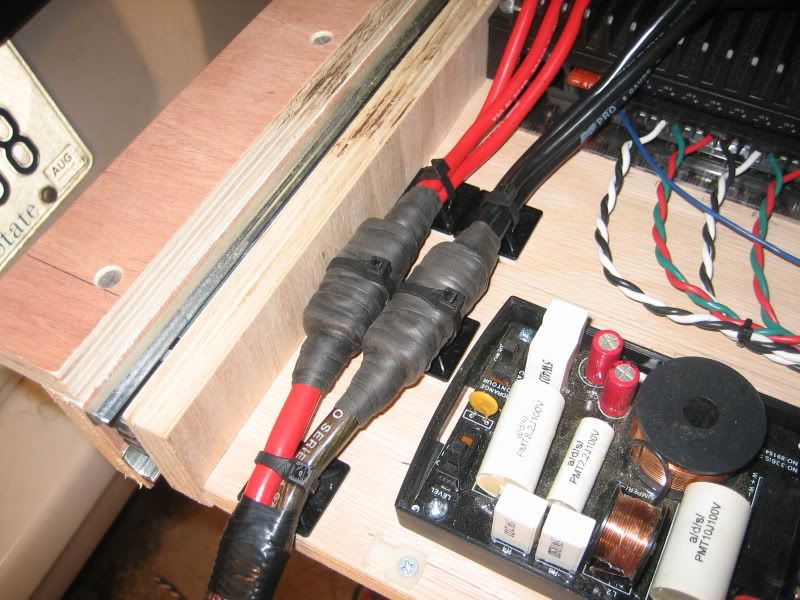
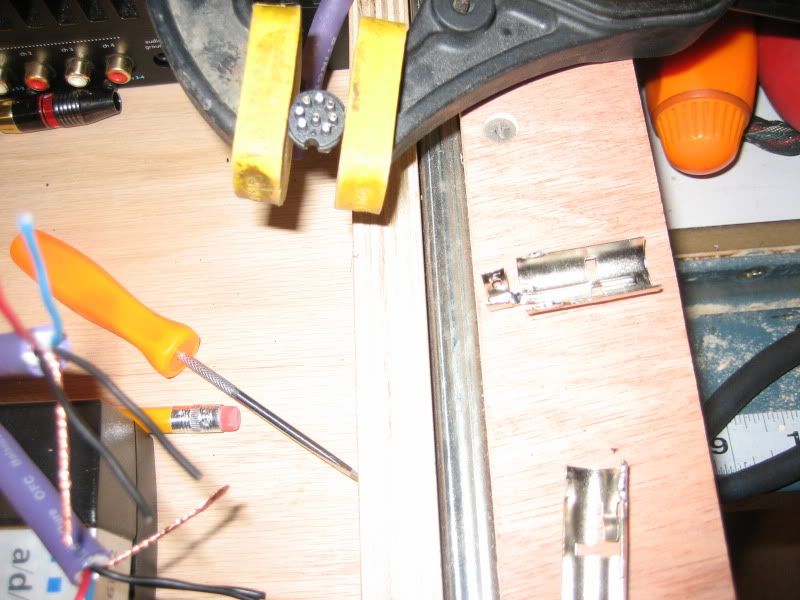
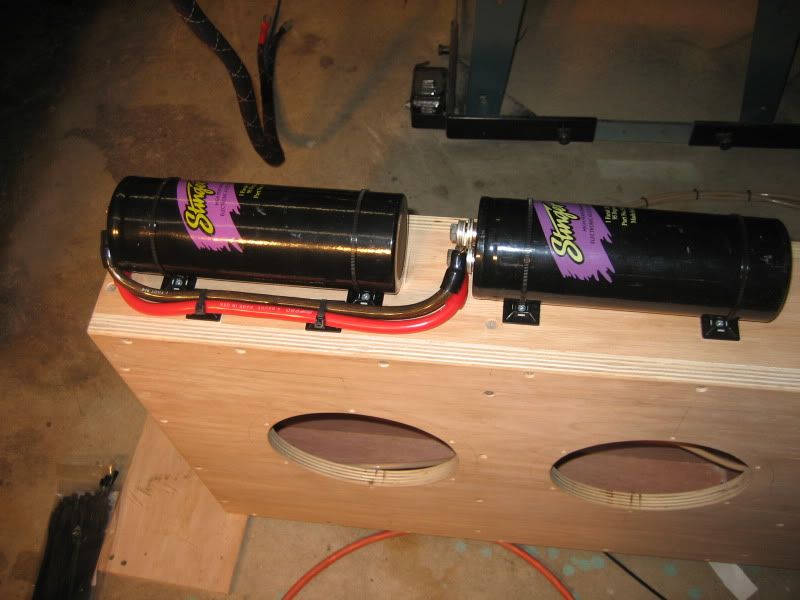
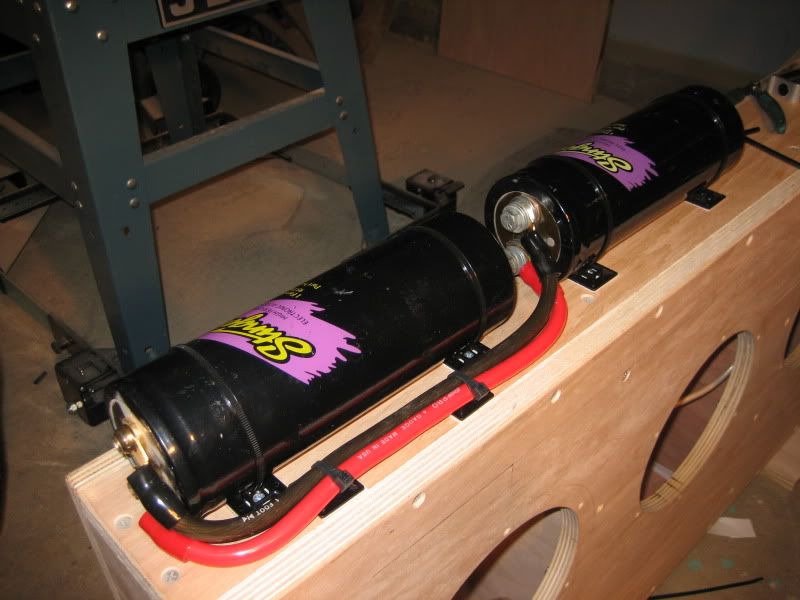
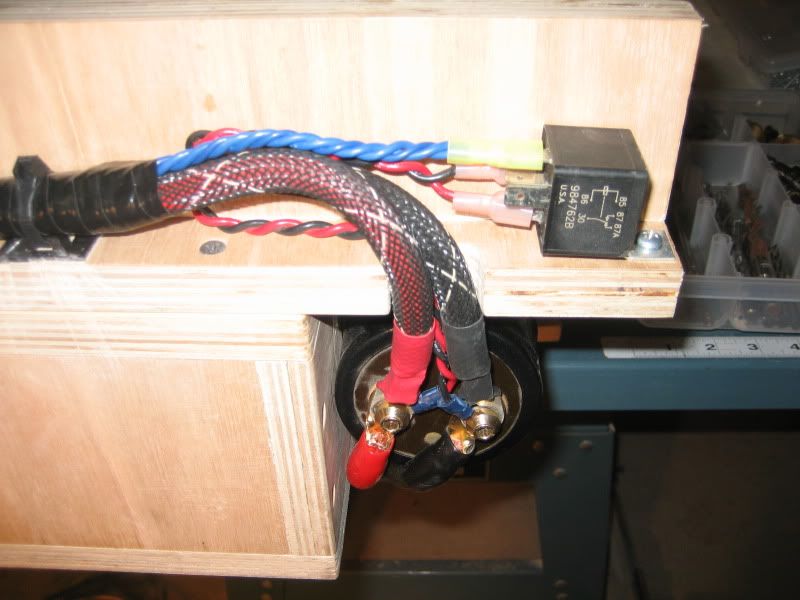
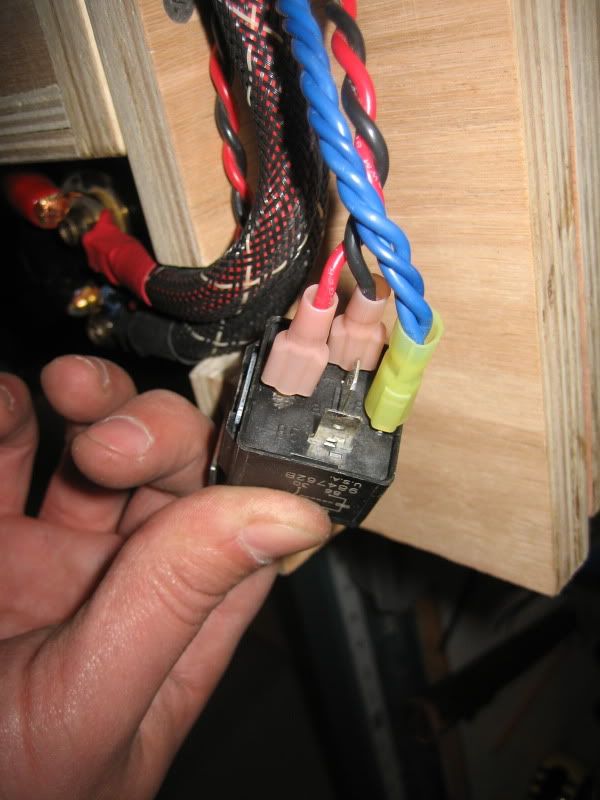
Ahh, I didn't smell gas so I didn't rupture the plastic tankLegacy777 wrote: That metal piece in the corner is the fuel separator.
http://www.surrealmirage.com/subaru/ima ... P_3092.JPG
http://www.surrealmirage.com/subaru/ima ... P_3093.JPG
http://www.surrealmirage.com/subaru/ima ... P_3097.JPG
http://www.surrealmirage.com/subaru/ima ... P_3098.JPG


lol that would be funnygijonas wrote:You should make the tray for your amps with a linear drive mechanism.Use the thread rod and block out of the factory jack...to keep it all subaru.
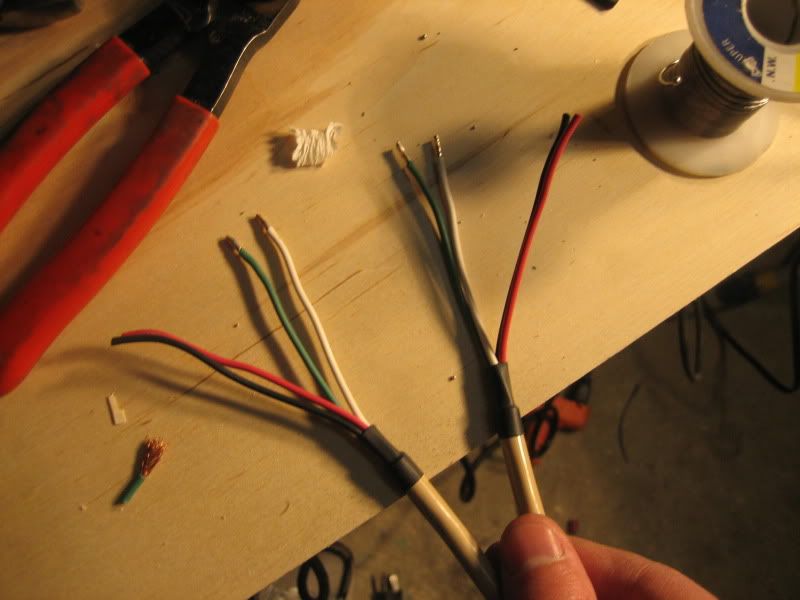
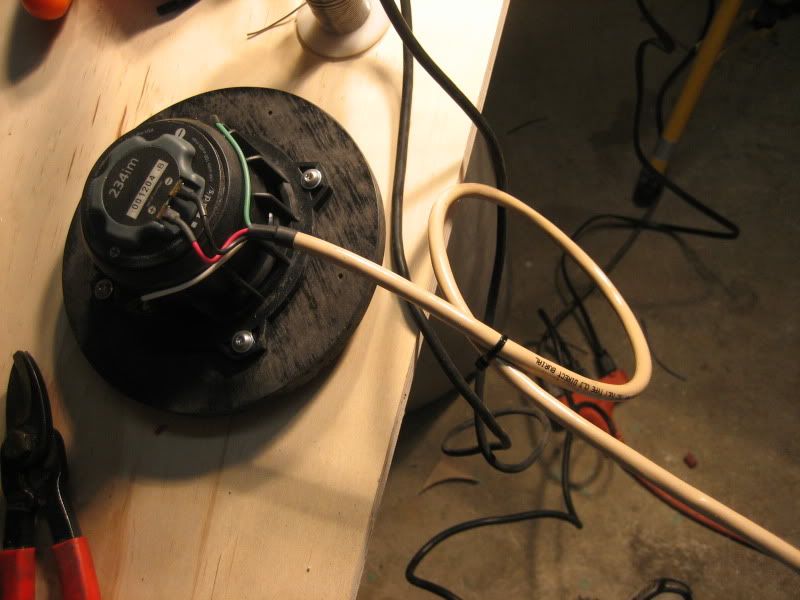
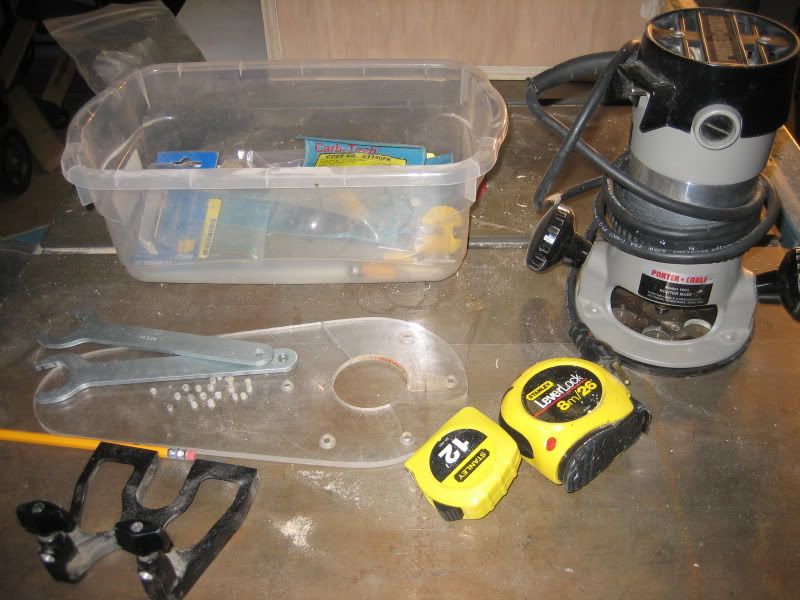
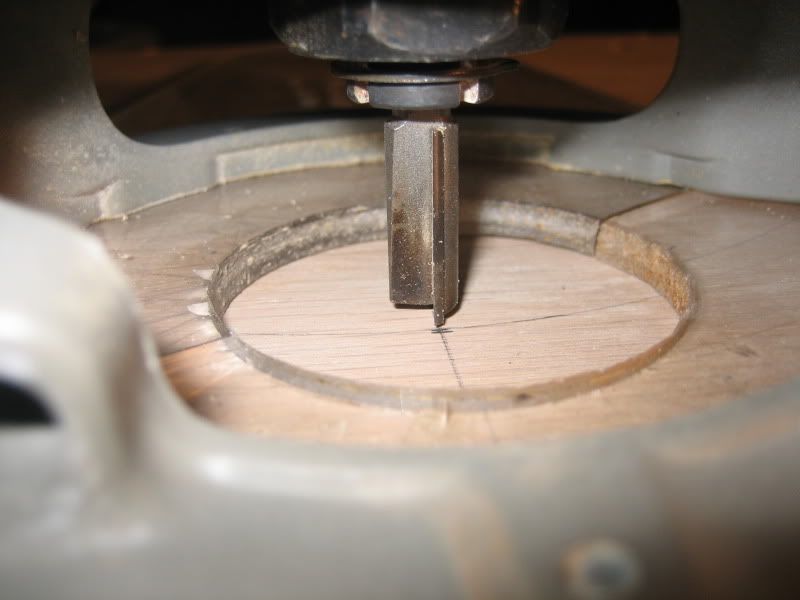
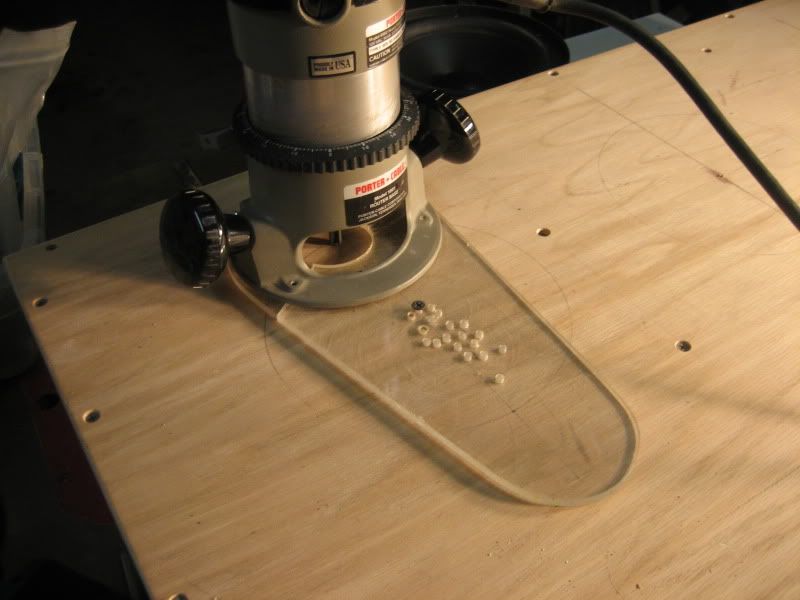
I'm just going to see how much they cost now. Might just pick one up for 20 bucks rather than go through the trouble of making another one but I'll definately look into the poly if I do make one myself, thanks!evolutionmovement wrote:Mike, if you want clear material for the circle jig, you might want to try polycarbonate as it doesn't shatter. Also easier to machine and cut.
Thanks, I only did this a few other times on systems, before doing this I used to vinyl wrap everything but I'm not going for that look now. As for the idea maybe it was from my rc days but I think I recall people color matching truck hood lip protectors by painting them on the inside so maybe thats where I thought if it.evolutionmovement wrote:That looks really good. Did you get the idea to paint the acrylic cover from R/C cars?
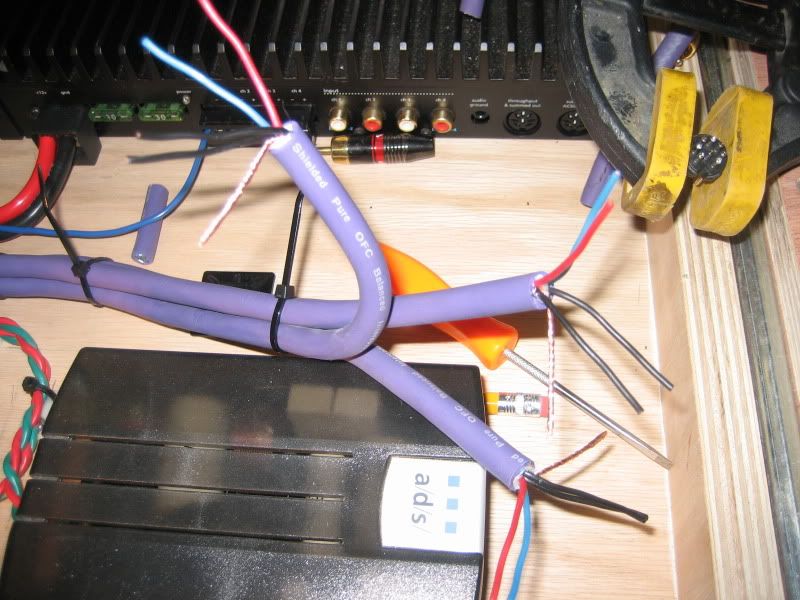
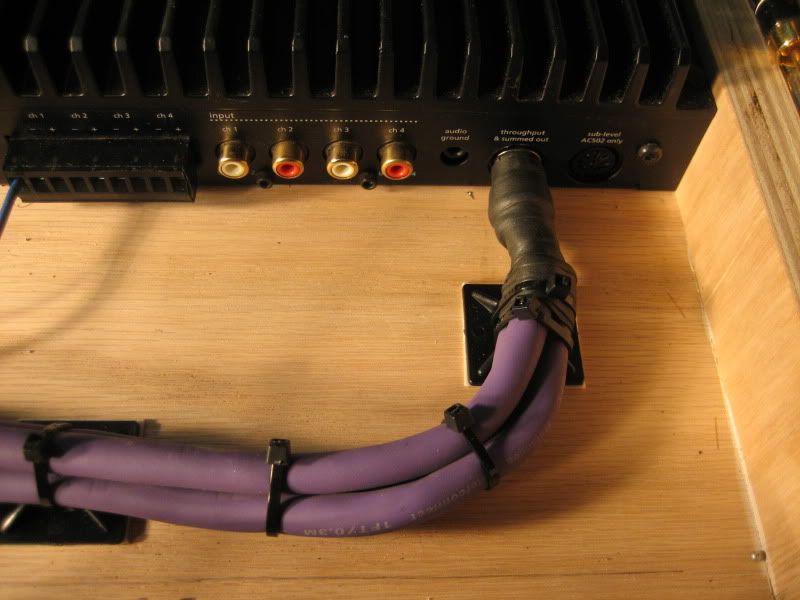
magicmike wrote:I know what you are saying here but you are a little off so let me correct you (with all due respect) Home speakers are all 8 ohm and some car audio factory systems are 8 ohm but most all aftermarket speakers for car audo are 4 ohm. Car audio amplifiers non bridged run normally at 4 ohms. Bridging them brings the load to 2 ohms. Some amps like my soundstrems actually run down to 1/2 ohm stable. Normally on crappy amps this creates a problem with the THD (total harmonic distortion). The specs on the a/d/s for THD are actually the same for bridged vs non bridged and both are <0.1%. This is pretty damn good and I've read that below 1.0% THD is inaudible....
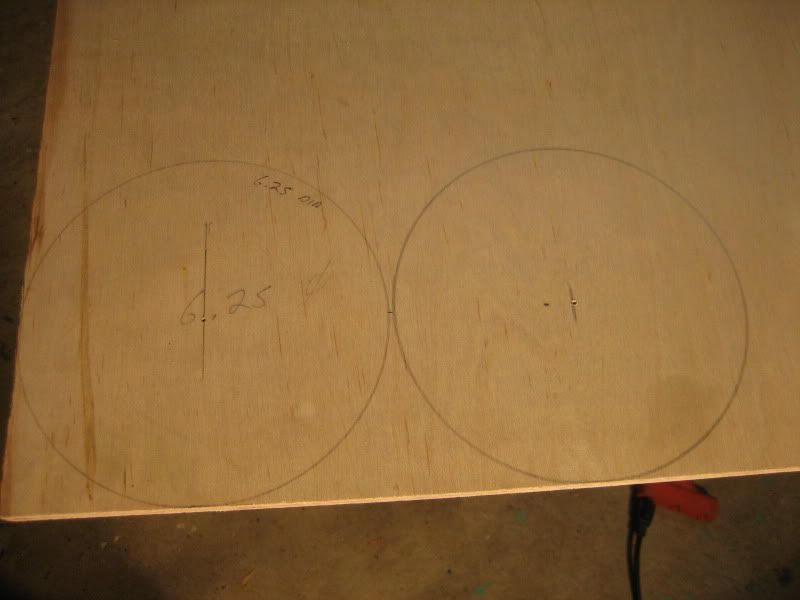
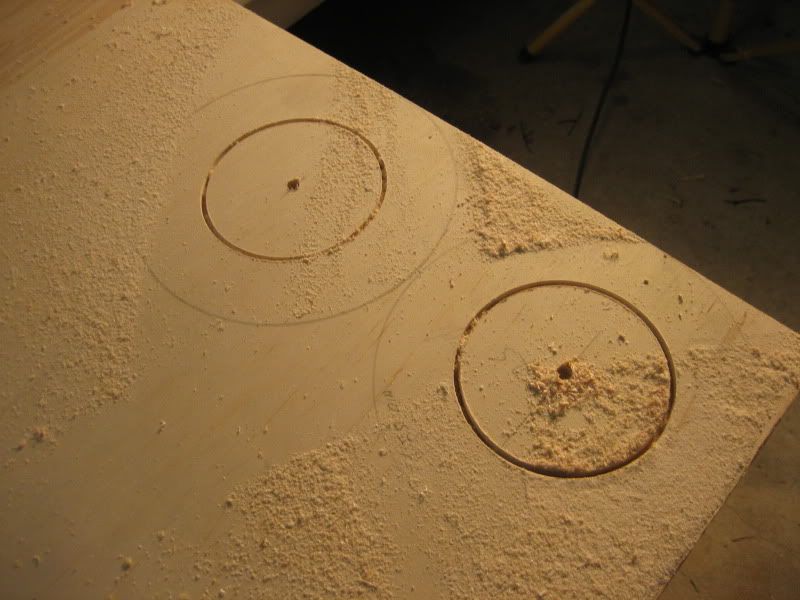
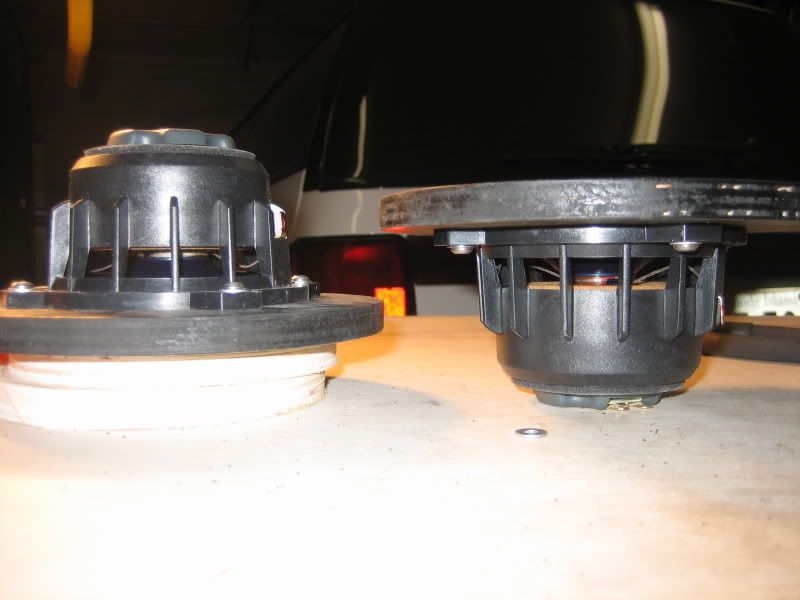
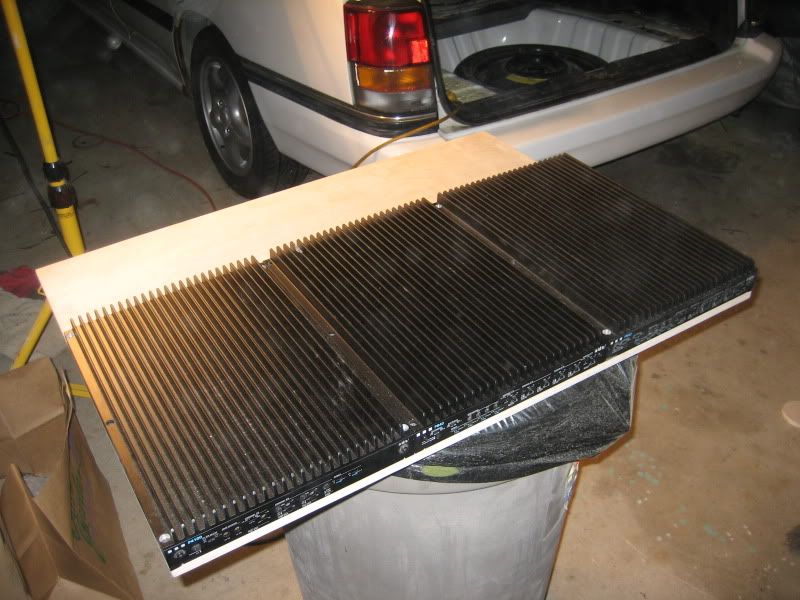
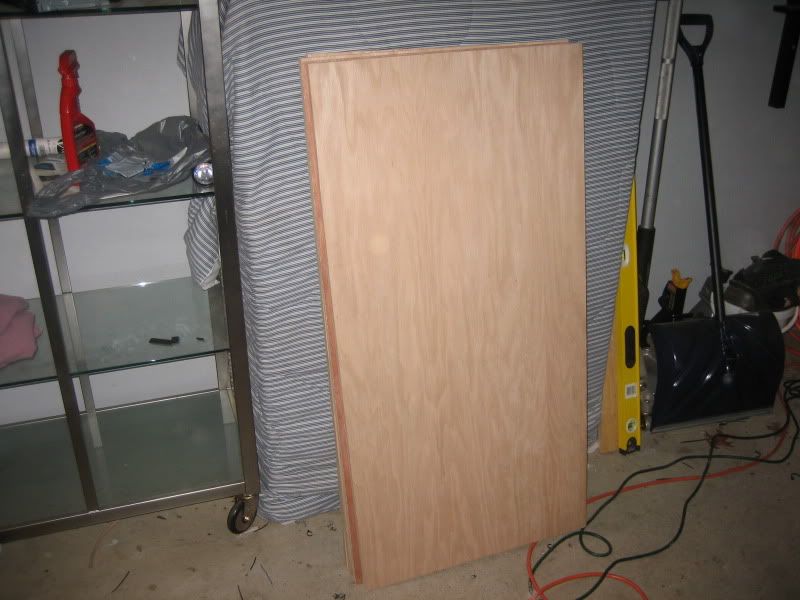
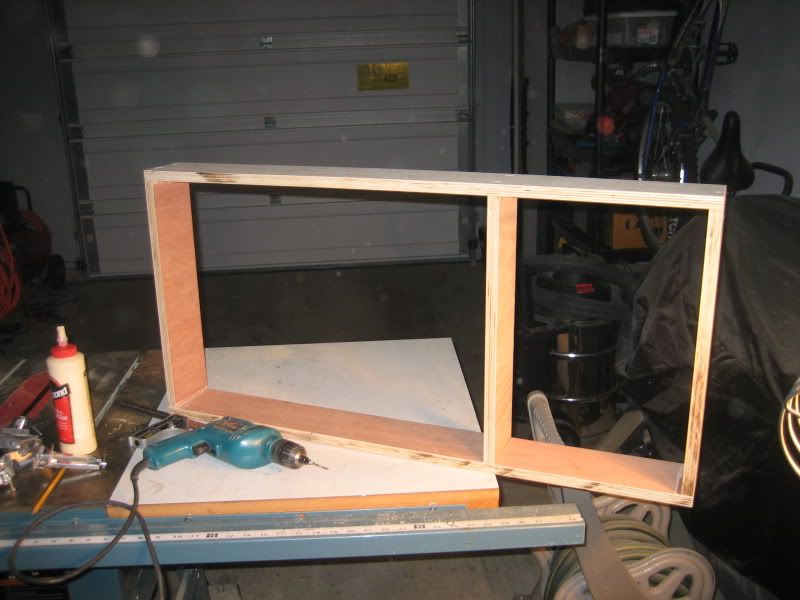
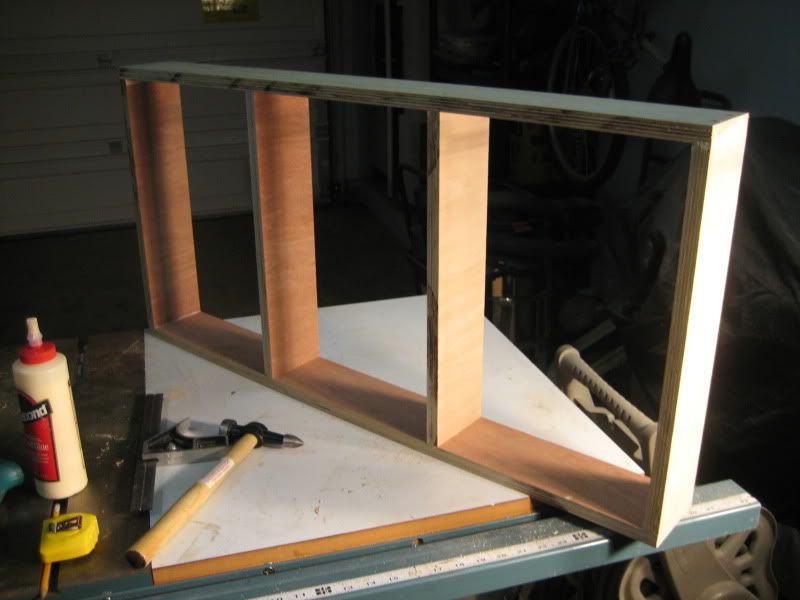
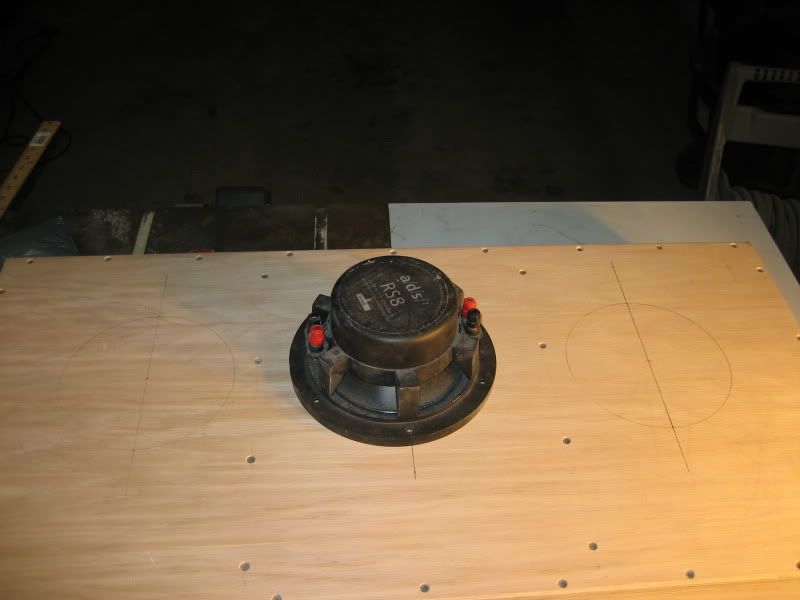
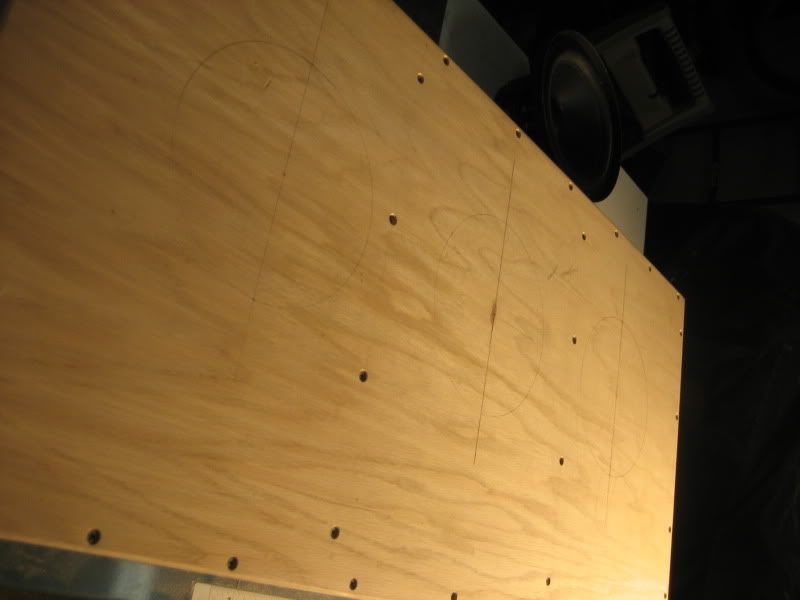
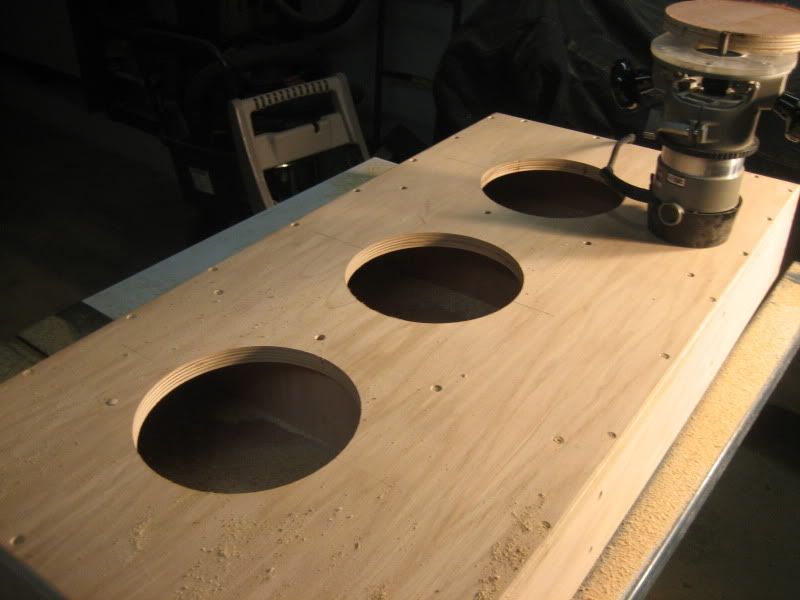
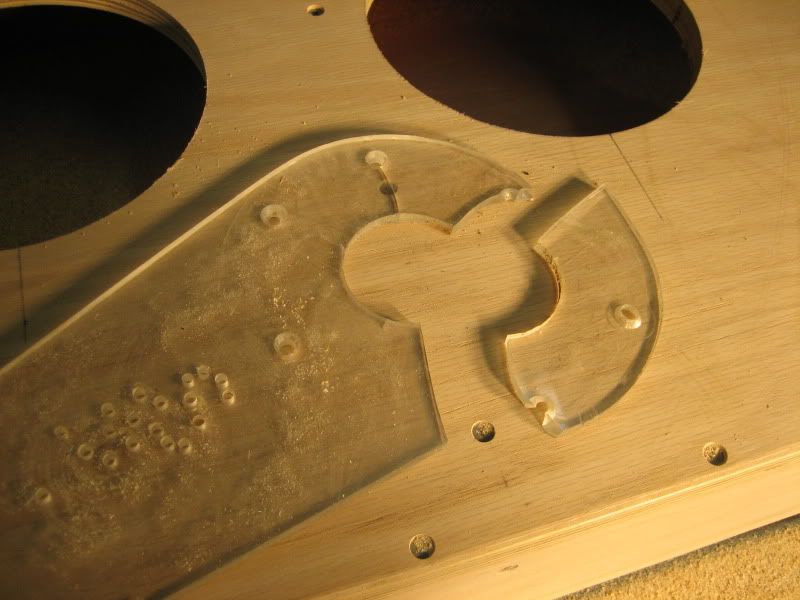
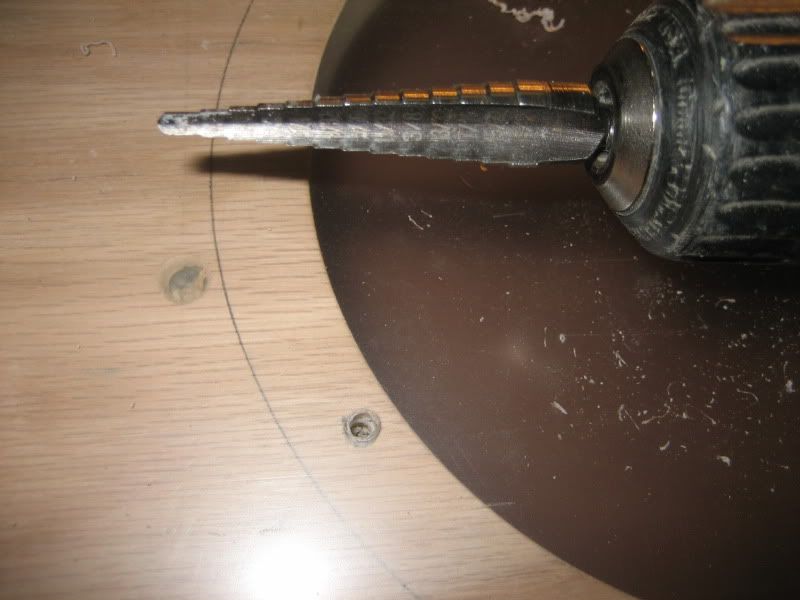
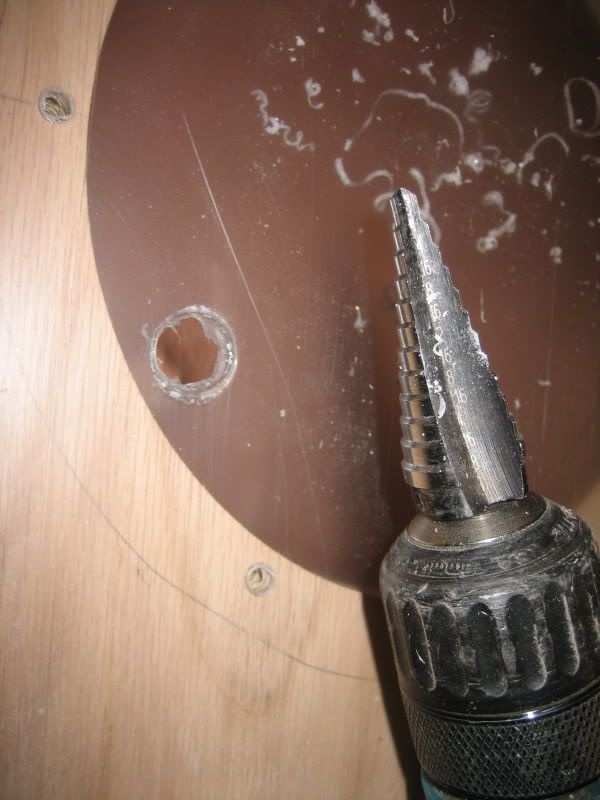
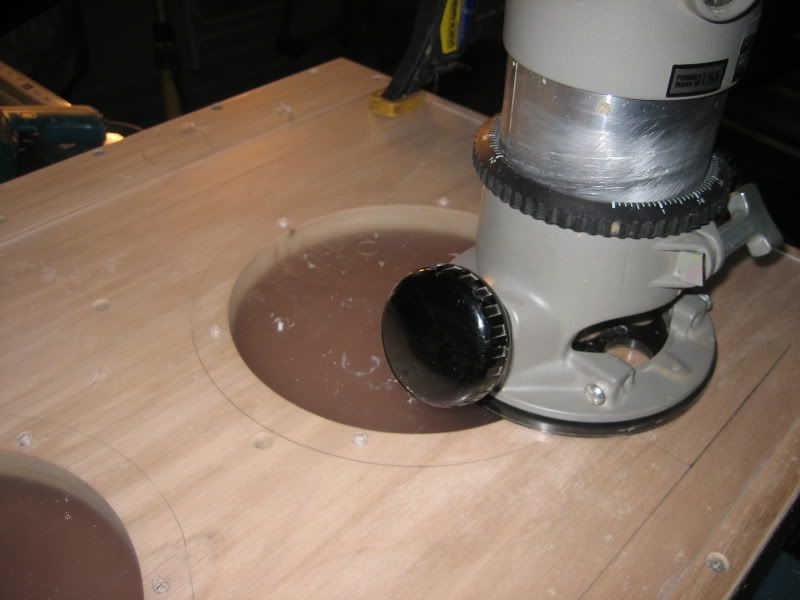
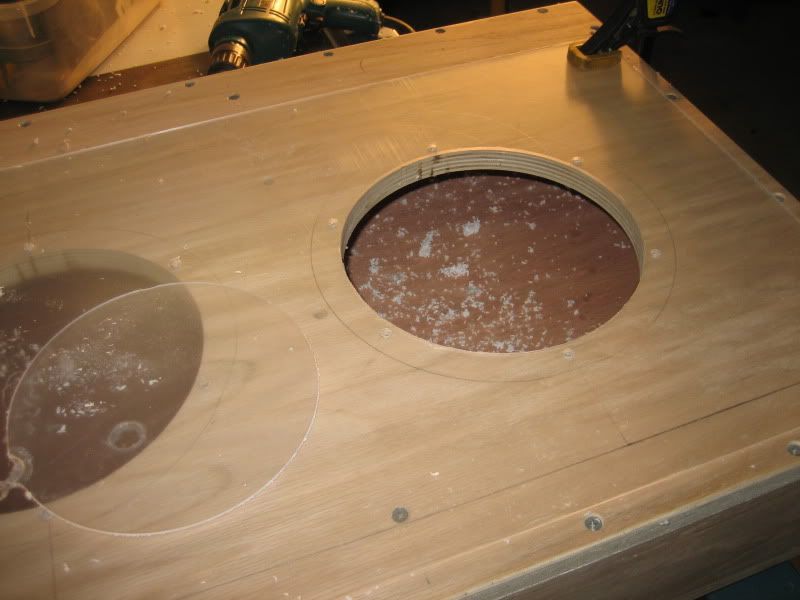
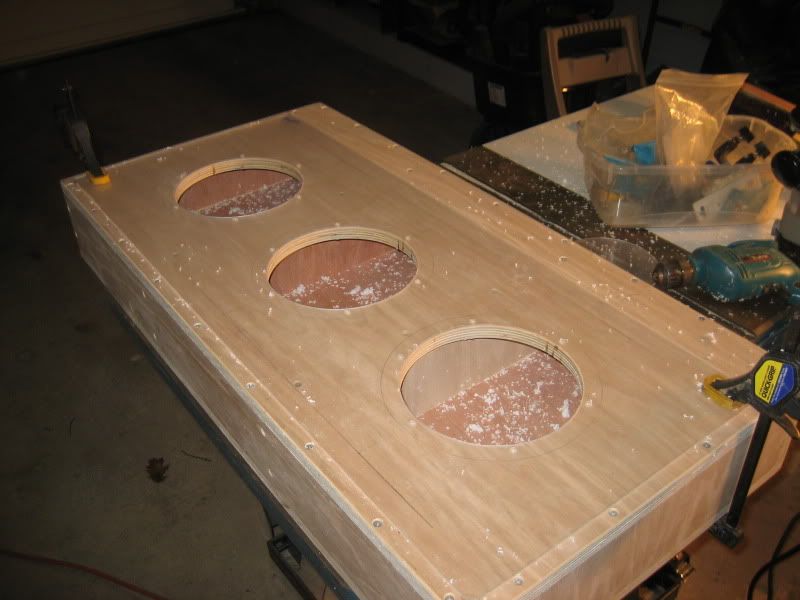
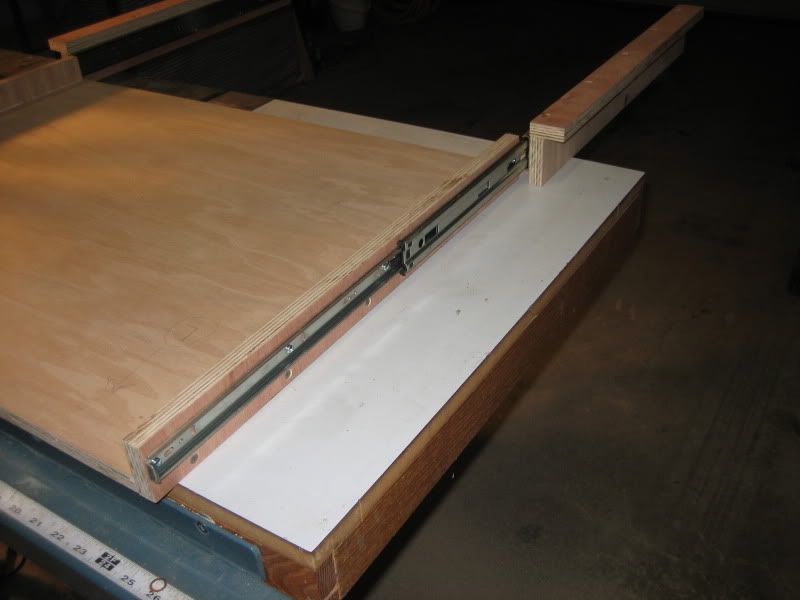
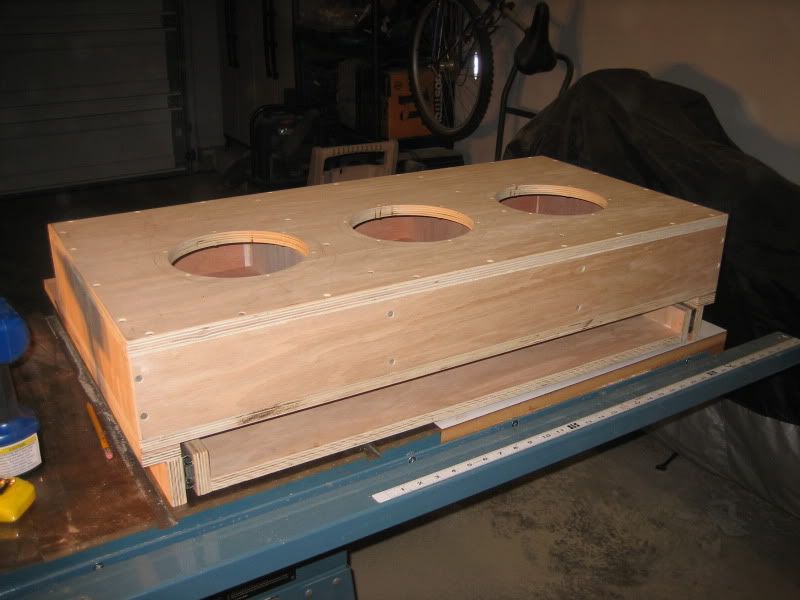
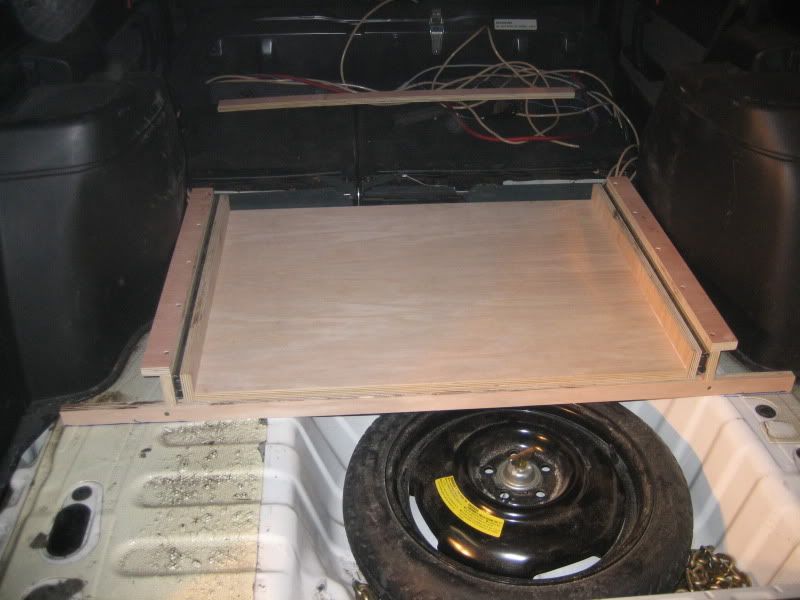
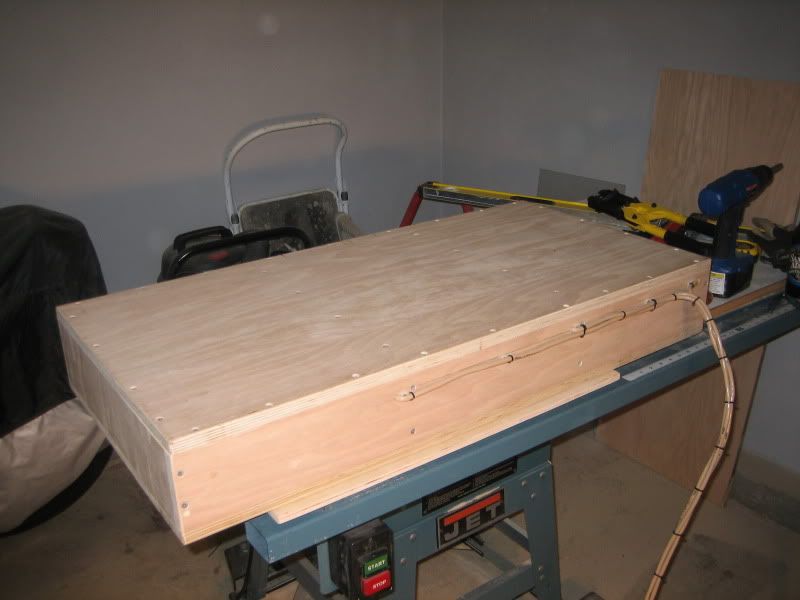
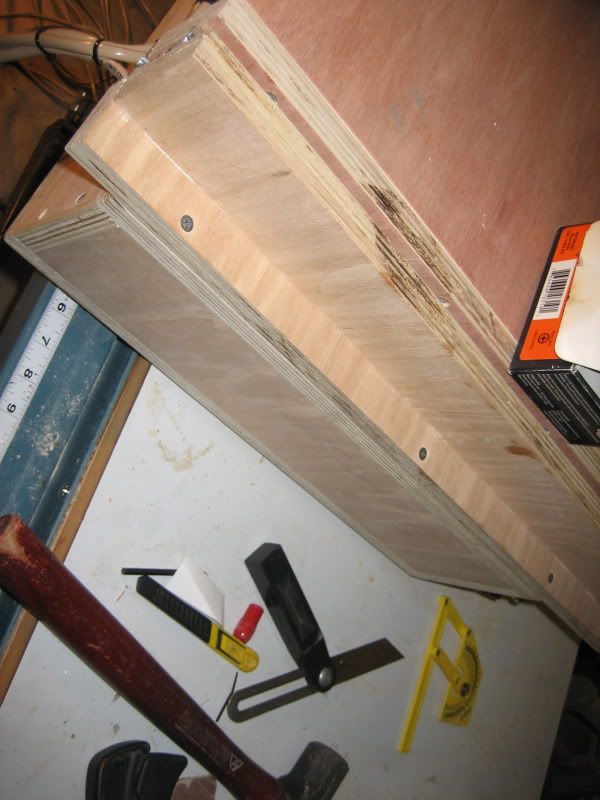
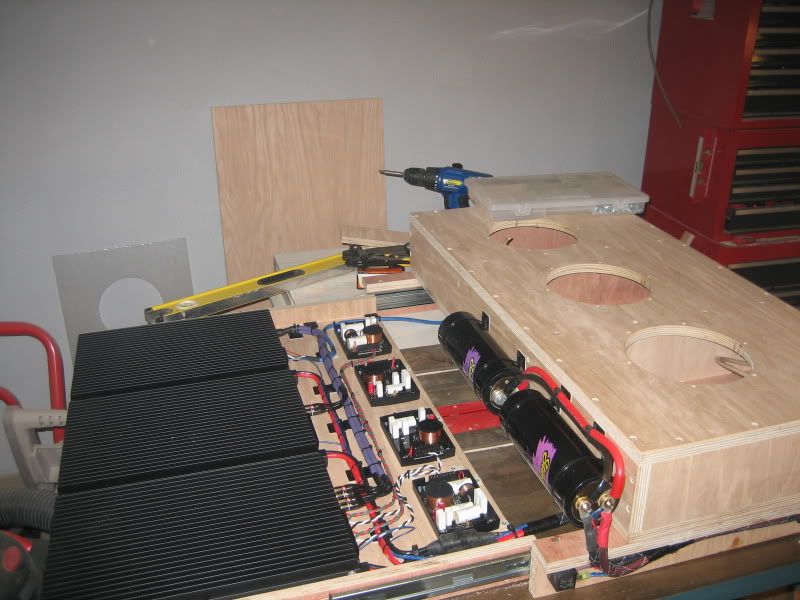
No its not sunken in. its 1/8 inch thick and will eventually have another cover over that with a cutout for the drivers later. It might be hard to imagine now because I'm taking photos as I go so you are seeing things which will require future processes in the future before its complete. Stay tuned...Legacy777 wrote:Mike,
Also, is the acrylic sheet sunk into the face of the box? One of the pictures look like the acrylic doesn't cover the entire front surface of the box....maybe it was just the picture.


lol thanks.Legacy777 wrote:That's freakin AWESOME!
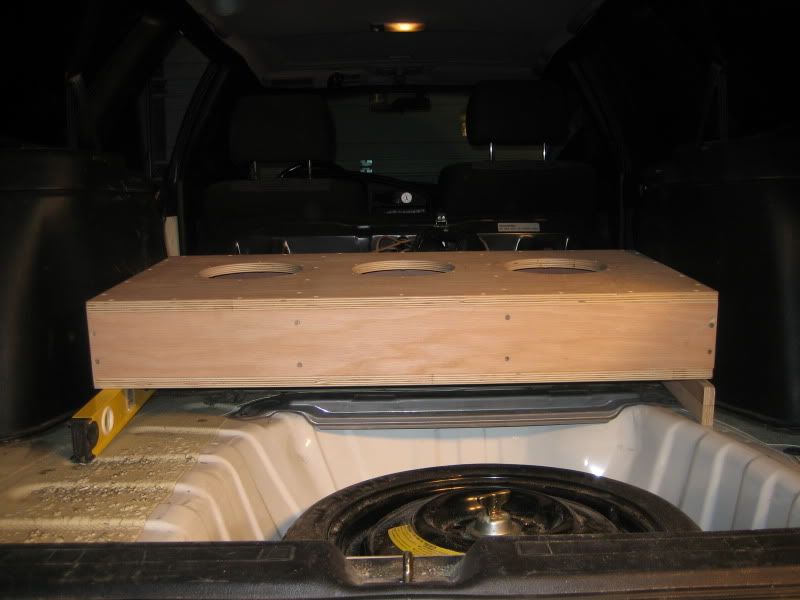
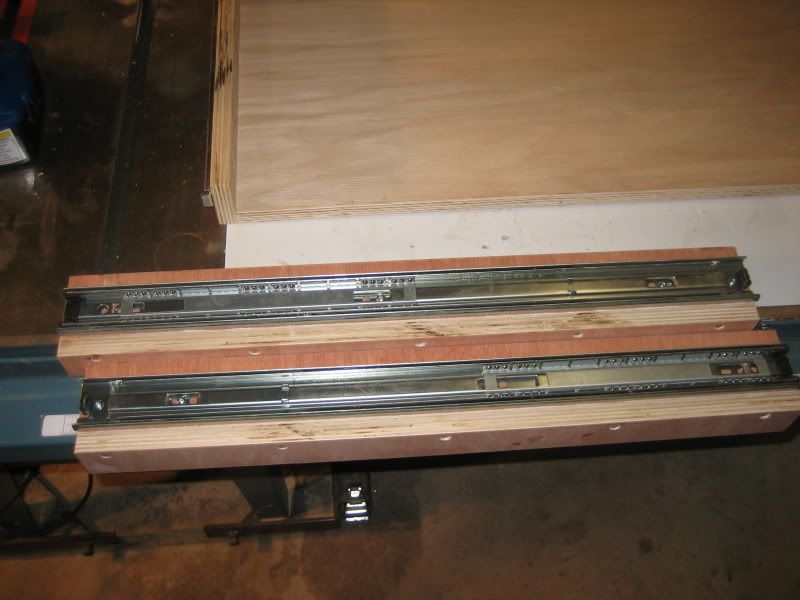
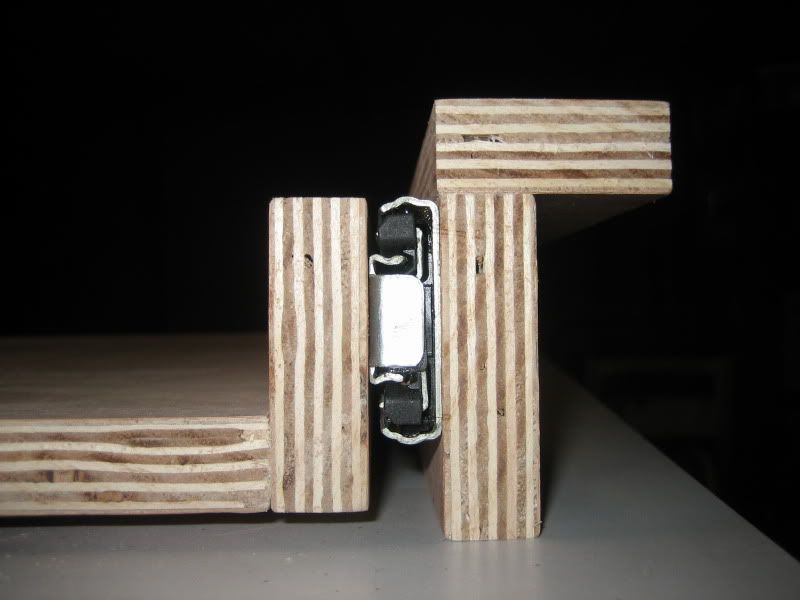
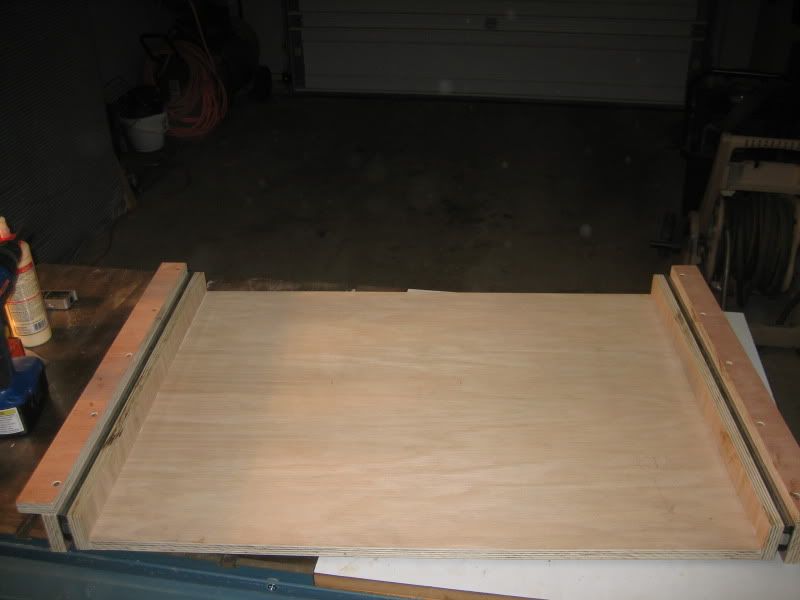
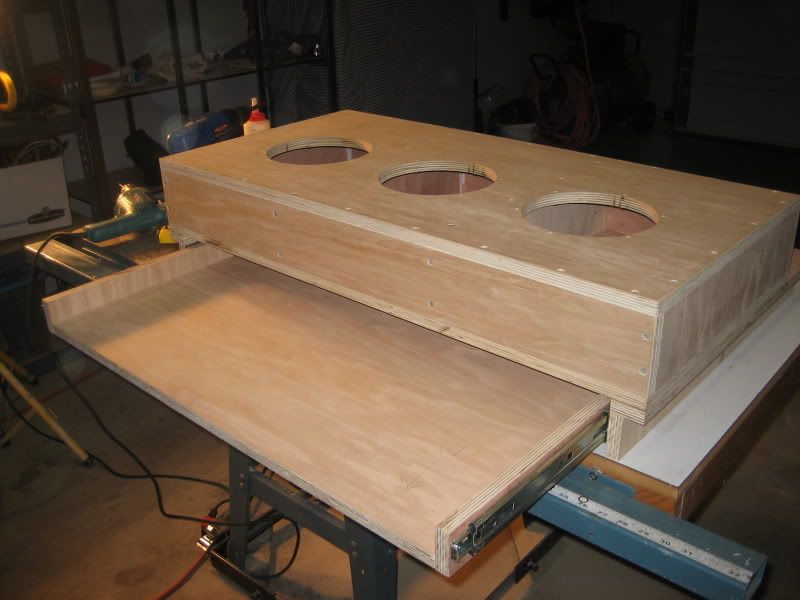
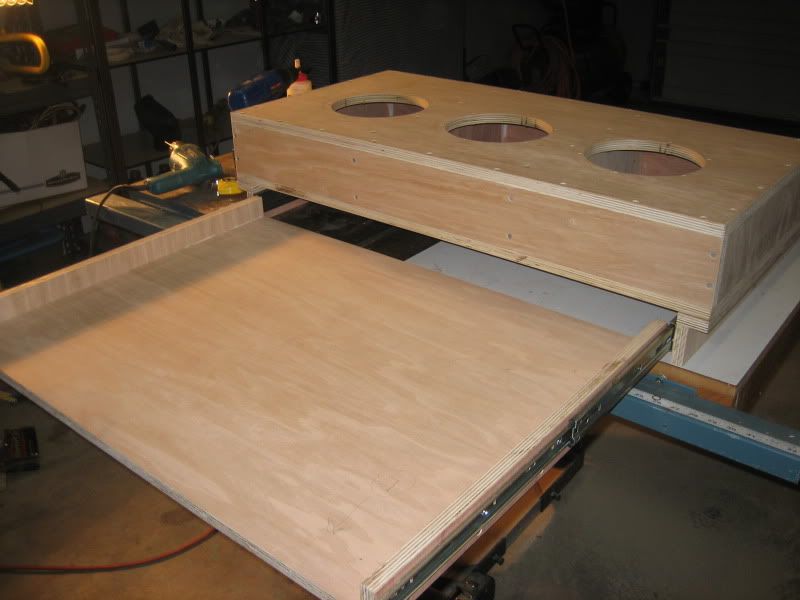
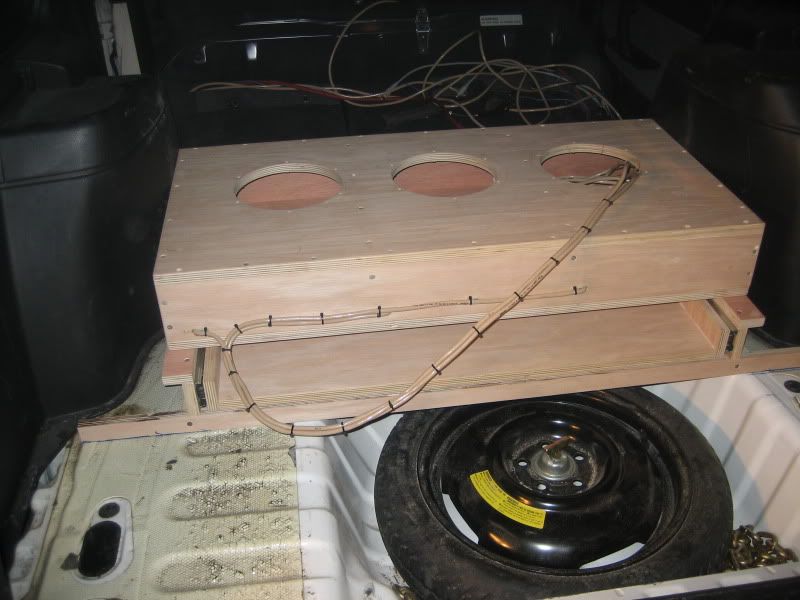
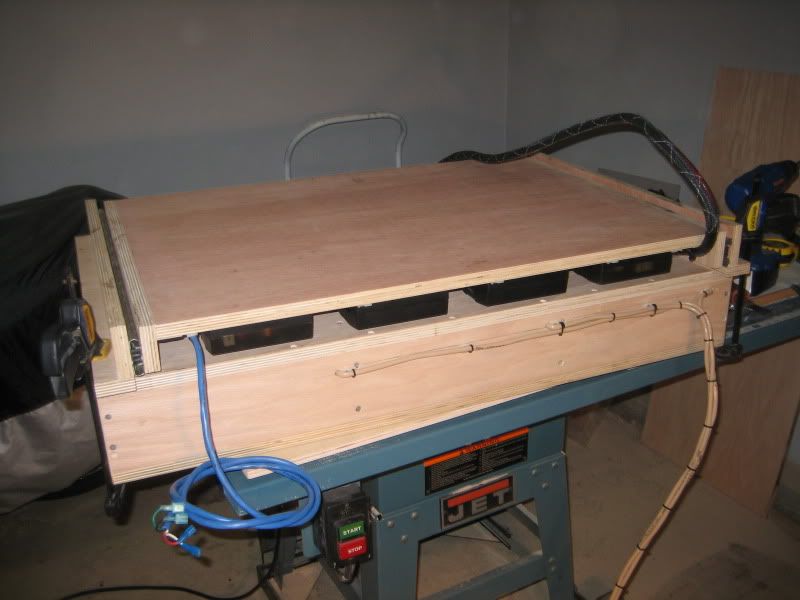
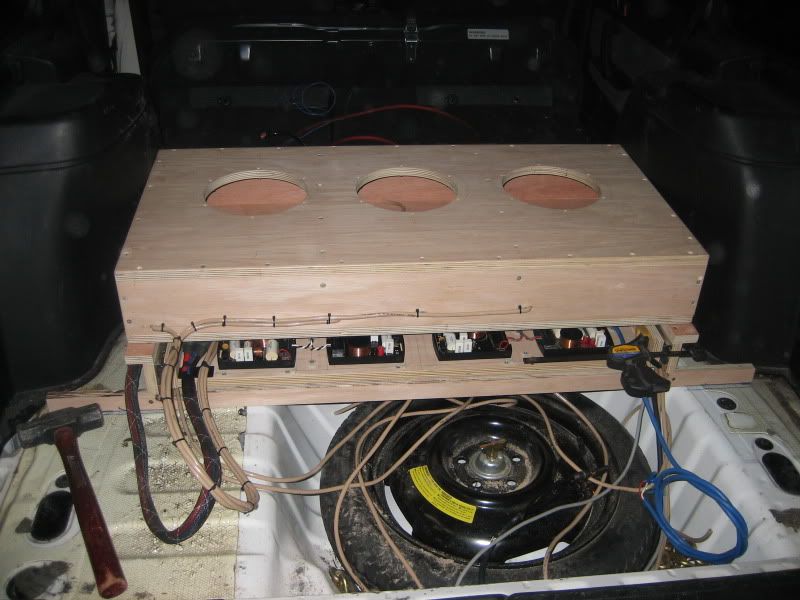
Do you have enough room to fully extend the amp rack? Does it extend outside of the vehicle, or does it stay all the way in the vehicle?
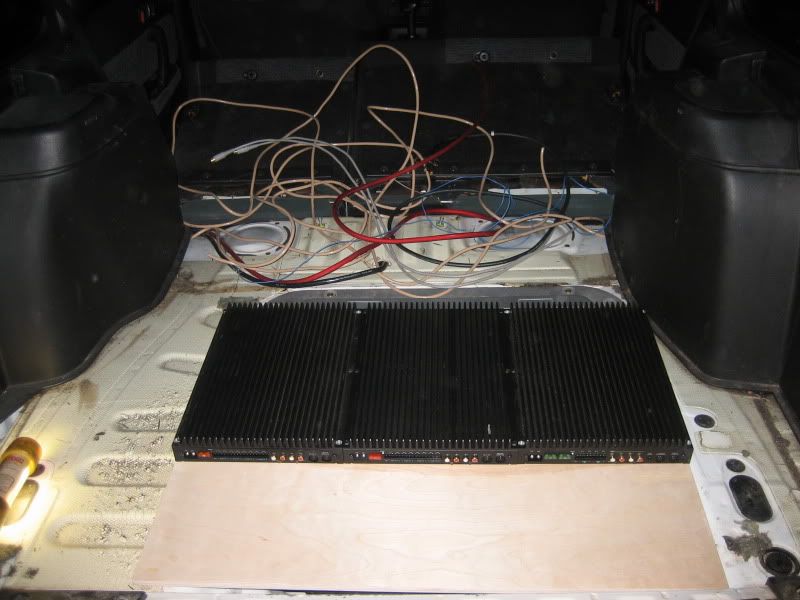
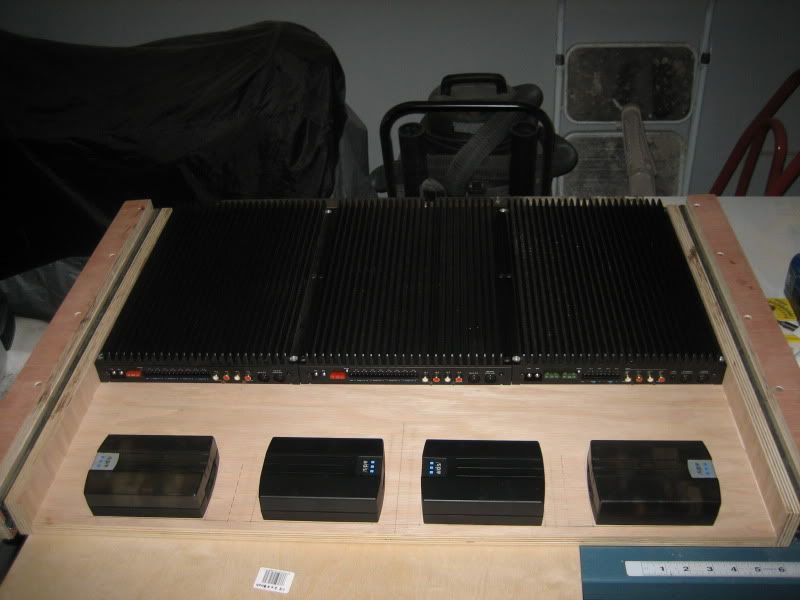
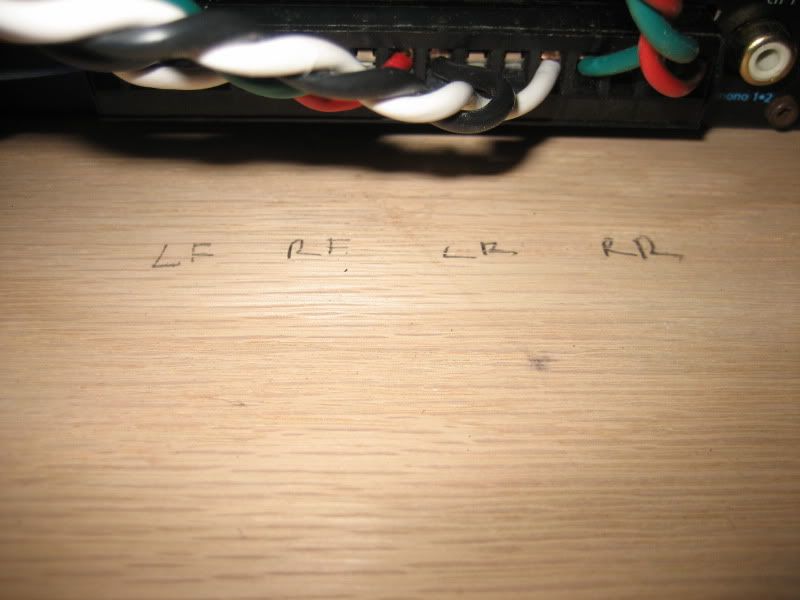
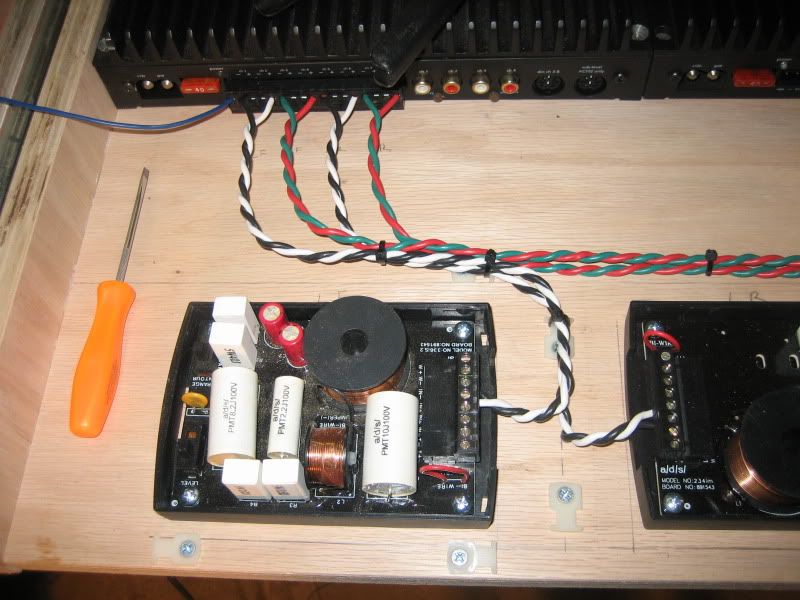
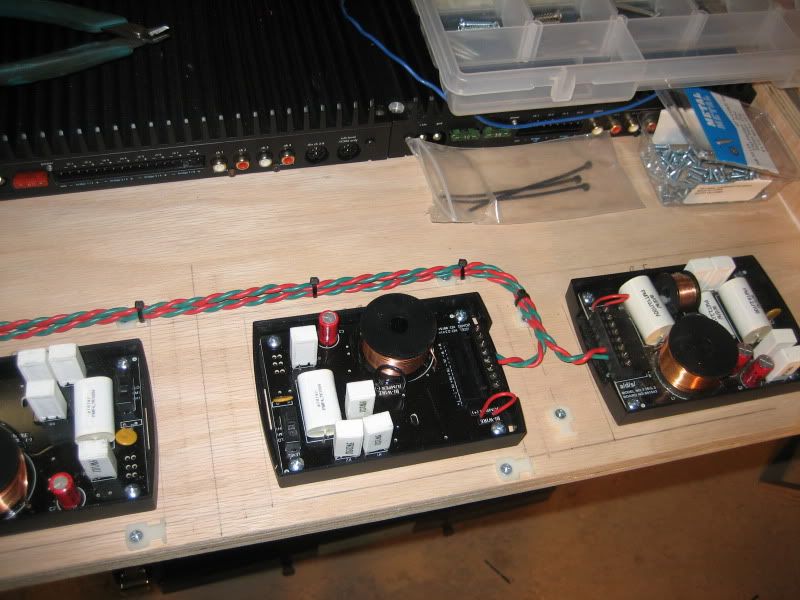
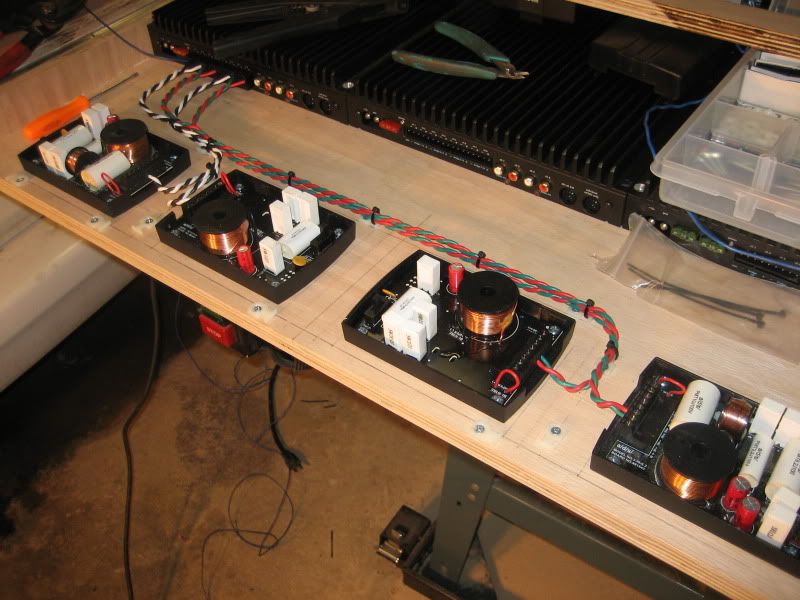
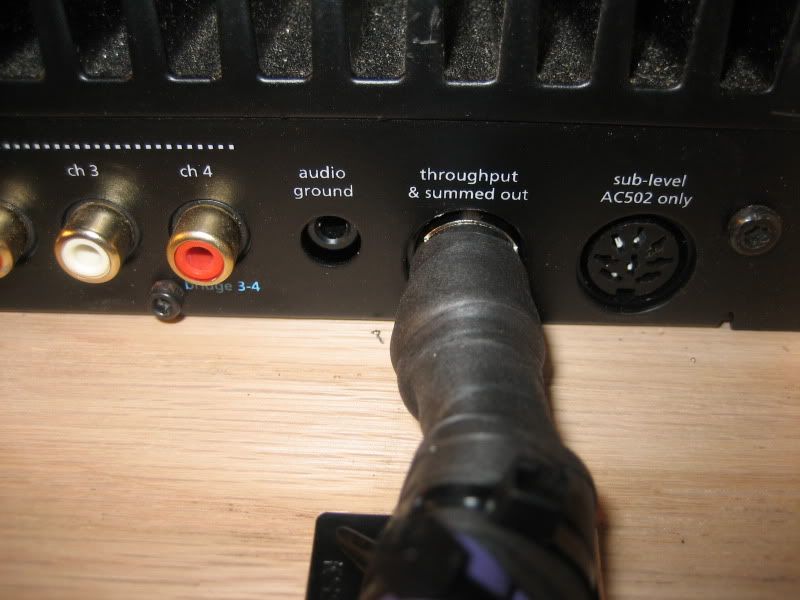
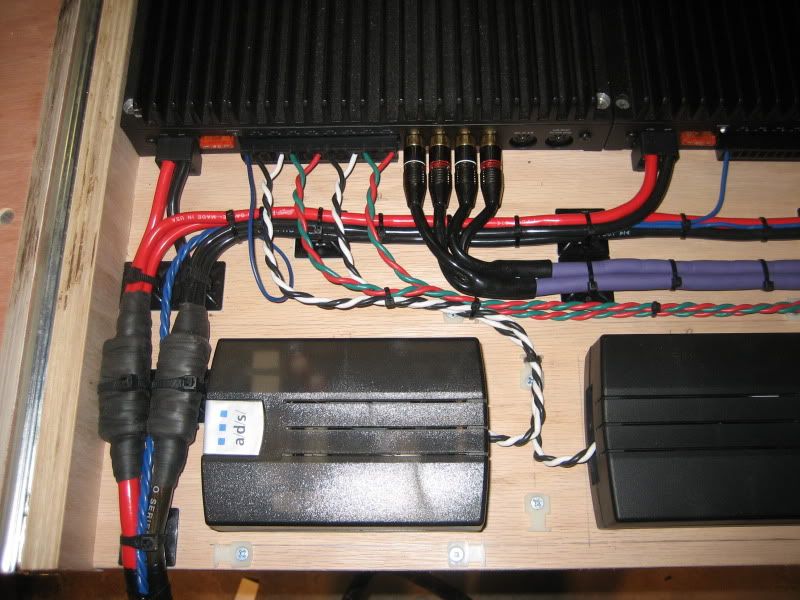
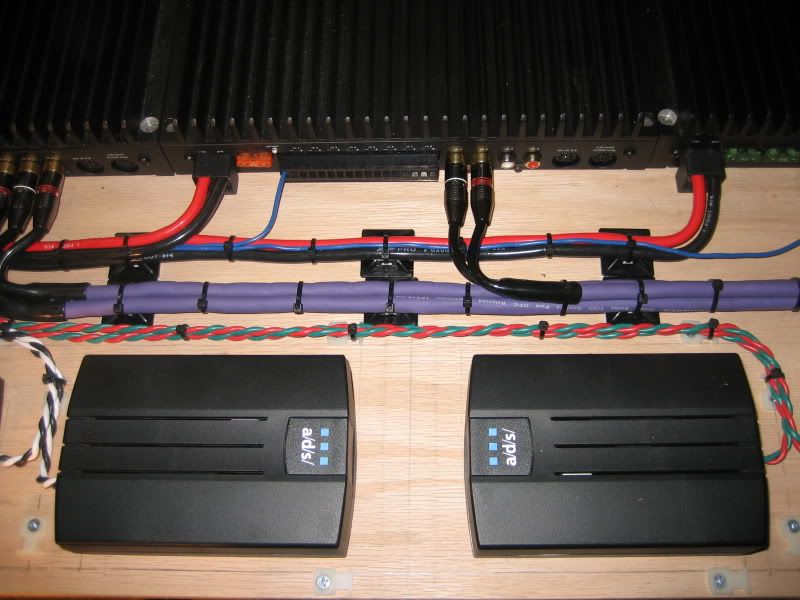
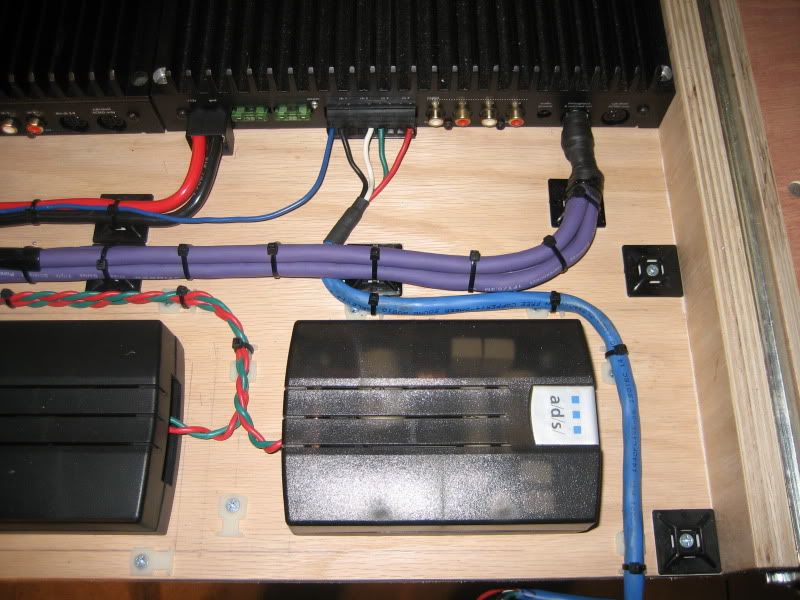
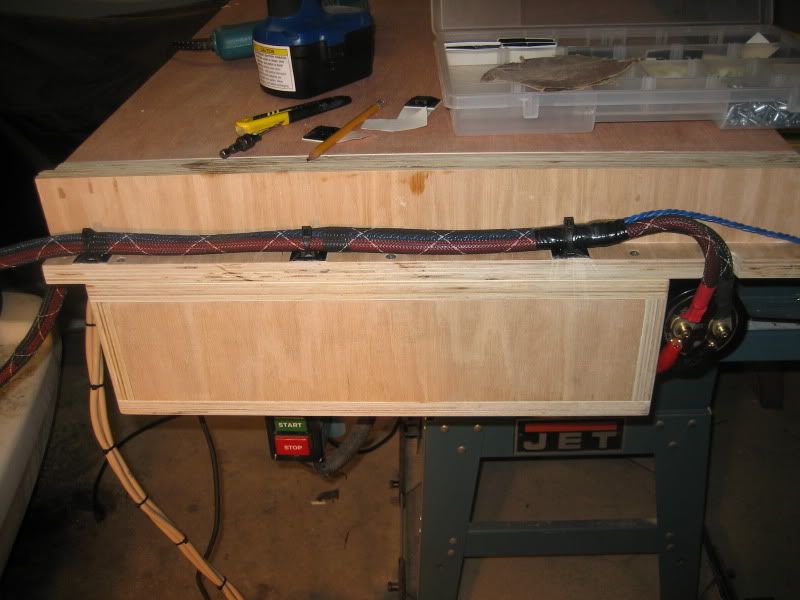
Do you mean on the rack itself? If so, no, you wont see that. I'm making a cover that goes over the rack and only has holes cut for the tops of the amps and the tops of the z-overs to poke through. No one will see that nice wiring but I'll know its thereLegacy777 wrote:Ahhh ok, that makes sense.
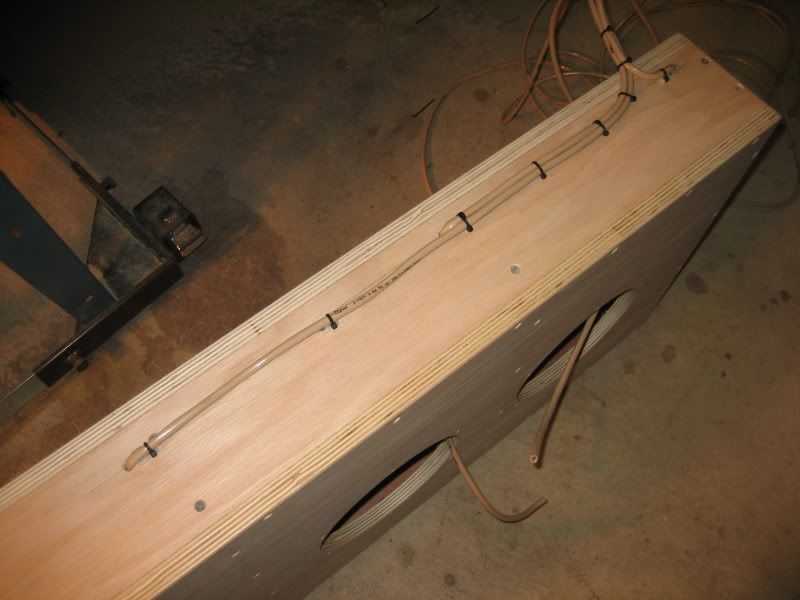
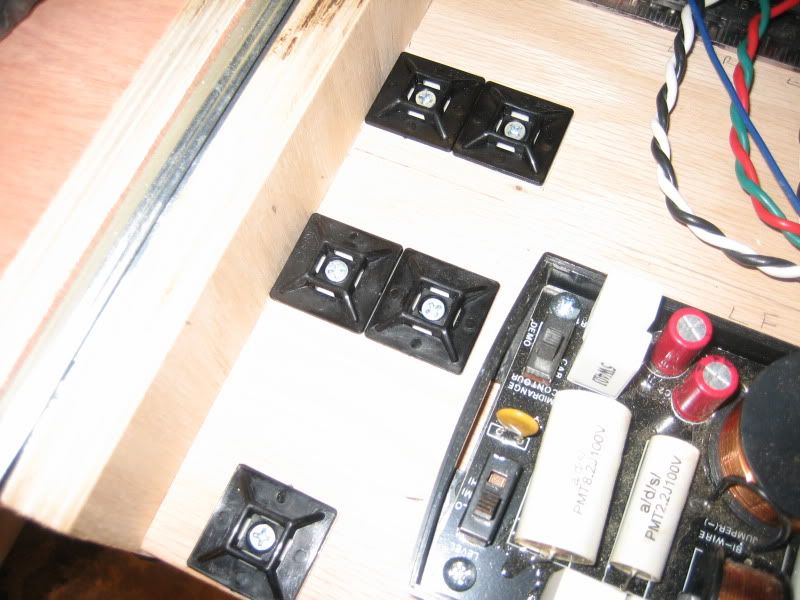
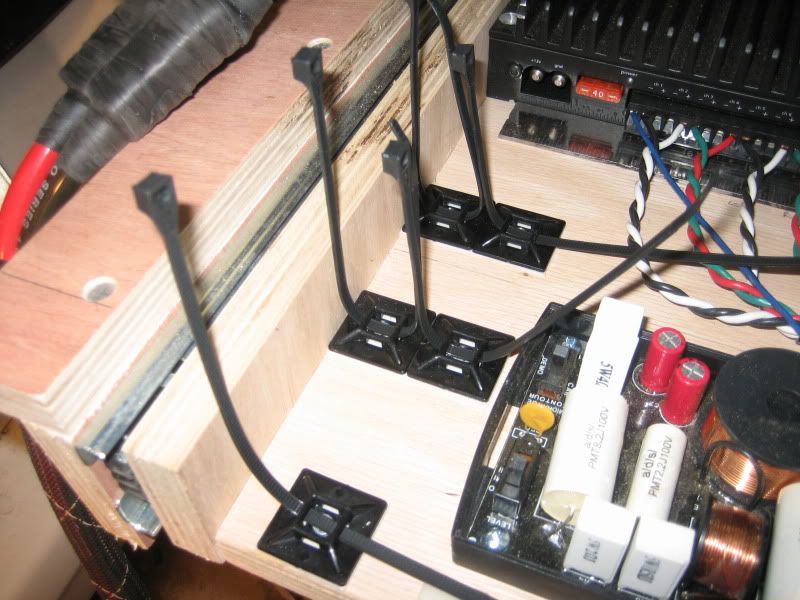
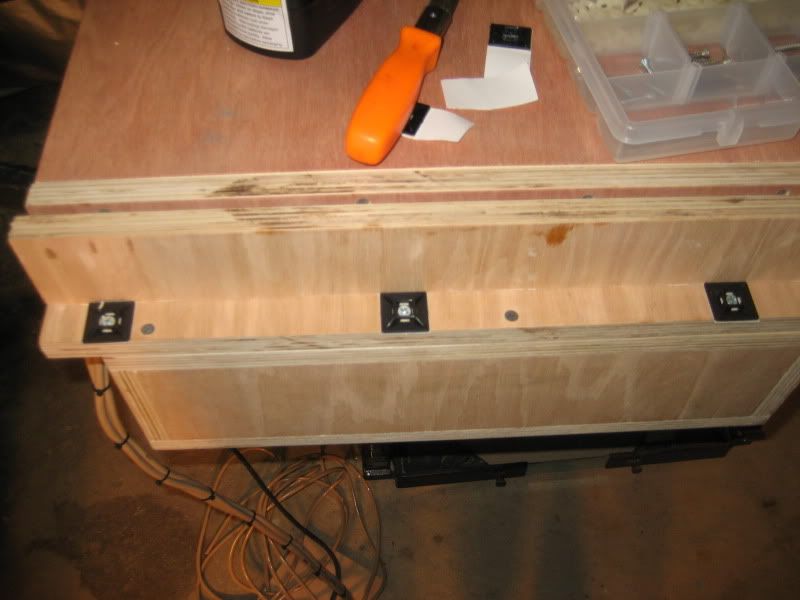
Are you painting/covering the wood where you have the wires tied down or just leaving it bare?
I'm in the process of designing that now. It will be a two step process. the first motion will be to lift the rack to the correct angle which will notify the second action via a switch once its in the correct place. Then the second stage is a screw drive mechanism to move the rack on the slide outward. The second stage will be equipped with a switch so the rack cannot lower if the drawer slides are not fully retracted in the home position. I really wanted to avoid using steel but now that I see how heavy this rack is with the box, I'm going to have to build a steel frame to get a strong enough jacking point on the rack.Legacy777 wrote:Yeah that's what I referring to.
How are you planning to use the linear actuator to extend the amp rack AND tilt it up several degrees?
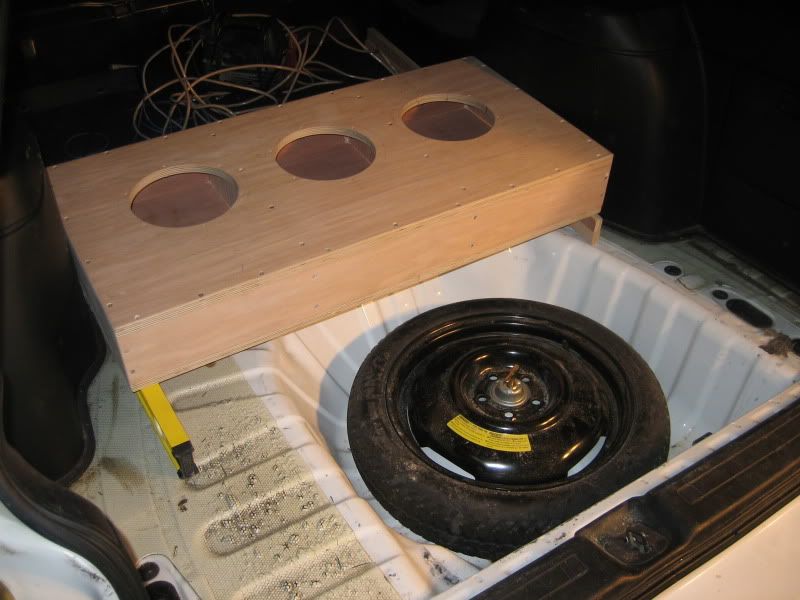
The sub box may not be motorized but at a minimum I'll hinge it on one end and use one or two gas struts to hold it up.Legacy777 wrote:Are you thinking about having a motorized sub box that moves out of the way so you can access your spare tire? If not, that'd be kind of cool
__TT__ wrote:WOW!!!!
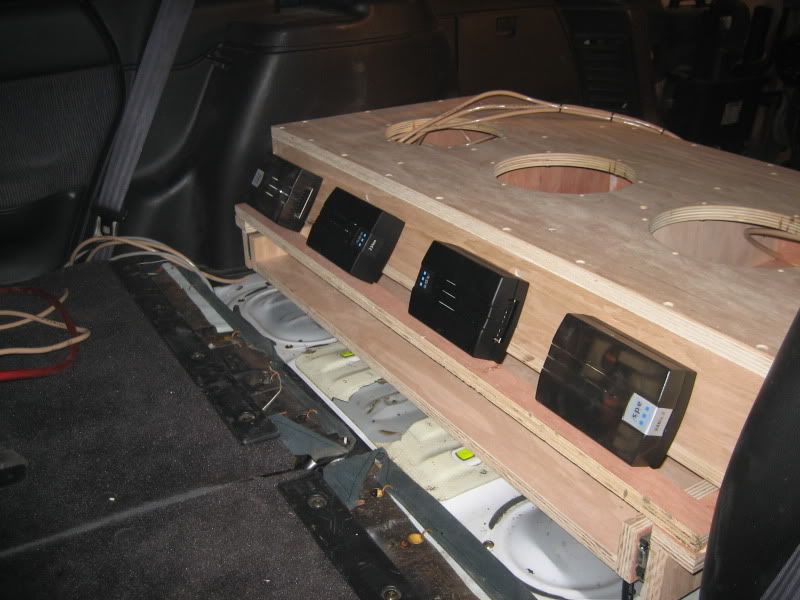
your equipment and install methods show your age lol! Been installing for 17 years so all this looks very nostalgic to me. Very cool stuff. I miss those A/D/S amps A LOT.
I'll post up mine once its done in a few months.