Do it yourself beutification on a budget.
Posted: Sat Jun 16, 2007 1:21 am
broke my wrist in a work related accident so decided to write a "How to" guide featuring a bunch of pics I got floating around since im just sitting on my can anyways.
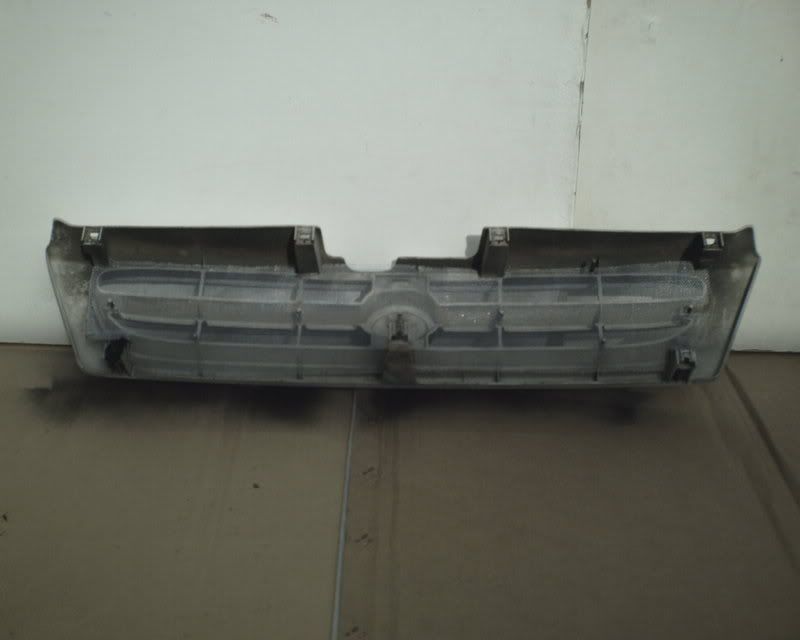
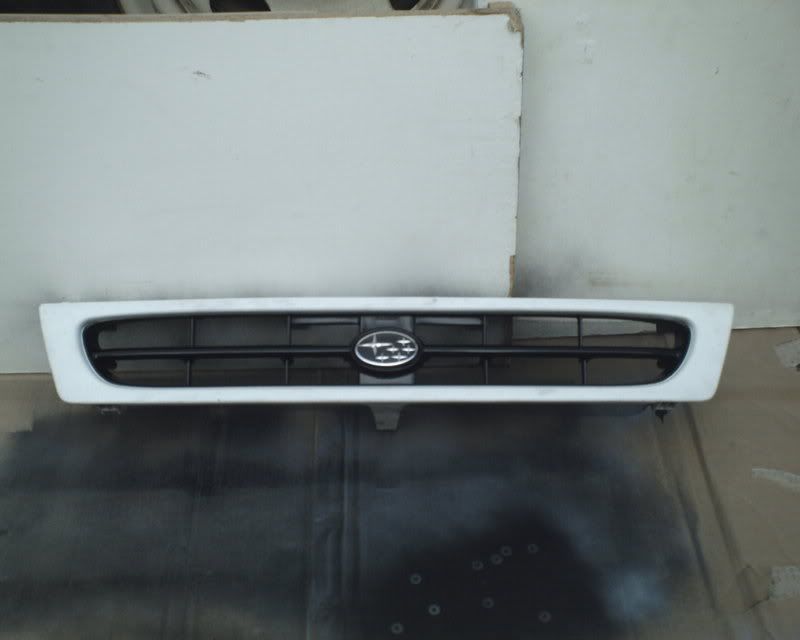
#1 before pic. My car is Alpine white with black highlights.... and a gunmetal grey grill. Didnt like the color of the grill and it had seen better days anyway sooo....

#2 Start by removing the part from the car. This is Prefered to leaving it on the car for many reasons though not strictly required. Your workspace should be clean,dry, and preferably not something you care wether or not you get paint on (cardboard works great!) . scuff up the old paint with 400 grit wet & dry sandpaper ($1.19 a sheet) and a bucket of water with mild dish soap. I use Sun Dishsoap ($.89) and just a quick squirt to a gallon of water. Be sure to smooth the edges of chips and scraches.

#3 Tape off areas you dont want to get paint on. For larger areas simply run a bead of tape around the edge.

#4 To prevent overspray from getting places you dont want it tape newspaper, ot other masking paper, to the bead of tape already on the part. This is comonly refered to as Double masking. Please note the newspaper edges are overlapped several inches and then taped together for several inches out from the area to be painted. this is manditory. You would e surprised where overspray can go!

#5 Paint it! start with the hard to get areas (corners, bottom sides and edges) snd work your way to the easier, open areas. Be sure to use smooth strokes and overlap your strokes about 30%. In keeping with the Beutification on a budget program, I used NAPA Colorline Glossy Black. At $5 this was easily the most expensive bit of the progect.

#6 Demask! Dont she look pretty?

#7 To add a subtle differace and add to a more "Finished" look I got some aluminum window screen ($1.39 for a 20" x 12" section. enough to do 3 or 4 grills) and cut to fit the back of the grill.

#8 I painted the screen Matte Black with paint left over from a previous project and attached it to the back of the grill on the pre-existing posts with spring clips (20 for $1.19)
Vio'la! a slick almost cutom grlll for less than $10 and I clearcoated the headlights at the same time!
p.s For hard to remove parts simply spread out your overspray protection
before

preped

After

And The mirrors are now the most attractive part of the car!
#1 before pic. My car is Alpine white with black highlights.... and a gunmetal grey grill. Didnt like the color of the grill and it had seen better days anyway sooo....
#2 Start by removing the part from the car. This is Prefered to leaving it on the car for many reasons though not strictly required. Your workspace should be clean,dry, and preferably not something you care wether or not you get paint on (cardboard works great!) . scuff up the old paint with 400 grit wet & dry sandpaper ($1.19 a sheet) and a bucket of water with mild dish soap. I use Sun Dishsoap ($.89) and just a quick squirt to a gallon of water. Be sure to smooth the edges of chips and scraches.
#3 Tape off areas you dont want to get paint on. For larger areas simply run a bead of tape around the edge.
#4 To prevent overspray from getting places you dont want it tape newspaper, ot other masking paper, to the bead of tape already on the part. This is comonly refered to as Double masking. Please note the newspaper edges are overlapped several inches and then taped together for several inches out from the area to be painted. this is manditory. You would e surprised where overspray can go!
#5 Paint it! start with the hard to get areas (corners, bottom sides and edges) snd work your way to the easier, open areas. Be sure to use smooth strokes and overlap your strokes about 30%. In keeping with the Beutification on a budget program, I used NAPA Colorline Glossy Black. At $5 this was easily the most expensive bit of the progect.
#6 Demask! Dont she look pretty?
#7 To add a subtle differace and add to a more "Finished" look I got some aluminum window screen ($1.39 for a 20" x 12" section. enough to do 3 or 4 grills) and cut to fit the back of the grill.
#8 I painted the screen Matte Black with paint left over from a previous project and attached it to the back of the grill on the pre-existing posts with spring clips (20 for $1.19)
Vio'la! a slick almost cutom grlll for less than $10 and I clearcoated the headlights at the same time!
p.s For hard to remove parts simply spread out your overspray protection
before
preped
After
And The mirrors are now the most attractive part of the car!