Page 1 of 1
N1446' s Build Journal Post
Posted: Wed Apr 15, 2009 4:32 am
by N1446
>> This page is taking over the build page for a while as the EJ2.34t project is on hold.
Updates below
Posted: Thu Jun 25, 2009 6:57 pm
by N1446
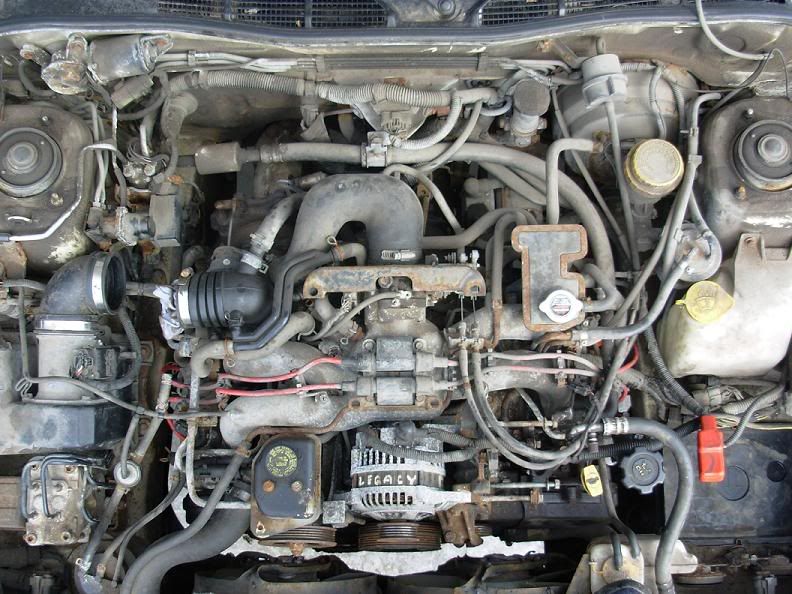
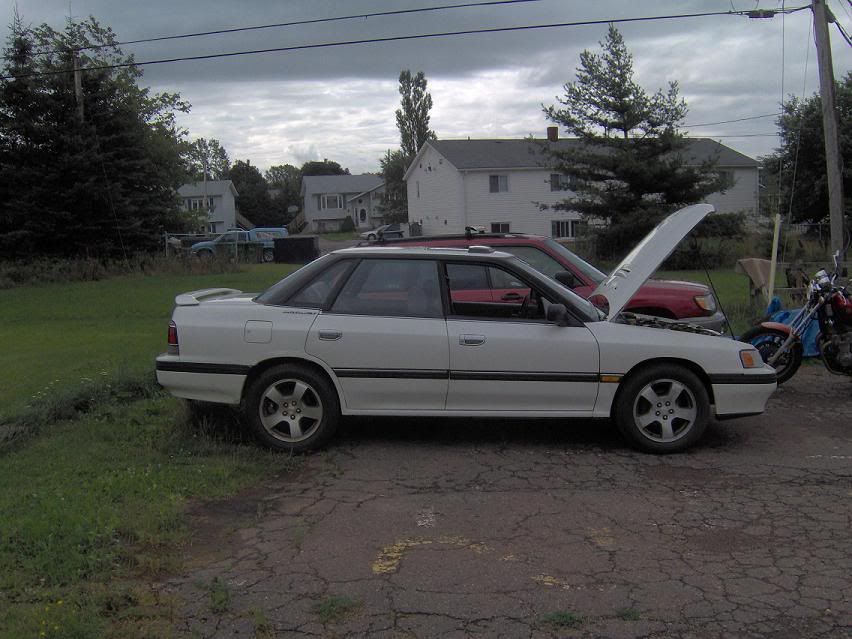
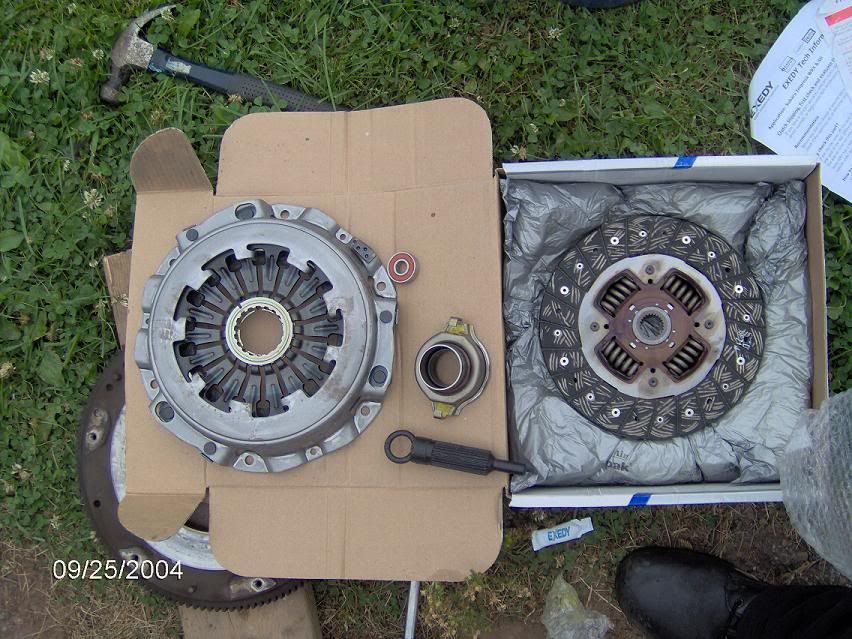
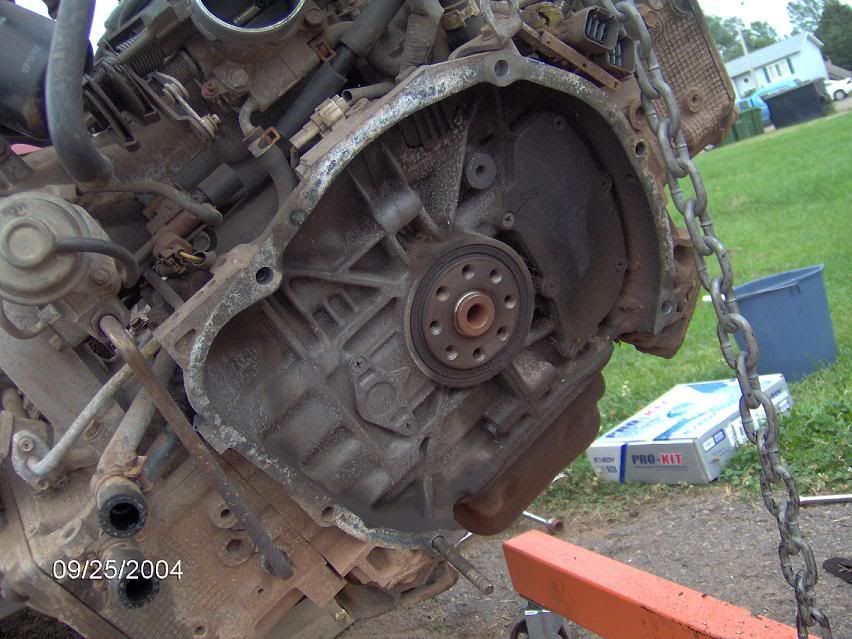
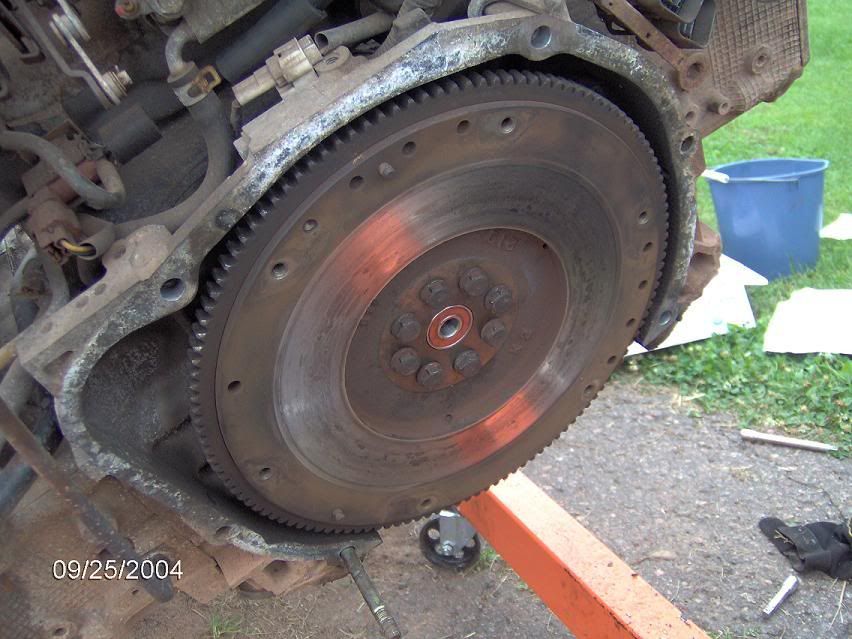
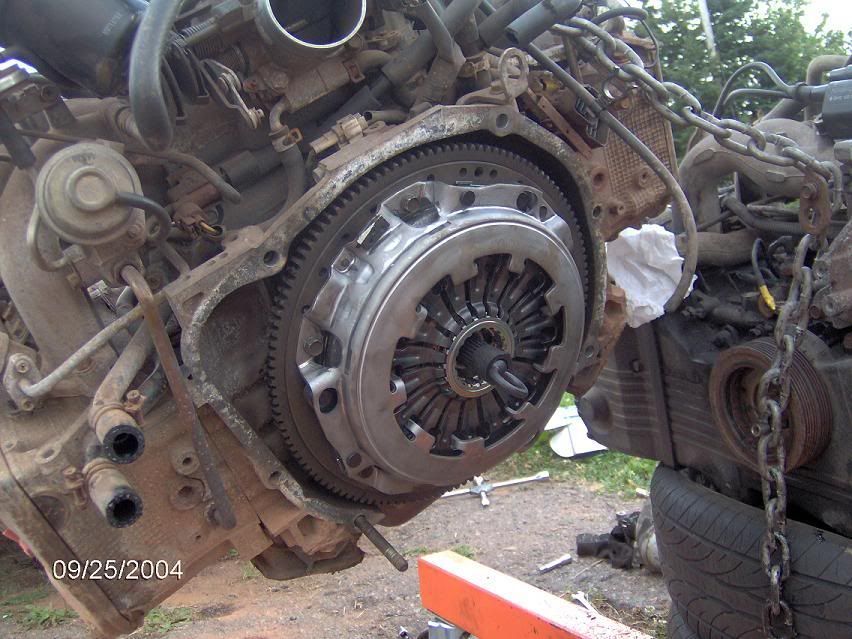
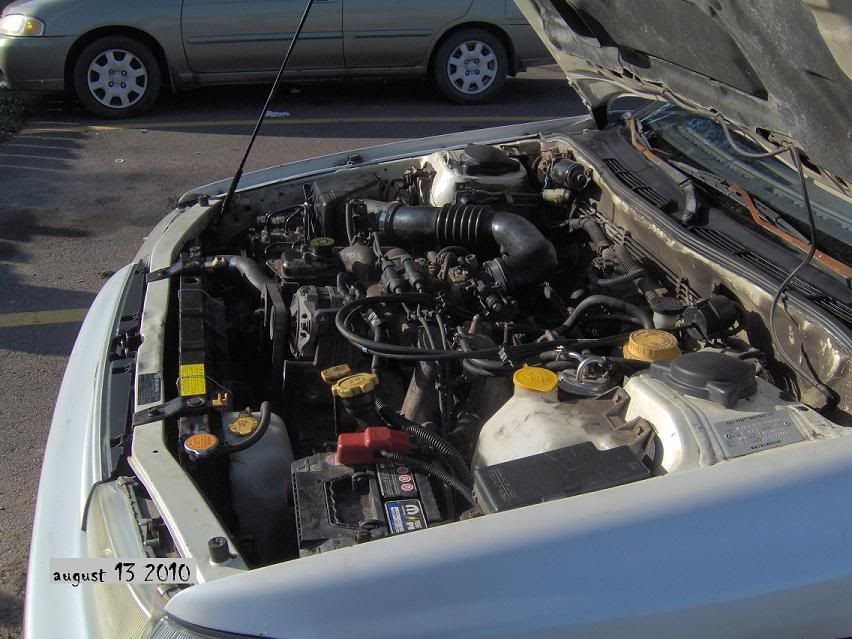
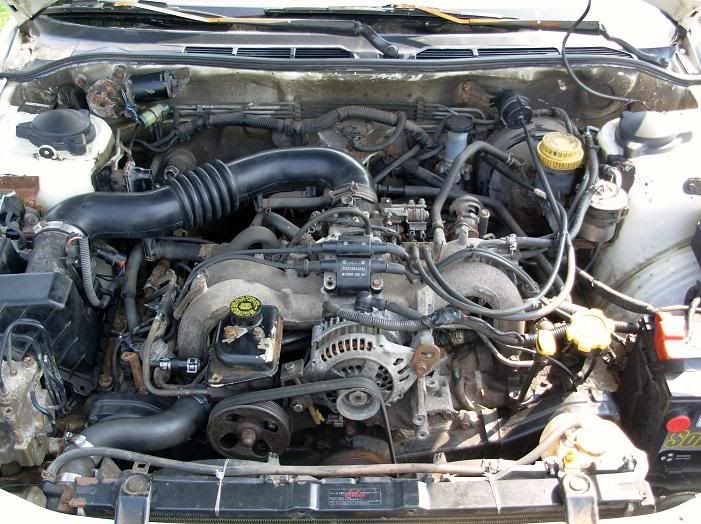
- EJ25D installed in a MY'91 turbo Chassi + ECU
I almost forgot ,, Installation is the reverse of removal - SSeriously though it not so bad
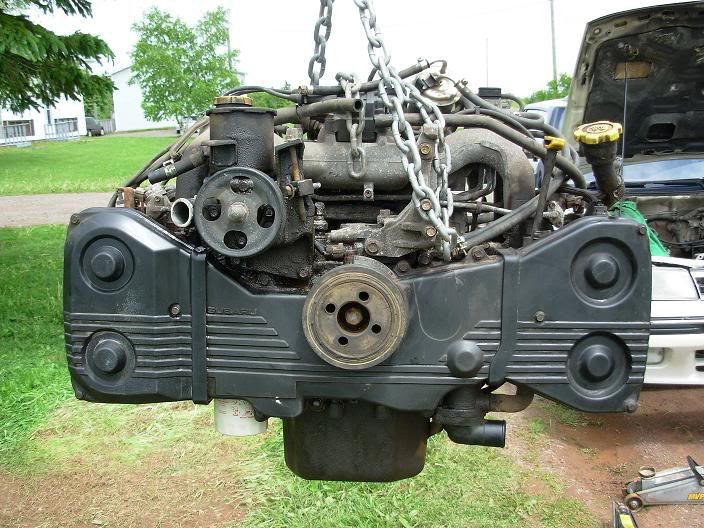
- 22T5mt items swapped onto phase 1 EJ25D engine
-
pwer steering pump
alternator
MAF
flywheel cover plate - under-side
-
22T5mt manifold items swapped onto EJ25D engine
-
22t throttle body w\c position sensor
22t idle air control valve
22t ignitor
22t purge control solenoid
-
22T5mt harness modification includes :
-
extending engine coolant temperature sensor clip to opposite side } on coolant crossover
-
extending temperature sensor clip to opposite side } on coolant crossover
-
knock sensor : switching connector style to EJ25D type, to accomidate the knock sensor on 25D
-
22t crank sensor : switching connector to EJ22t style to accomidate 22t harness
-
22t cam sensor : switching cam sensor to EJ22t style to accomidate 22t harness
-
neutral items \ universal fit both harness
-
injectors 1 2 3 4
oil pressure switch
engine coolant temperature sensor : needs harness extention
temperature sensor : needs harness extention
-
EJ25D engine items remain
-
knock sensor
crank sensor
-
EJ25D intake manifold items remain
-
injectors 1 2 3 4
vaccume \ Intake tubing
-
OTHER PARTS NEEDED TO SWITCH TO EJ25 > 5mt
***
5mt intake hoses
***
UN USED PARTS AND SENSORS ON EJ25D > auto
***
Tourque convertor
EGR valve - i created a false valve gasket and bolted the EGR Valve back on over-top the false gasket with a high temp gasket sealer + capped plumbing
EGR valve solenoid removed + capped plumbing
-
***
UN USED PARTS AND SENSORS ON EJ22T-5mt
***
Charcoal canister removed
Turbo exhaust manifold removed
-
Extra Parts Involved **
--
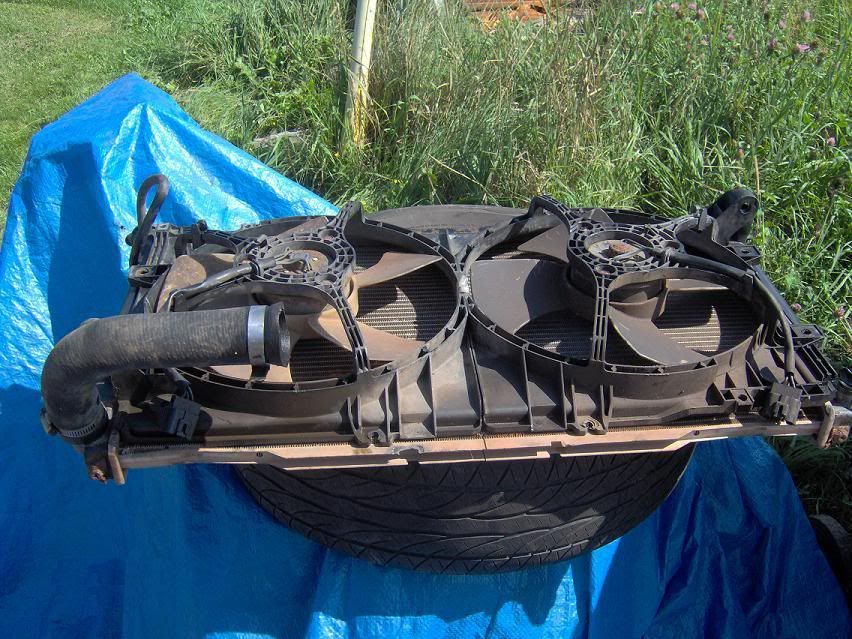
98 GT engine fans
98 GT engine coolant overflow tank
- here is a video of the 25D start-up , there is no exhaust though the car idles fine without the o2 sensor
engine start
Posted: Sun Dec 06, 2009 7:13 am
by N1446
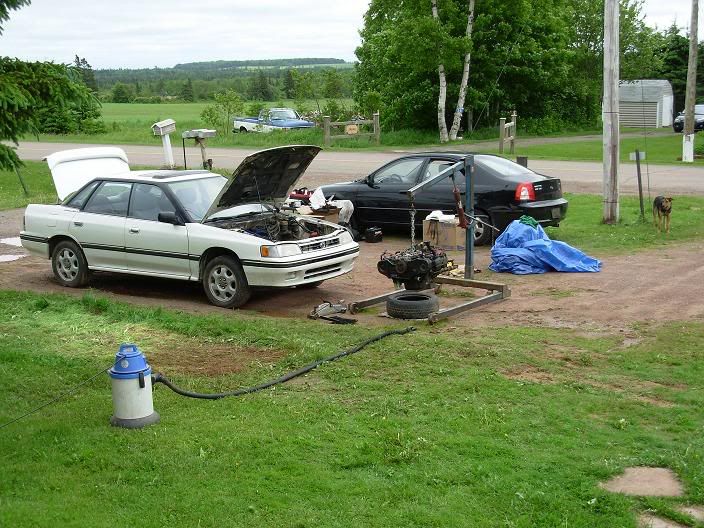
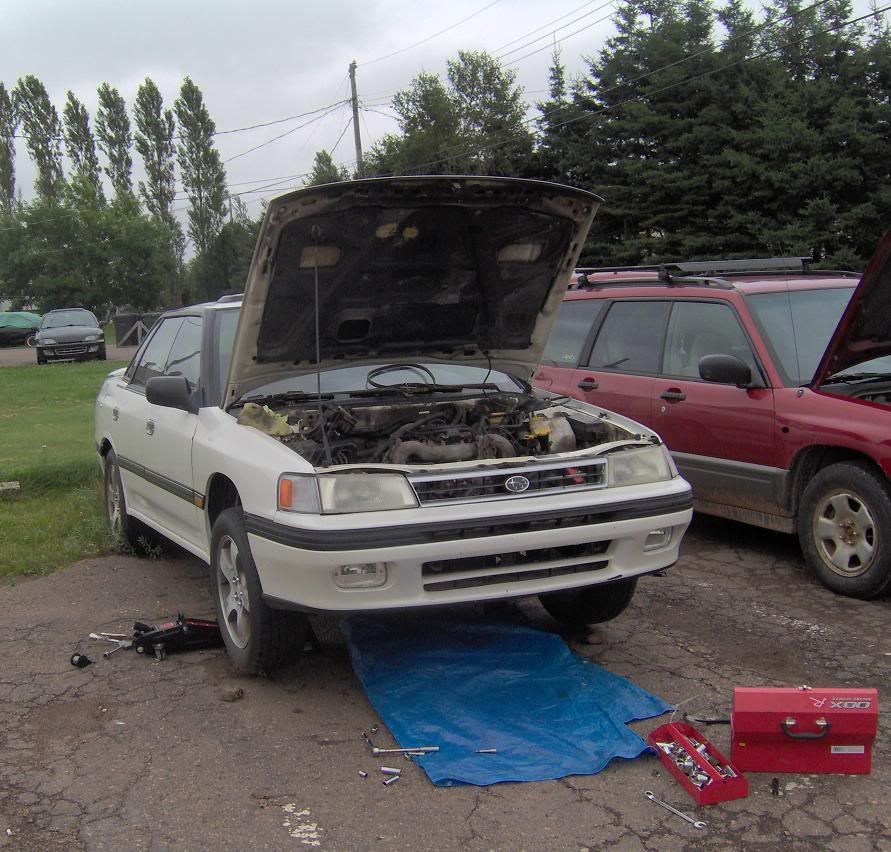
Soo this weekend between a 3000 word paper and a site report, i scurried up enough courage to pull the motor out and drop a new engine crossmember in right before work .. .. ...
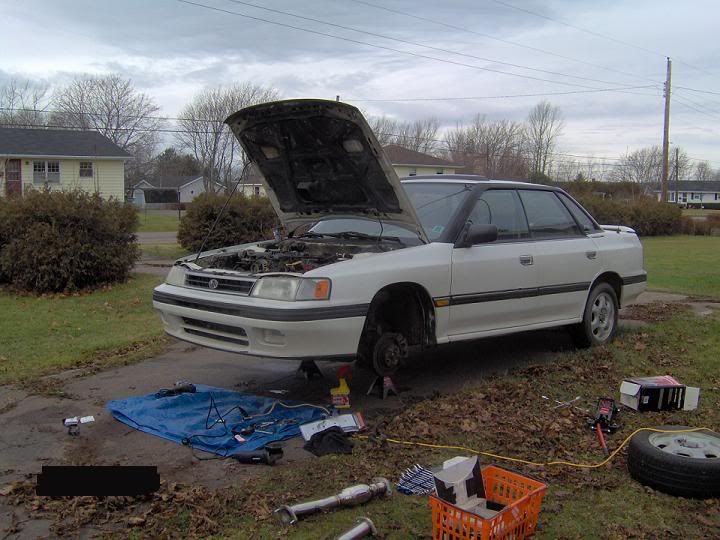
yeahh rrighttt
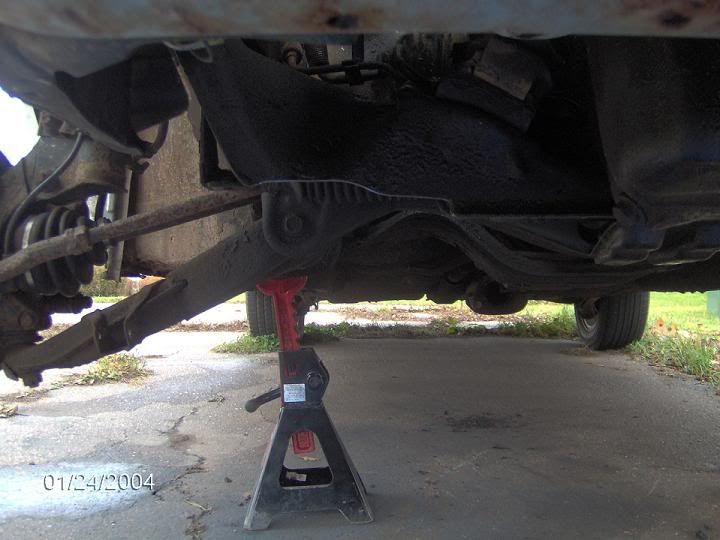
i prop'd the car up and whipped out the angle grinder and ripped out an inch off the crossmember.
may as well i just file it down a bit right ? - , and i do mean a bit
i m quite sure there is no loss of integrity here on the c-member
-
+
+

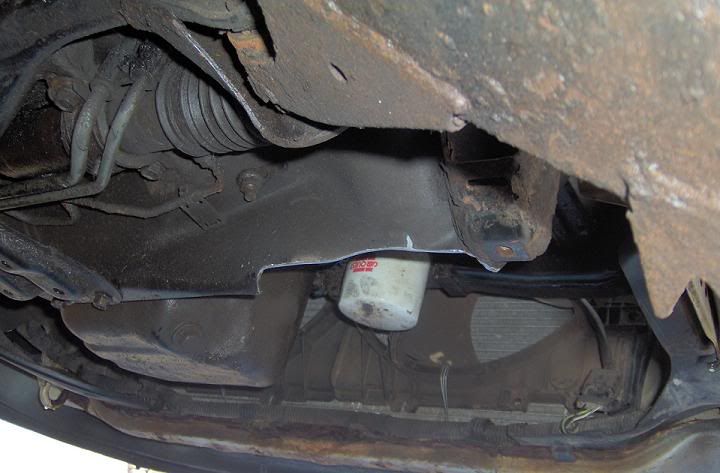
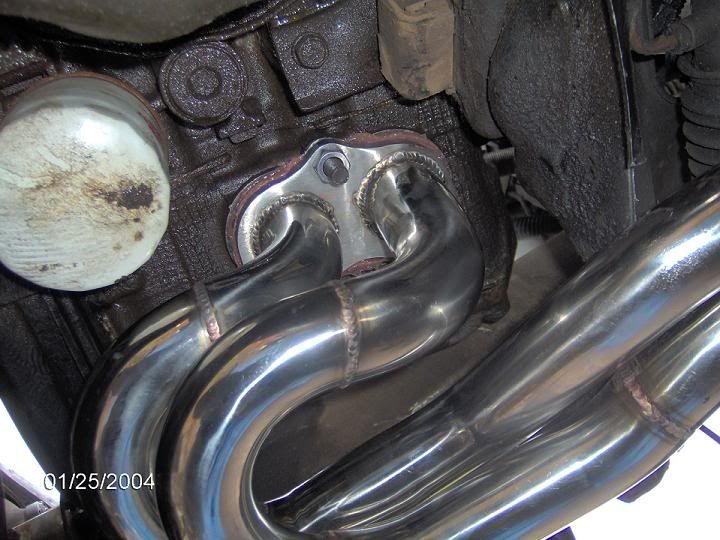
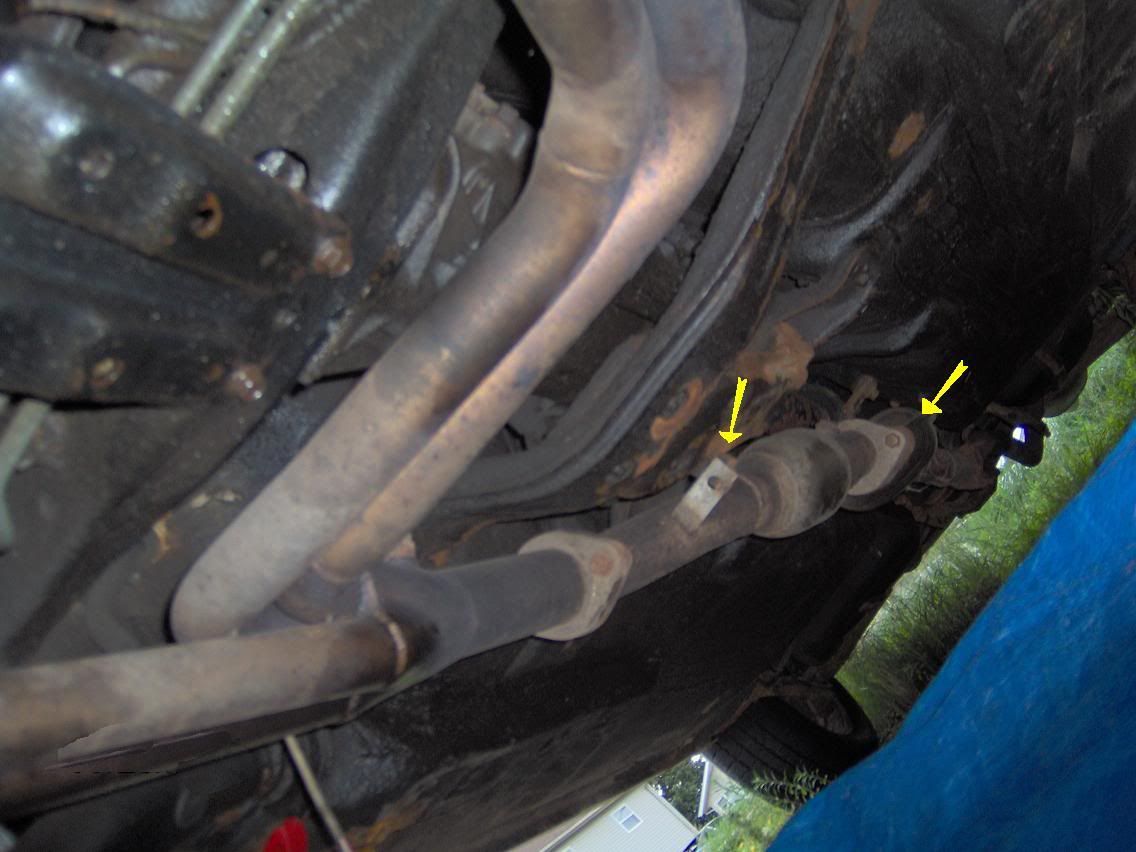
above is the exhaust installed ,
gasket maker and the gaskets that arrived with the exhaust make a great seal
-
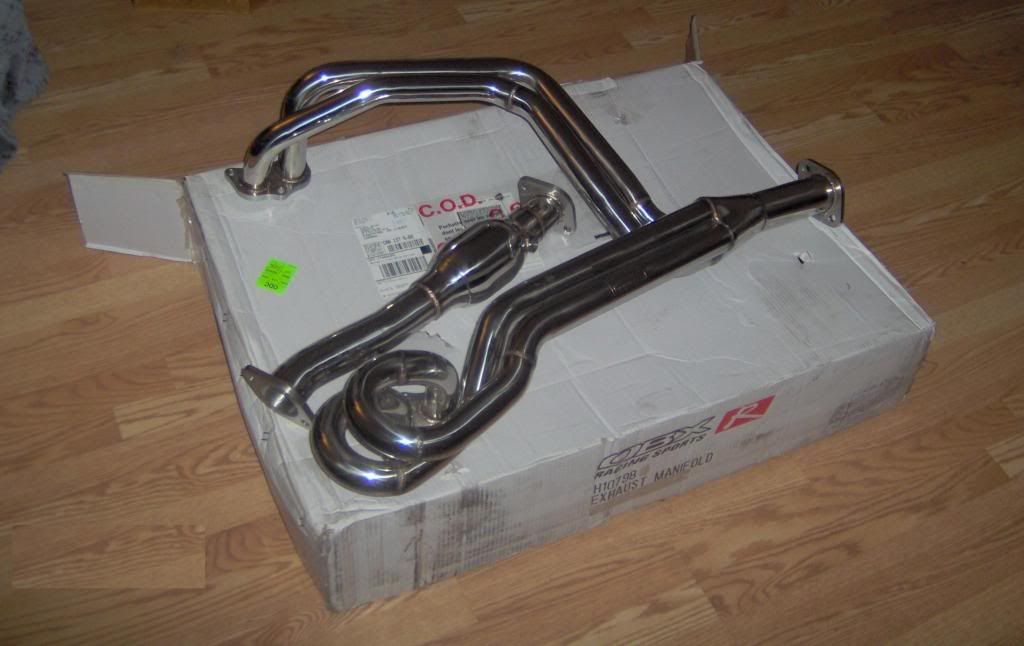
i did have to remove the front swaybar for this exhaust to fit , headers are OBX for a '98-'05 impreza 2.5 RS
not a huge deal , all this is temporary until the real motor is built
it sounds BeefY !
like chunk'i soup beefY!
next is finishing up on the rest , cut and paste sorta stuff
Posted: Wed Dec 23, 2009 5:27 am
by N1446
Vclip of 0-60, then 60-100^^
3/4 throttle
Quality is a bit rough.. the exhaust is yet to be sealed, so its a bit loud still.
next is plugs& wires
Posted: Wed Dec 23, 2009 5:14 pm
by SILINC3R
how much for those headers and do you have a part number available. thanks
Posted: Thu Dec 24, 2009 12:31 am
by N1446
part number # H10798
cost 299US on ebay right now
ebay item number # 200411172559 from seller : dialod
Posted: Thu Dec 24, 2009 3:55 am
by SubaruNation
that sounds legit!
Nice!
Posted: Sun Jan 03, 2010 11:04 pm
by SILINC3R
so you said you had to remove the sway bar, is that permanent
Posted: Mon Jan 04, 2010 6:24 am
by N1446
SILINC3R wrote:so you said you had to remove the sway bar, is that permanent
as far as i can tell yess it is permanant, i have a turbo front swaybar and the bends colide with the pipe
non-turbo may be a different story
Re: N1446' s Build Journal Post
Posted: Thu Aug 05, 2010 2:09 am
by N1446
heay again here is the latest updates on the engine "upgrade"
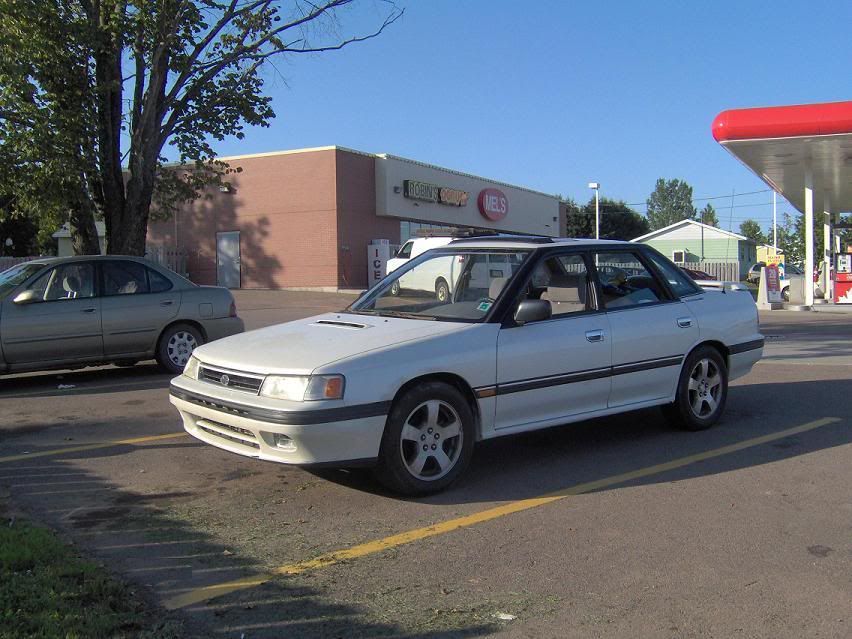
I m tearing out the current EJ25 over the next two weeks for a younger prettier 2.5 from this 98 forrester S .. the red one
over the winter the legacy over-heat and threw a rod.. yess another one
I also have some pictures of the finished exhaust after one winter, as you can see, the new headers fit to the existing chassi and also the cat-back portion is from a '98 legacy/outback, this is stock equipment on all the stock mounting hangars with a subaru mufler . IMO No easier upgrade than this for novices and a huge difference for off-the-line ie; no stumbling starts in place of the original equipment .
I' ll see if the front sway bar on the forester will fit the legacy now with the new headers -cause that would be sweet.
Re: N1446' s Build Journal Post
Posted: Mon Aug 16, 2010 6:51 am
by N1446