WRX Scoop DIY Writeup
Posted: Mon Feb 22, 2010 10:59 pm
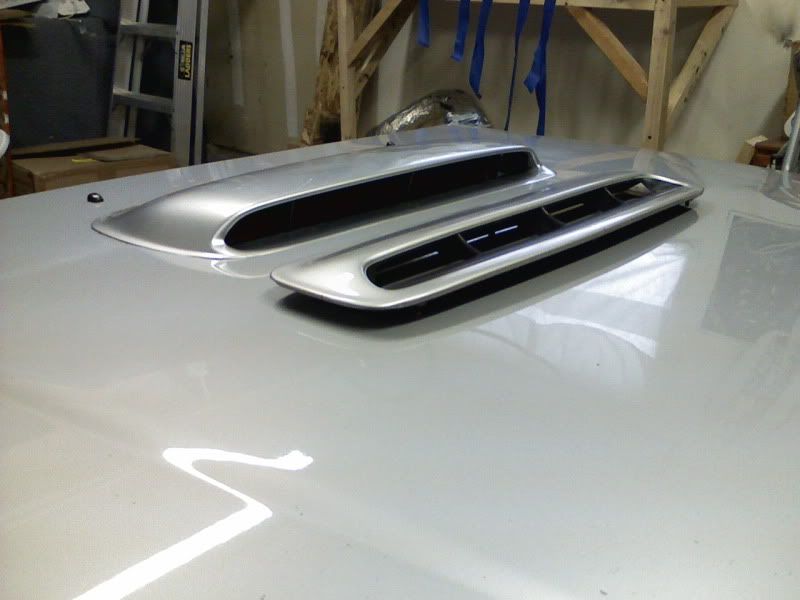
Hey Everyone. I just did my wrx scoop mod a few weeks ago and though I'd share how i did it in case anybody cares.
1. First i started by removing my hood and setting it on saw horses.
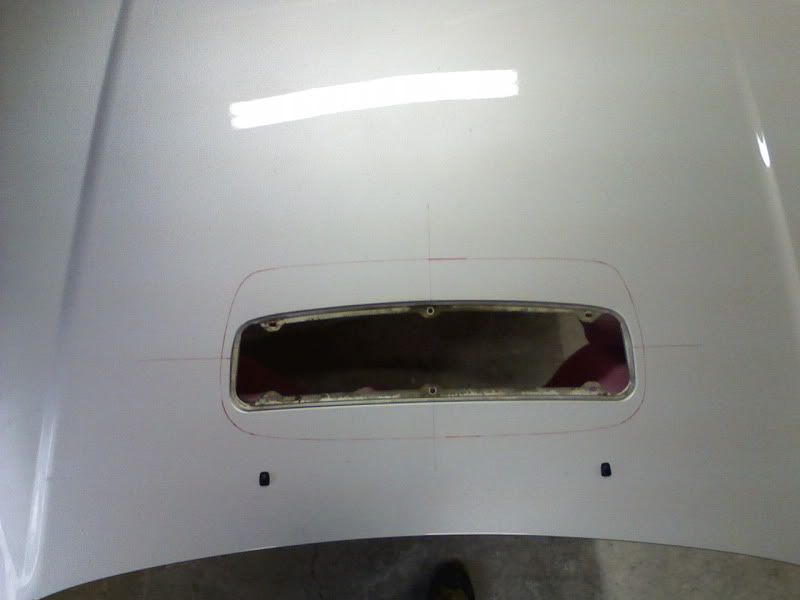
2. Next i made marks with red sharpie where the center of the current scoop was located. I went for a "cross-hair" look.
3. I put a ruler on the matching lines (the horizontal cross-hair and the vertical) and extended the sharpie so i could see them with the new scoop since its got a bigger footprint.
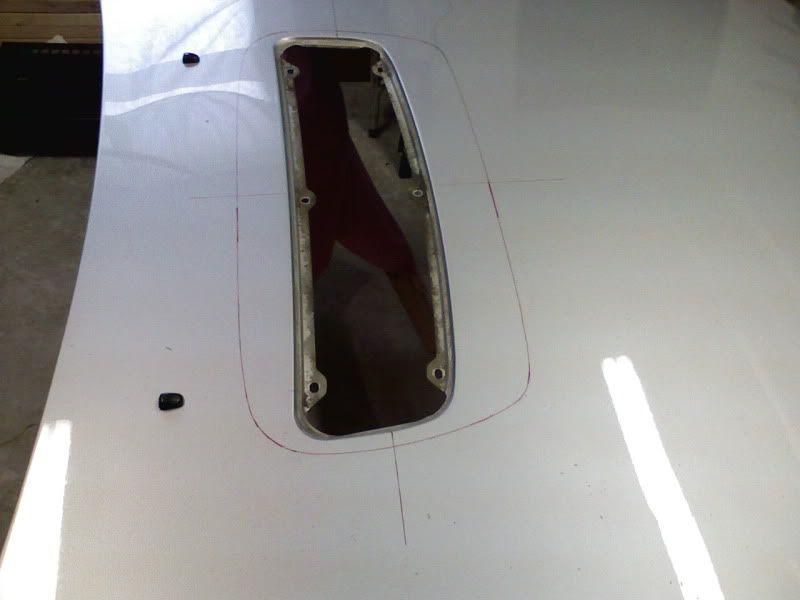
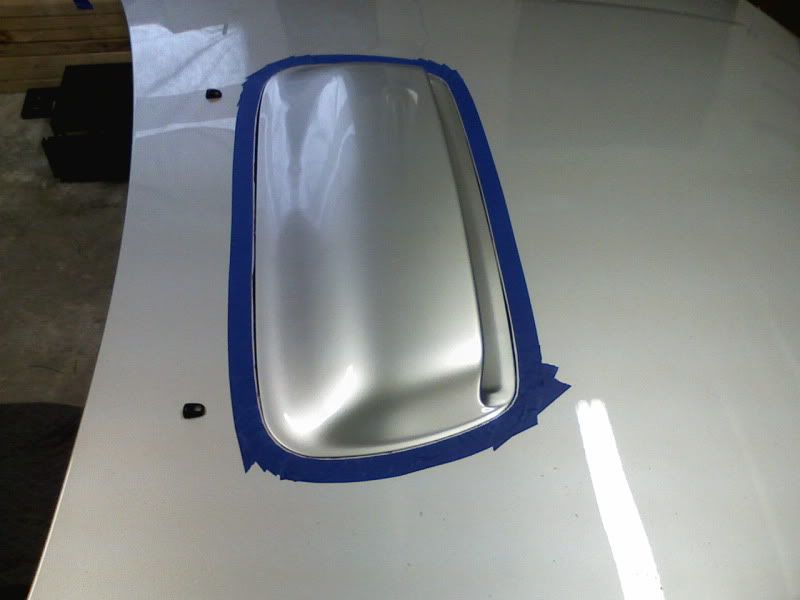
4. Once i got the lines to match the center of the new scoop, i traced the new scoop on to my hood. (i had to remover wrx hardware so scoop could sit flat)
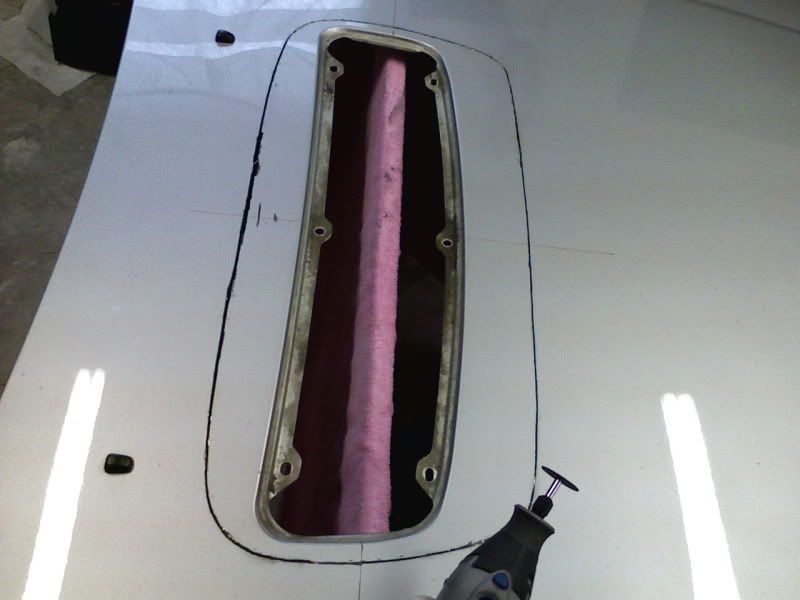
5. Went and bought me a Dremel since my first air tool didn't do the job. (you can see in the picture the first 6" of the cut is thicker. Dremel cut was much nicer.)
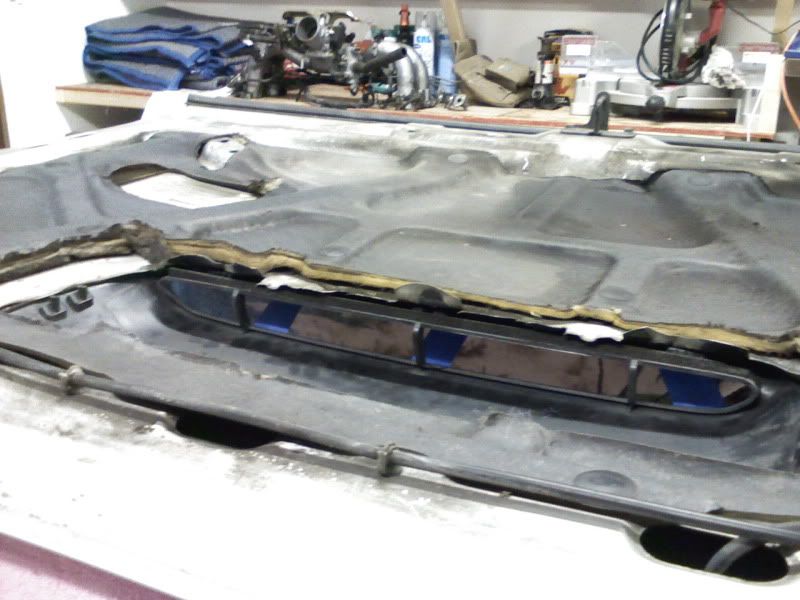
6. Proceeded to cut carefully along my sharpie. Make sure not to cut trough both layers of sheet metal. You'll need the underside to bolt the scoop to.
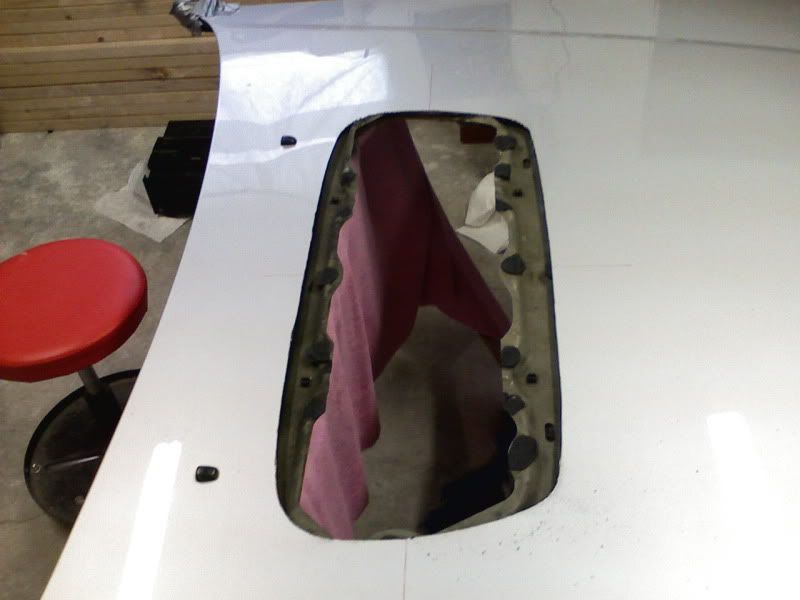
7. I "dry set" the scoop on the hood and got underneath it it to see where the new scoop mounting locations met the sheet metal and i made some little marks on each side of each hole. So i basically wanted 1" tabbies.
8. I took the scoop off and cut little 1" tabs where each scoop mounting hole was going to be. And bent them so the scoop would sit flush on the hood. (do not cut tabs all the way off of course)
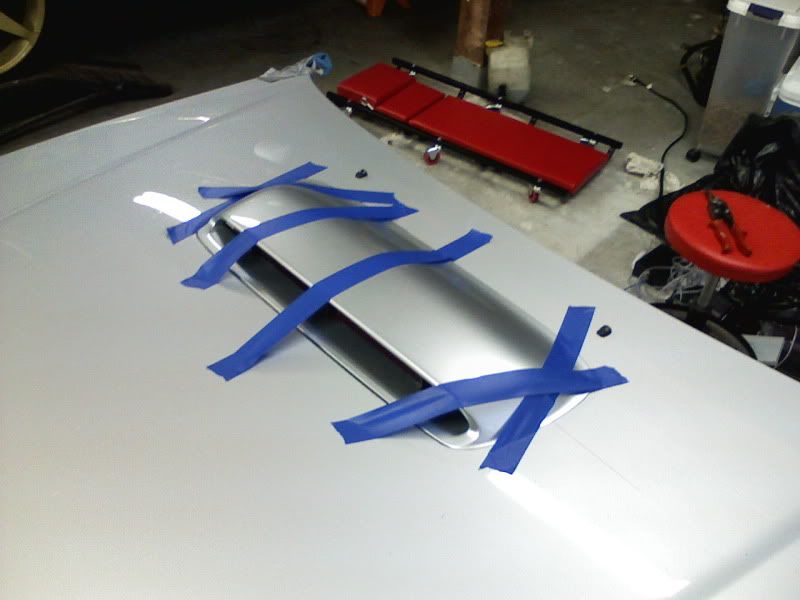
9. I then set the scoop in the hole and taped it to the hood
10. Sitting under the hood again, i checked "high spots" in the sheet metal that was obstructing the scoop sitting flush.
11. I hammered and bent all the high spots.
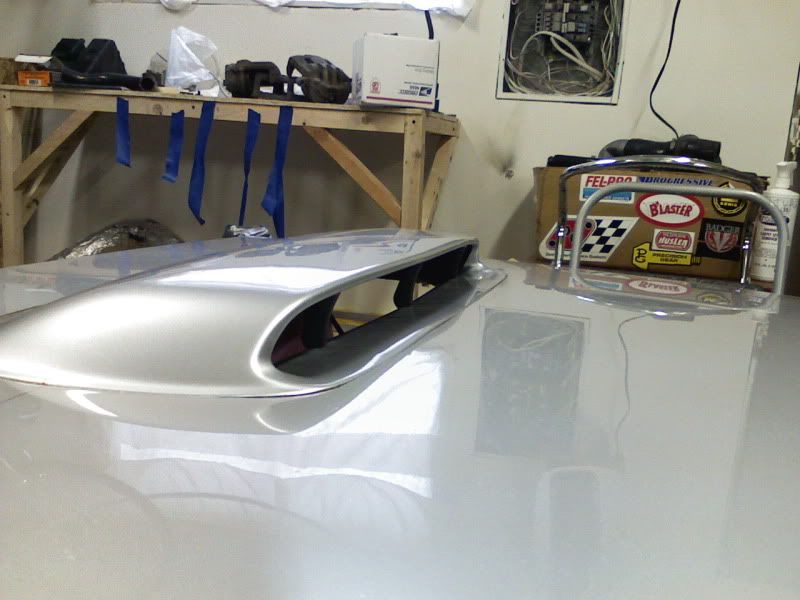
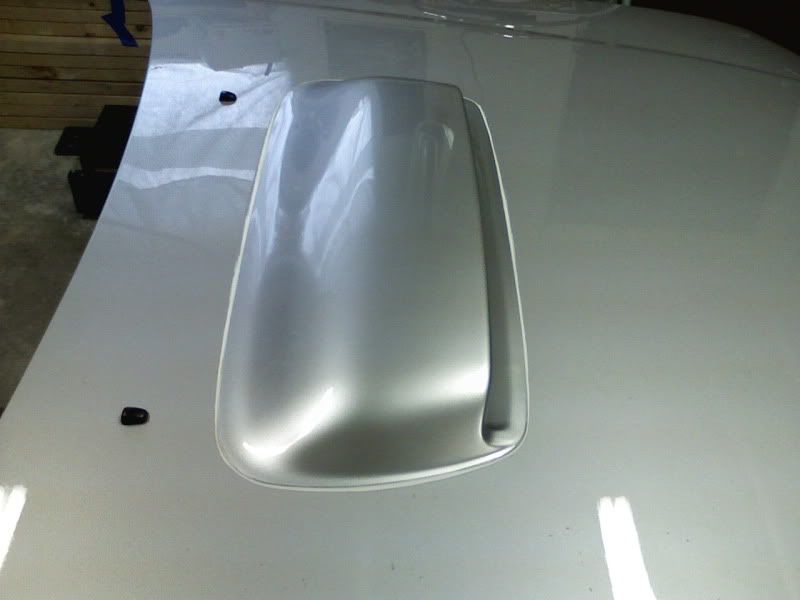
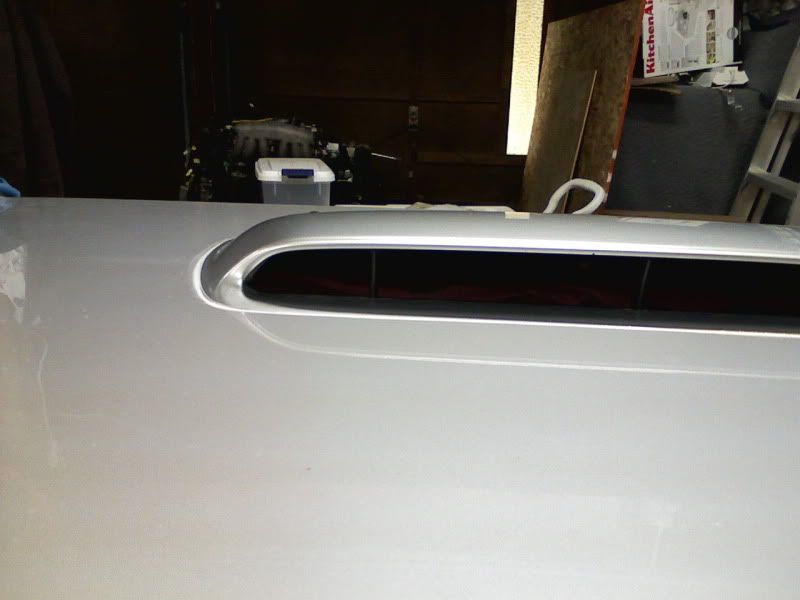
12. After all the tweaking and hammering, the scoop sat nicely.
13. I eyeballed the new scoop mounting locations and drilled 1/4"- 5/16" holes in the tabbies so the scoop studs could pass trough the holes.
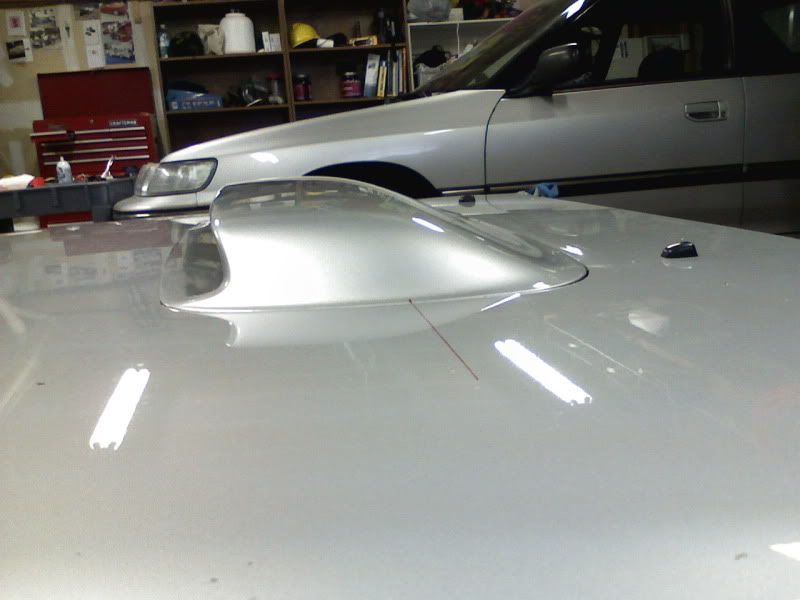
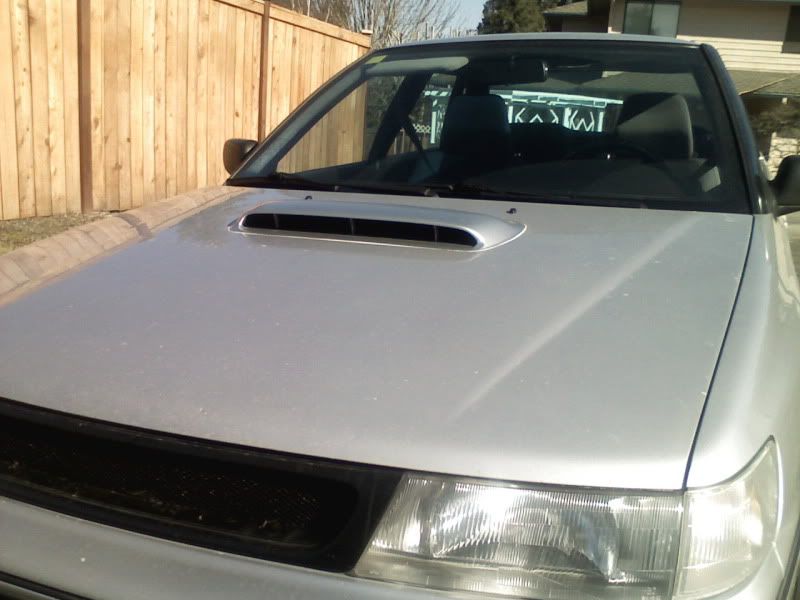
14. Put the nuts on the studs and voila...
15. I masked the joint of the scoop and latex caulked it for now. I'm currently looking for ideas on some kind of body filler or different caulking that will hold up to the elements.
1. First i started by removing my hood and setting it on saw horses.
2. Next i made marks with red sharpie where the center of the current scoop was located. I went for a "cross-hair" look.
3. I put a ruler on the matching lines (the horizontal cross-hair and the vertical) and extended the sharpie so i could see them with the new scoop since its got a bigger footprint.
4. Once i got the lines to match the center of the new scoop, i traced the new scoop on to my hood. (i had to remover wrx hardware so scoop could sit flat)
5. Went and bought me a Dremel since my first air tool didn't do the job. (you can see in the picture the first 6" of the cut is thicker. Dremel cut was much nicer.)
6. Proceeded to cut carefully along my sharpie. Make sure not to cut trough both layers of sheet metal. You'll need the underside to bolt the scoop to.
7. I "dry set" the scoop on the hood and got underneath it it to see where the new scoop mounting locations met the sheet metal and i made some little marks on each side of each hole. So i basically wanted 1" tabbies.
8. I took the scoop off and cut little 1" tabs where each scoop mounting hole was going to be. And bent them so the scoop would sit flush on the hood. (do not cut tabs all the way off of course)
9. I then set the scoop in the hole and taped it to the hood
10. Sitting under the hood again, i checked "high spots" in the sheet metal that was obstructing the scoop sitting flush.
11. I hammered and bent all the high spots.
12. After all the tweaking and hammering, the scoop sat nicely.
13. I eyeballed the new scoop mounting locations and drilled 1/4"- 5/16" holes in the tabbies so the scoop studs could pass trough the holes.
14. Put the nuts on the studs and voila...
15. I masked the joint of the scoop and latex caulked it for now. I'm currently looking for ideas on some kind of body filler or different caulking that will hold up to the elements.