How to paint a barge part in 105 easy steps!
Posted: Tue Sep 14, 2010 5:28 pm
Yes... this is how I make a living.
The following is a lighthearted walk through the process of painting your average barge part. In this case the Tankerman's House. (Its the house where the Tankerman lives! Duh!)
Step one. Make a barge part
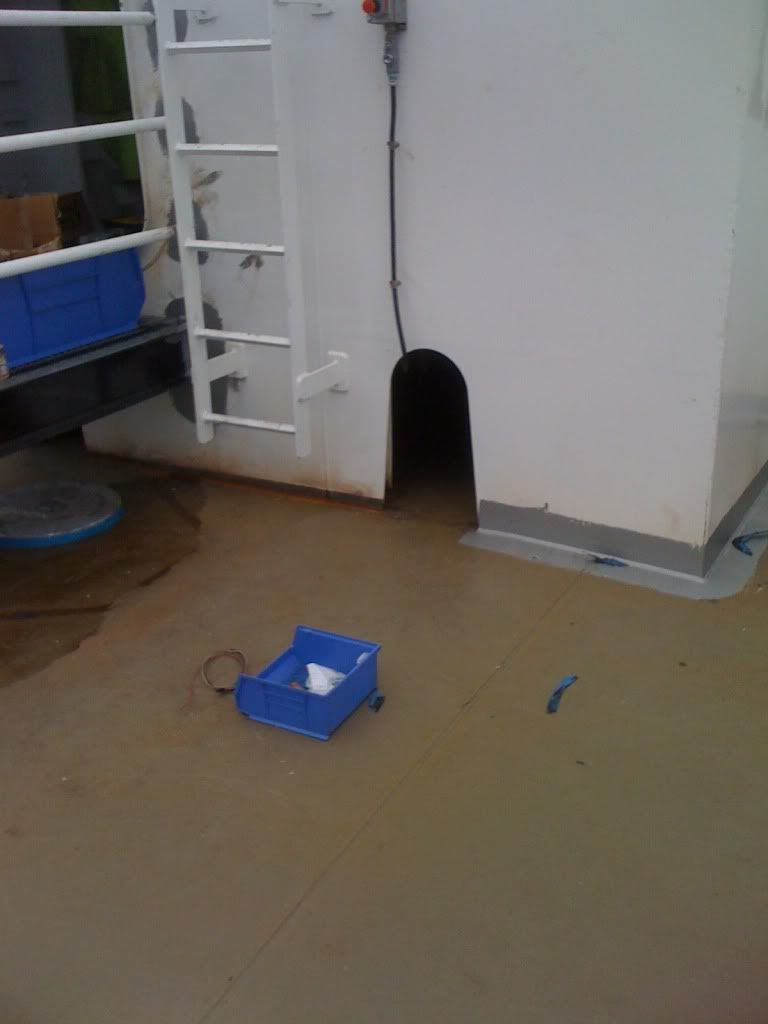
Step two. blow off, preasure wash, Wirebrush rust,mask off pre-painted parts and weld-zones
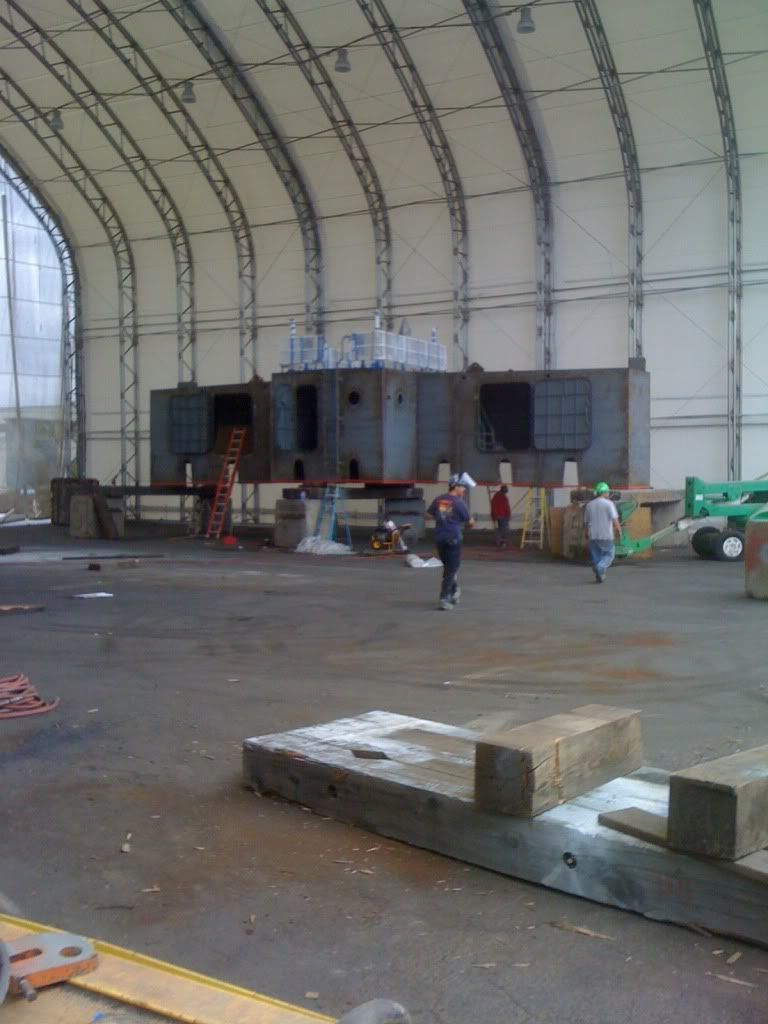
Step three. Inspector checks clean-ness and finds Bad welds/unwelded pieces and or pieces welded together that arent supposed to be and calls the welders back.
Steps four through ten. repeat steps two and three until the Buildway supervisor starts getting tetchy about deadlines.
Step eleven. Apply one coat of Bronze Epoxy 10-12 mils (thousandths of an inch) wet thickness.

Step Twelve Apply one coat of Aluminum Epoxy 10-12 mills wet thickness (note that there is no difference between the bronze and aluminum coatings. Their just there so the inspector can tell we actually applied another coat instead of just saying we did).
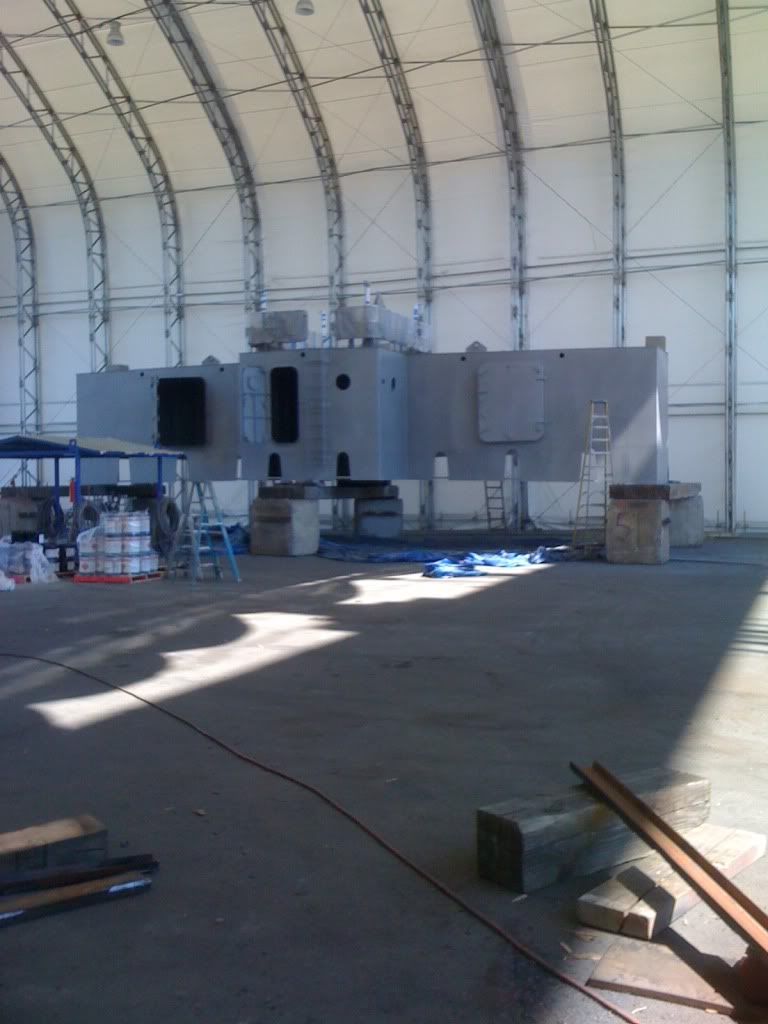
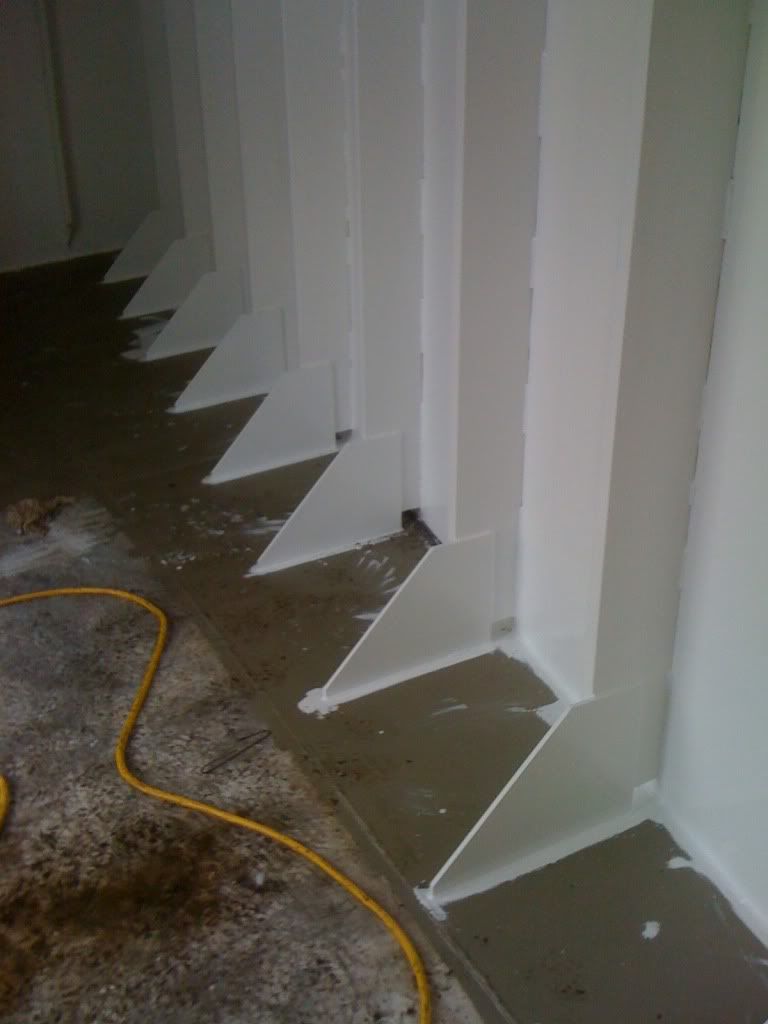
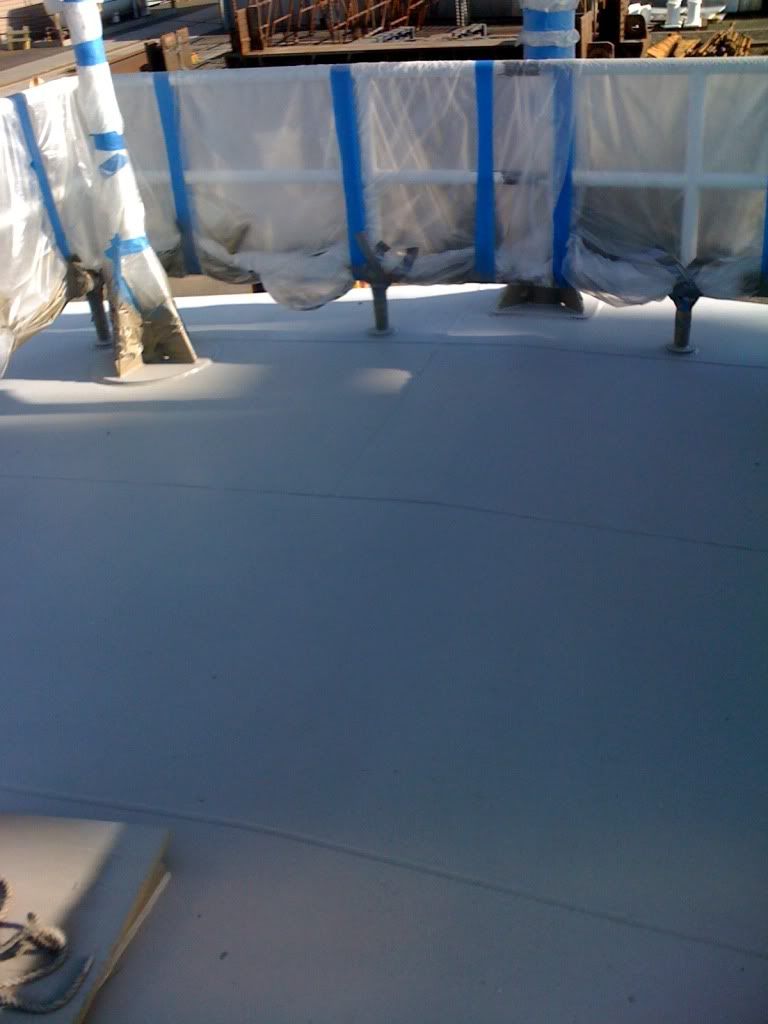
Steps thirteen & fourteen. Apply two coats white Polyurethane 1-2 mills wet thickness,
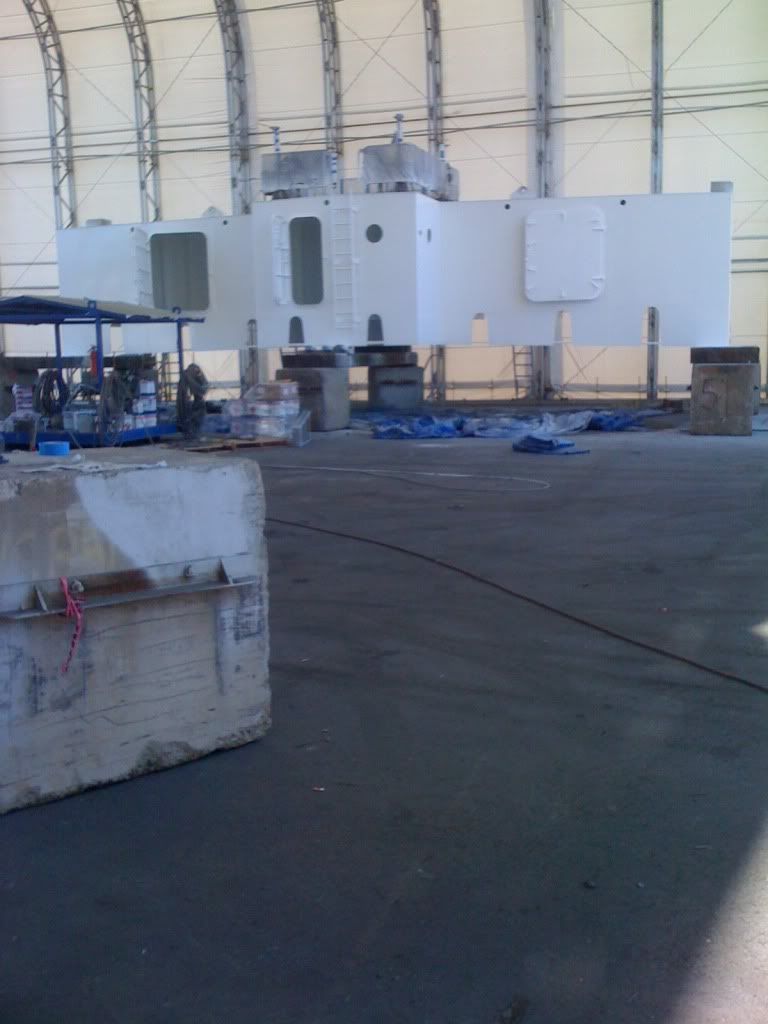
Step Fifteen. Apply one coat, by hand, black Epoxy to roof walkway. (note that there is no difference between the black and the bronze and aluminum coatings. Their just there so the inspector can tell we actually applied another coat instead of just saying we did).
Step sixteen. Throw sand on Black Epoxy in the Roof walkway. This is called "Non-skid" its a safety feature and we charge extra for it.
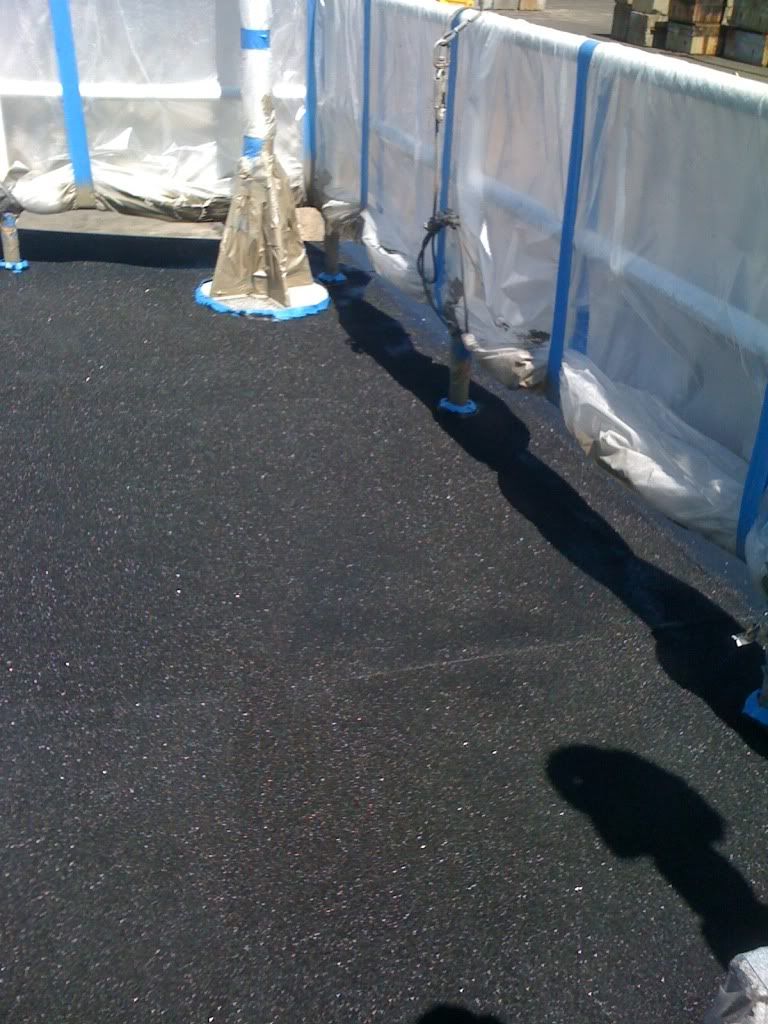
Step Seventeen. Blow excess sand (read "sand that didnt stick to the paint") off of part.
Step eighteen. Apply one coat, again by hand, black Polyurethane to roof and roof walkway.
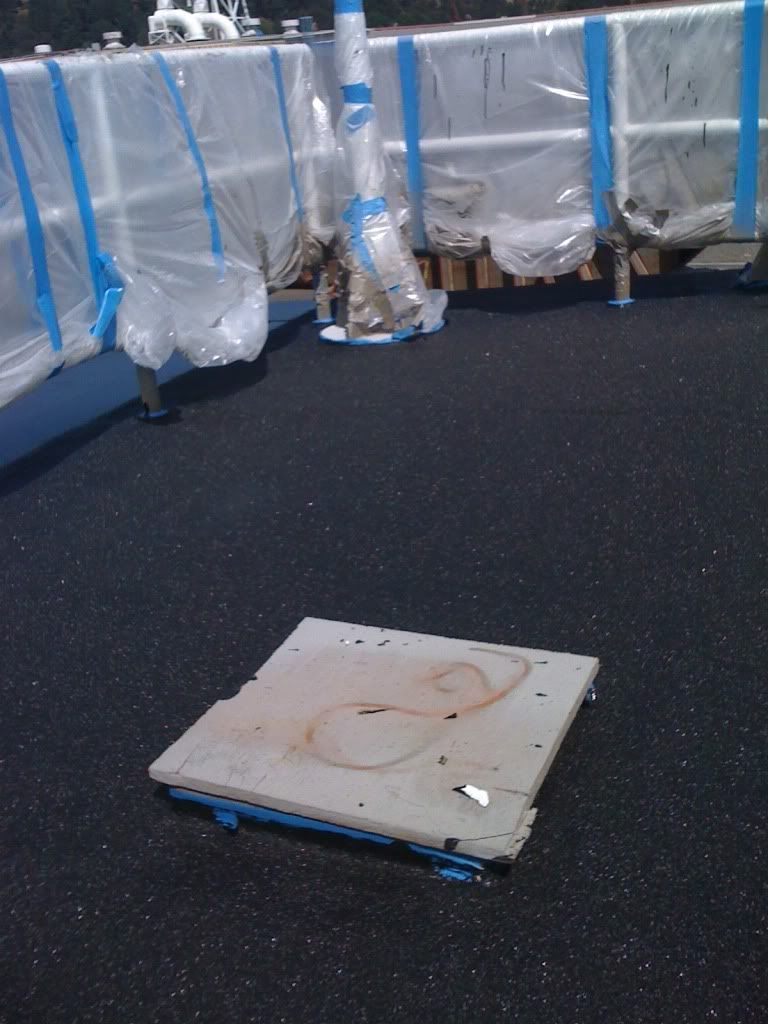
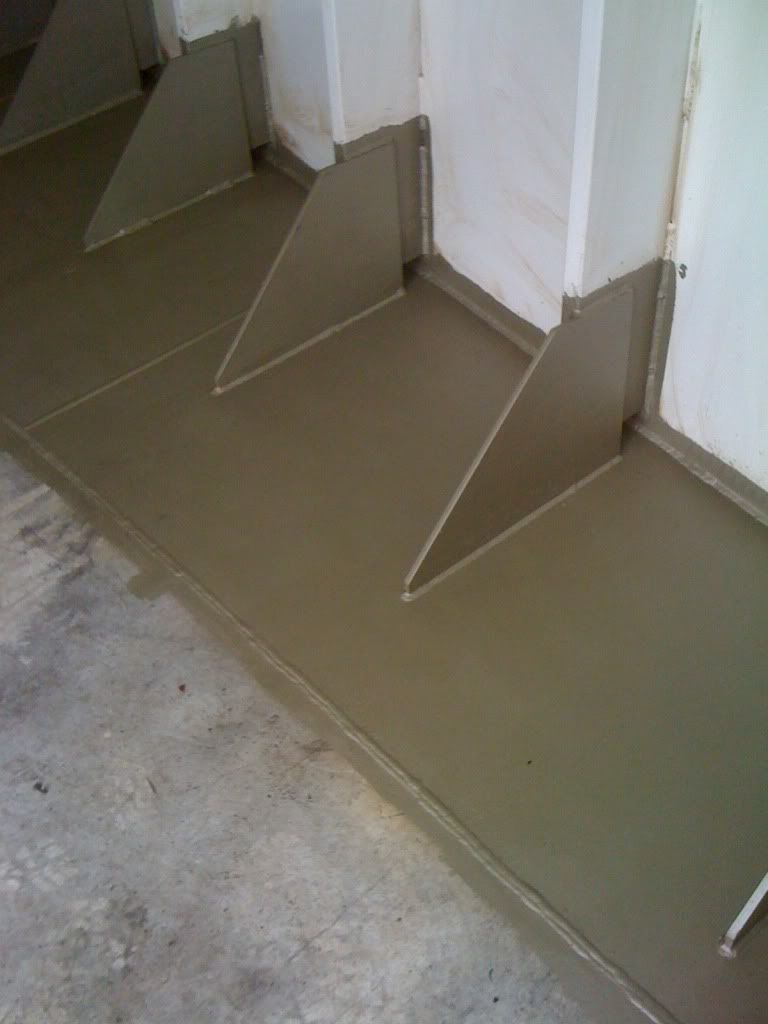
Steps nineteen through twenty seven. Bits, parts, and brackets that touch the floor receive one coat black Polyurethane and have an approximately one inch boarder cut around them (For overlap when the floor is painted).
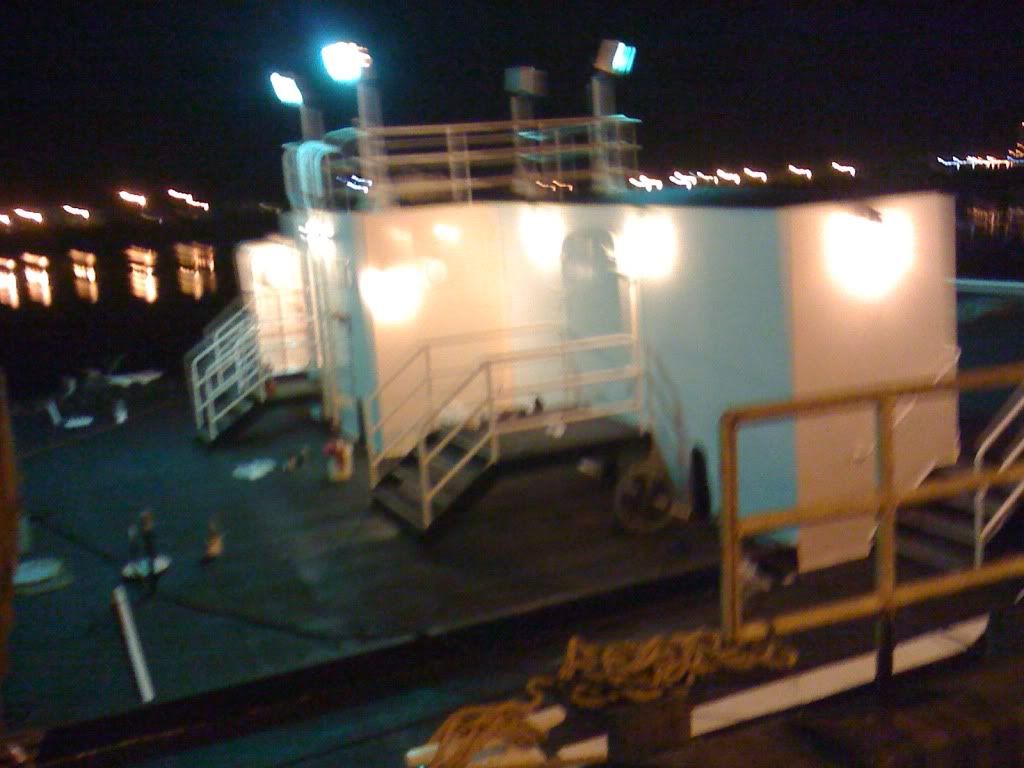
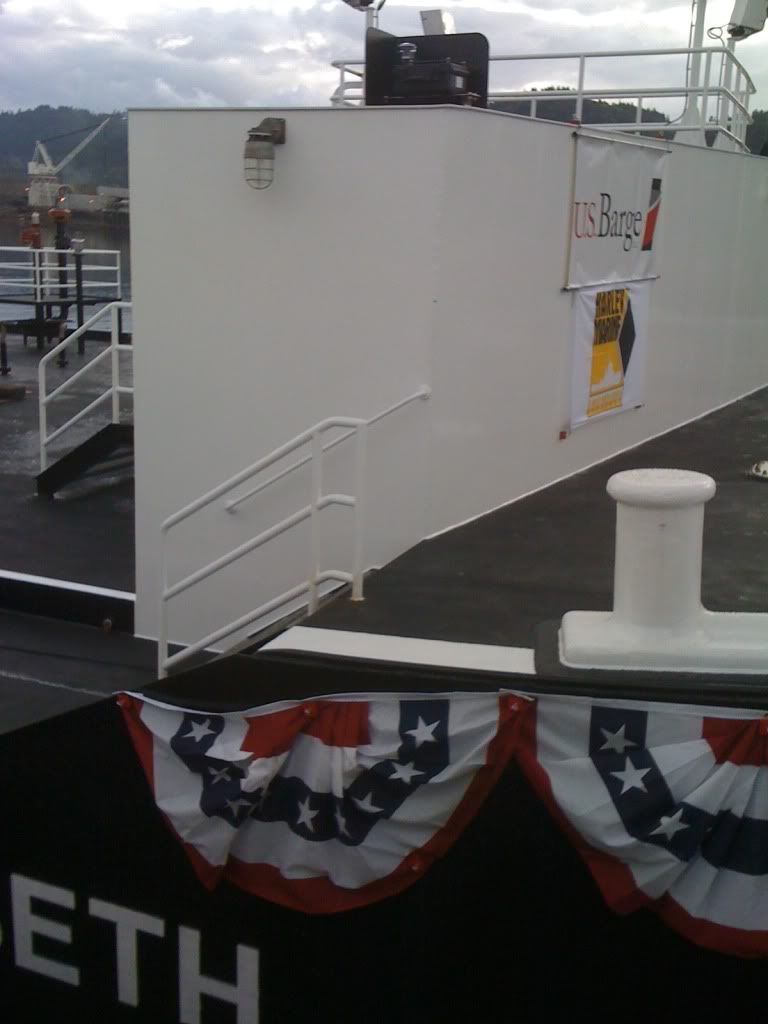
Step 28 Heavy lift crew places the Tankerman's House atop the barge.
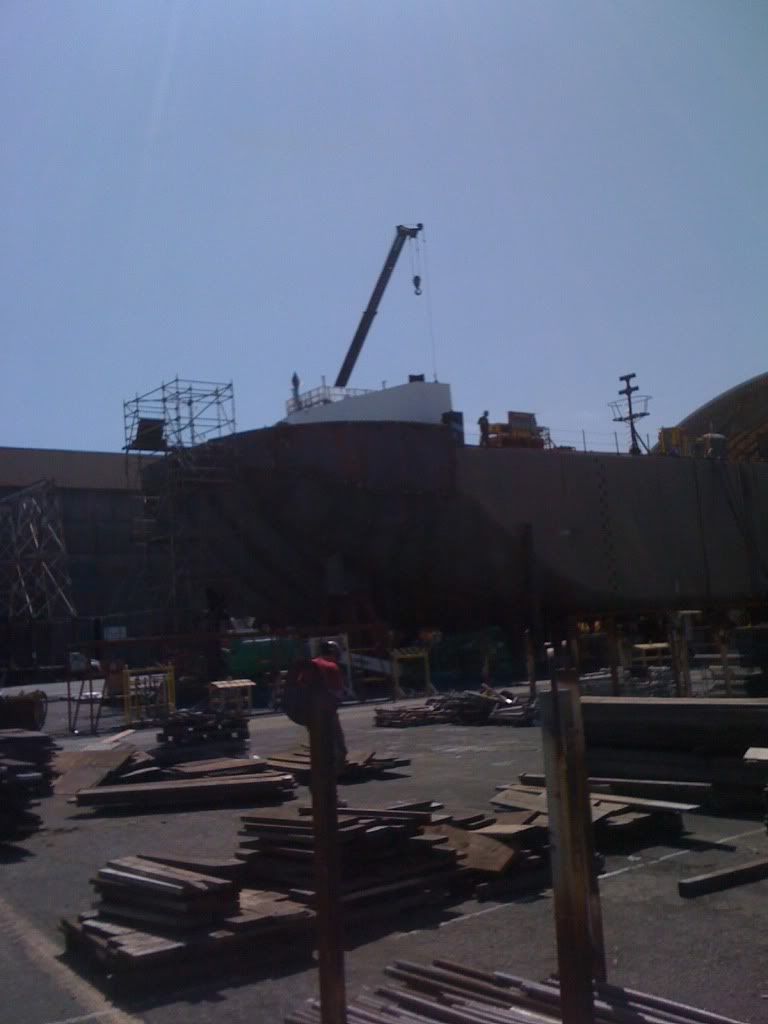
Step 29. The Tankerman's House is placed on the deck, the welders then trim the bottom for a precision fit!
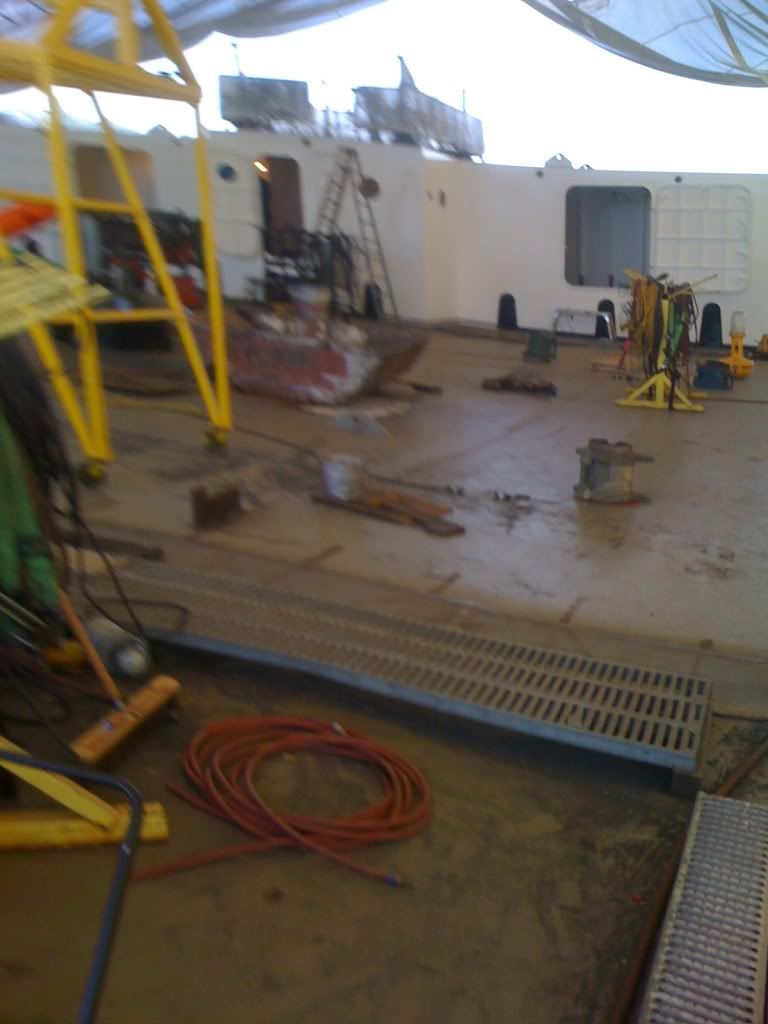
steps 30 through 57. The tankerman's House is welded to the deck.
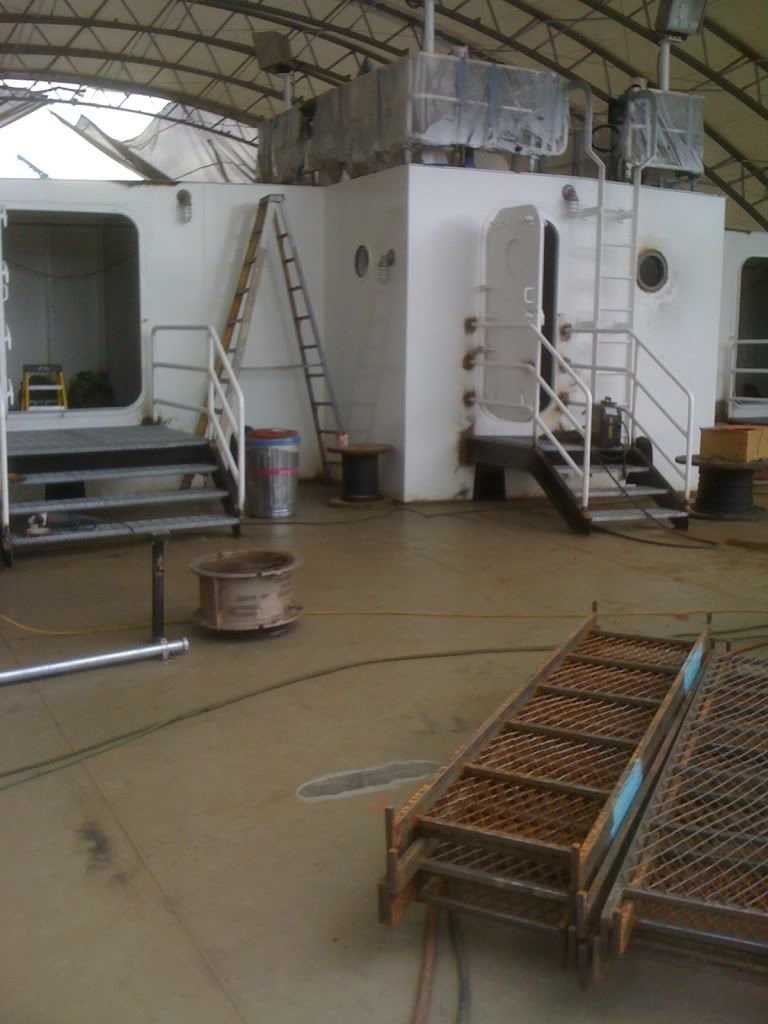
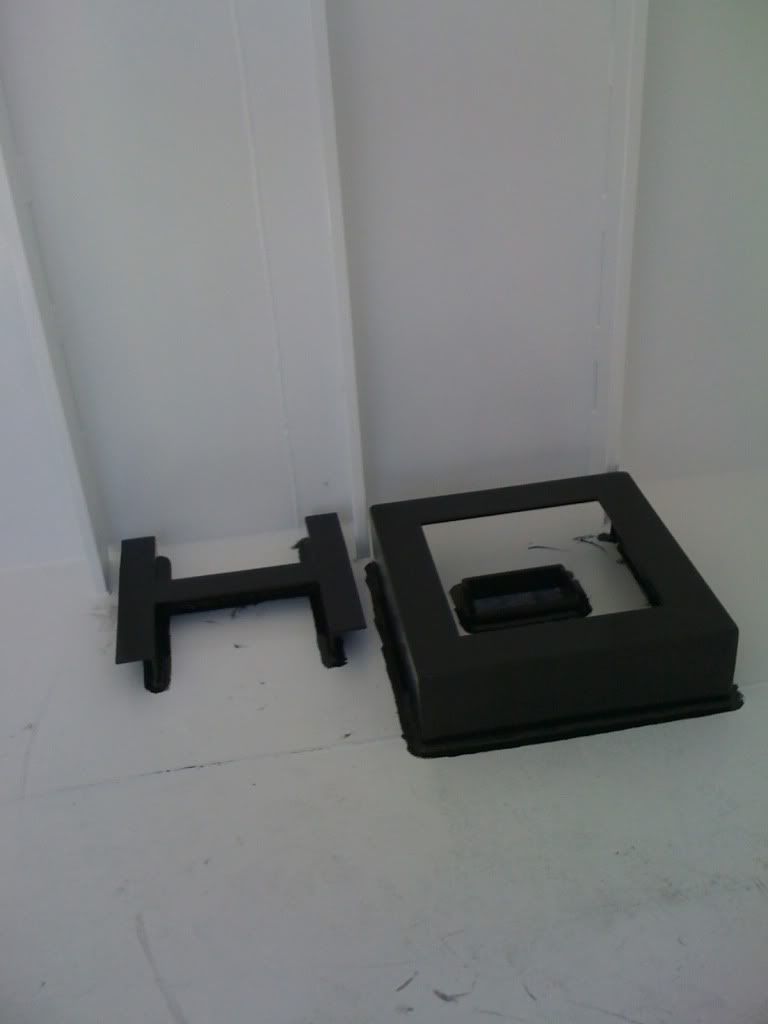
The Outfitters are called in and deflowerment begins! Bits

parts

Gizzmos and dohickys are all installed over the fresh paint job.
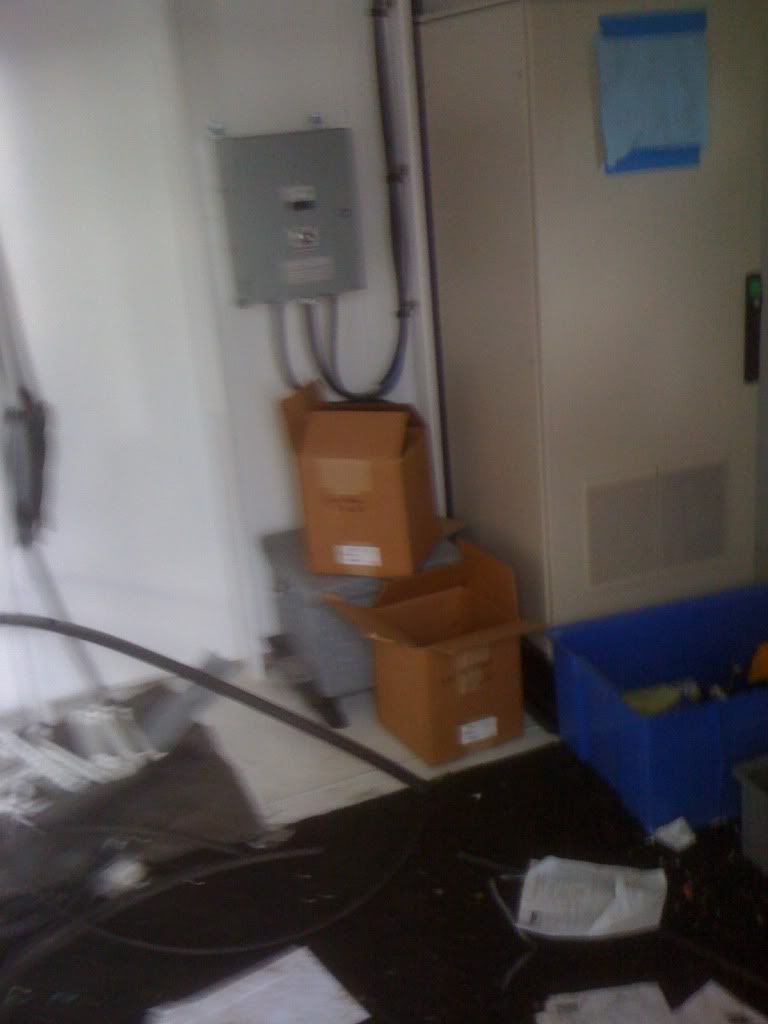
Welders are by nature excitable creatures that will sometimes set things on fire for no apparent reason.
(to be continued?)
The following is a lighthearted walk through the process of painting your average barge part. In this case the Tankerman's House. (Its the house where the Tankerman lives! Duh!)
Step one. Make a barge part
Step two. blow off, preasure wash, Wirebrush rust,mask off pre-painted parts and weld-zones
Step three. Inspector checks clean-ness and finds Bad welds/unwelded pieces and or pieces welded together that arent supposed to be and calls the welders back.
Steps four through ten. repeat steps two and three until the Buildway supervisor starts getting tetchy about deadlines.
Step eleven. Apply one coat of Bronze Epoxy 10-12 mils (thousandths of an inch) wet thickness.
Step Twelve Apply one coat of Aluminum Epoxy 10-12 mills wet thickness (note that there is no difference between the bronze and aluminum coatings. Their just there so the inspector can tell we actually applied another coat instead of just saying we did).
Steps thirteen & fourteen. Apply two coats white Polyurethane 1-2 mills wet thickness,
Step Fifteen. Apply one coat, by hand, black Epoxy to roof walkway. (note that there is no difference between the black and the bronze and aluminum coatings. Their just there so the inspector can tell we actually applied another coat instead of just saying we did).
Step sixteen. Throw sand on Black Epoxy in the Roof walkway. This is called "Non-skid" its a safety feature and we charge extra for it.
Step Seventeen. Blow excess sand (read "sand that didnt stick to the paint") off of part.
Step eighteen. Apply one coat, again by hand, black Polyurethane to roof and roof walkway.
Steps nineteen through twenty seven. Bits, parts, and brackets that touch the floor receive one coat black Polyurethane and have an approximately one inch boarder cut around them (For overlap when the floor is painted).
Step 28 Heavy lift crew places the Tankerman's House atop the barge.
Step 29. The Tankerman's House is placed on the deck, the welders then trim the bottom for a precision fit!
steps 30 through 57. The tankerman's House is welded to the deck.
The Outfitters are called in and deflowerment begins! Bits
parts
Gizzmos and dohickys are all installed over the fresh paint job.
Welders are by nature excitable creatures that will sometimes set things on fire for no apparent reason.
(to be continued?)
 Cool job!