Carbon Fiber Sunroof Replacement Instructions
Posted: Tue Apr 26, 2011 8:04 pm
This thread is meant to describe how you can install the carbon fiber sunroof replacement panels that I am manufacturing. This is meant to be a guide and is not the only way to install one of these items.
There are two separate ways to replace the stock sunroof glass. The first is to remove only the glass and maintain all the factory trays, sliding mechanisims, etc. This method allows the sunroof to function as before.
The second method removes all the factory mounting hardware and permantly mounts the carbon fiber replacment panel to the chassis.
Currently I am providing instructions only on the second method. I will add information on the first method at a later date as needed. This thread is a living document so I will be updating the first post with additional information and pictures as needed.
Please feel free to ask questions regarding my instructions or other approaches to the installation.
*Safety Note* Carbon Fiber and Fiberglass dust can cause skin, eye, and respiratory irritation. Latex gloves, dust mask, and safety goggles should be used.
Tools Required
- 180 Grit Sandpaper and Sanding Block
- Measuring Tape
- Hand Drill
- 3/16” Drill Bit
- 1/16” Drill Bit
- Screwdriver
Materials Required
- 10” Length of 3/4” or 1” Aluminum Angle, 1/16” thick
- Qty 5, #10 Sheet Metal Screws, 1/2" Long
- Masking Tape
- Epoxy Putty
- RTV Silicon Sealant, color per user preference
Installation Procedure
1. Make Mounting Clips
----- Make (5) 2.0 inch long clips from the aluminum angle.
----- Drill a 3/16” hole per dimensions shown below in picture #1.
*Note* If using 3/4" angle use 0.3” instead of 0.45”.
*Note* If using 1” angle, use 0.45”.
----- File all edges smooth and clean, round over any sharp edges.
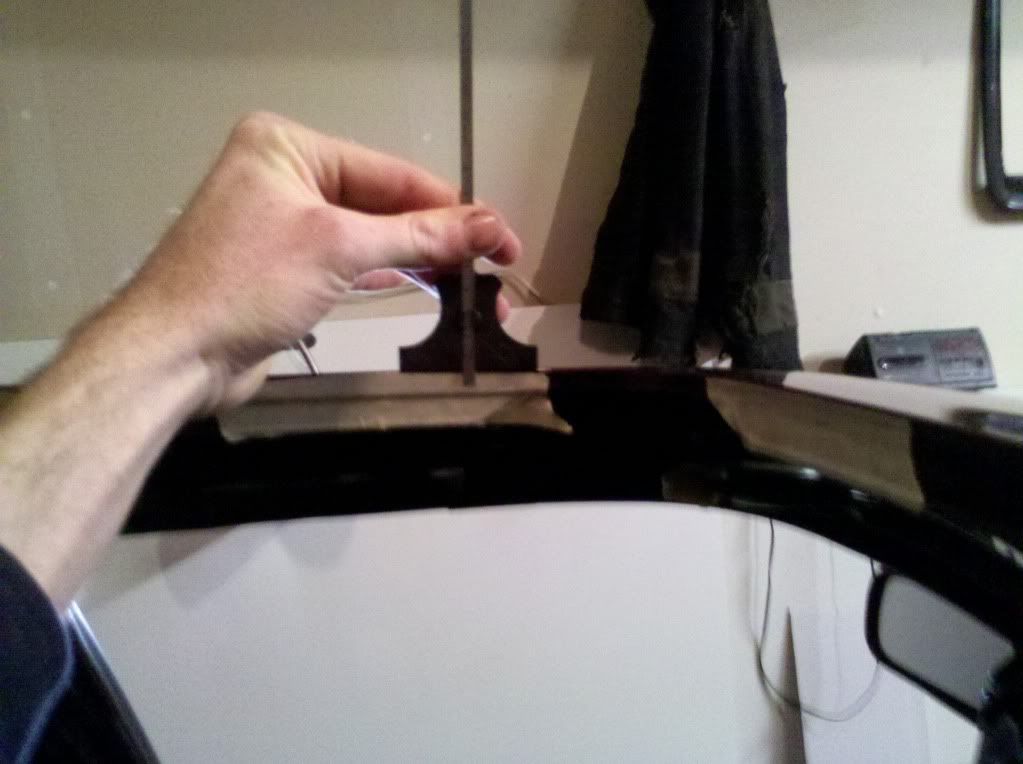
2. Locate Mounting Clips
----- Use masking tape to cover metal tab as shown in picture #2.
----- Measure down from top surface 0.2” as shown in picture #2.
*Note* The Carbon Panel is approximately 0.18” thick. You may offset the piece as far below the top surface per user preference. The 0.2” is merely a base recommendation as every car enthusiast has different aesthetic criteria.
*Note* You should make several small marks as the surface of the roof curves front to back and side to side so drawing a straight line from one edge of the metal tab to the other will not work effectively.
----- Carefully clamp the Mounting Clip to the metal tab lining up the top edge to the marks you just made.
----- Install the Mounting Clips at the front and rear edge of the side metal tabs. Exact location is not critical. I use the tangent of the radius on the metal tab for my reference.
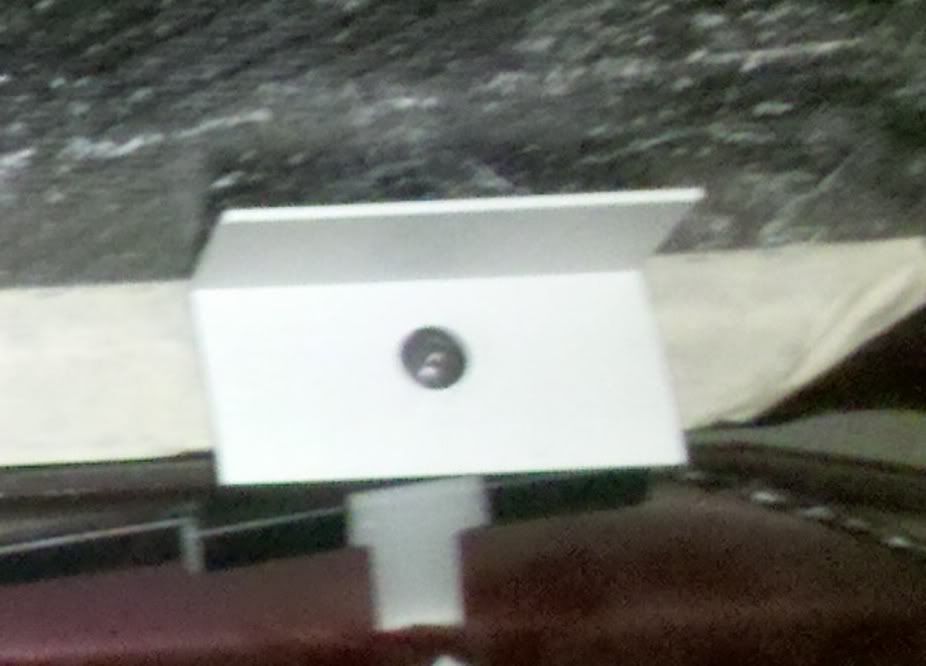
----- Install a single Mounting Clip in the center of the front Metal Tab as shown in Picture #3.
----- Mark the center of the hole on each Mounting Clip.
*Note* Make sure you label the position of each Mounting Clip to make sure everything lines up correctly upon final installation.
3. Install Mounting Clips
----- Drill a 1/16” hole at the marks you just made for the Mounting Clip.
----- Attach Mounting Clips to the metal tabs using #10 sheet metal screws as shown in Picture #4.
*Note* Ensure Mounting Clips align with marks on the masking tape before tightening.
4. Size Carbon Panel
----- Using sanding block and 180 grit sandpaper, sand the edges as needed until the carbon panel drops into the roof opening and easily sits on the Mounting Clips.
----- The Carbon Panel should fit closely but must be loose to allow room for expansion and contraction of the sheet metal and the carbon panel with changing temperatures. A 1/32” - 1/16” gap is adequate.
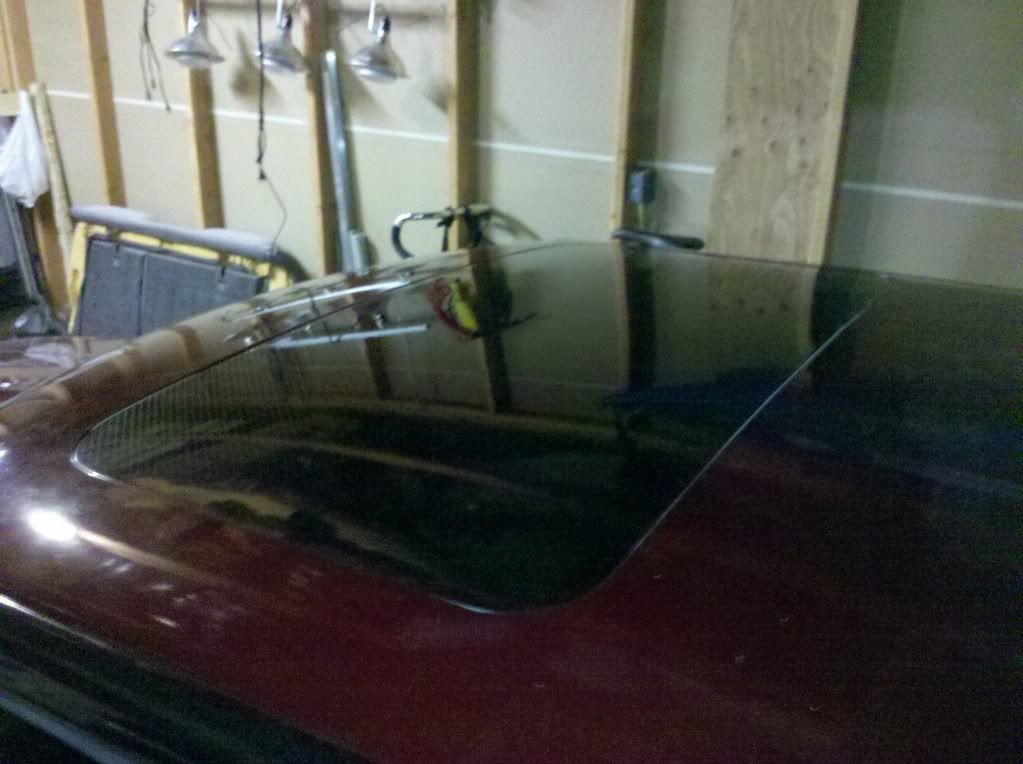
5. Adjust Angle of Mounting Clip
----- Due to the contour of the Carbon Panel, there is a gap at the edge of the Mounting Clip as can be seen in Picture #5. The Mounting Clips can be spread by carefully tapping on the back of the Mounting Clips. If you have access to a bench vice, it is easier.
----- Adjust the angle a little and then remount. Repeat as necessary until a good match in angle is achieved.
*Note* This step can be skipped depending on personal aesthetic criteria. It is recommended as too thick of a bondline can have a negative effect on the strength of the glued joint.
6. Prepare Bonding Surfaces
----- Mark the Carbon Panel where the Mounting Clip mates to it.
----- Scuff the Carbon Panel in the marked areas with 180 grit sandpaper.
----- Clean any sanding residue off with Isopropyl Alcohol or Acetone. It is critical that the bonding surface be clean.
----- Scuff the Mounting Clips with 180 grit sandpaper and clean well with Isopropyl Alcohol. Again, it is critical the bonding surface be clean.
7. Bond Carbon Panel to Mounting Clips
----- Mix epoxy well per manufacturer’s recommendation.
----- Apply a small amount of epoxy to each mounting tab.
----- Carefully place Carbon Panel onto the Mounting Tabs.
----- Apply light pressure to the Carbon Panel to seat it.
----- Clean up any squeeze out immediately with Isopropyl Alcohol or Acetone.
----- Allow to cure for 24 hours before proceeding to the next step.
*Note* If you keep the masking tape on the mounting tabs during this step you will prevent yourself from gluing everything to the chassis and allow future removal if needed.
8. Seal Carbon Panel
----- Remove the Carbon Panel from the chassis and remove the masking tape from the metal tabs.
----- Reinstall the Carbon Panel and ensure fit is correct before tightening screws.
----- Seal the edge of the Carbon Panel with RTV per the manufacturer’s recommendation.
----- Allow to cure for a minimum of 24 hours before exposing to rain or water.
9. Enjoy your new carbon fiber sunroof replacement!
There are two separate ways to replace the stock sunroof glass. The first is to remove only the glass and maintain all the factory trays, sliding mechanisims, etc. This method allows the sunroof to function as before.
The second method removes all the factory mounting hardware and permantly mounts the carbon fiber replacment panel to the chassis.
Currently I am providing instructions only on the second method. I will add information on the first method at a later date as needed. This thread is a living document so I will be updating the first post with additional information and pictures as needed.
Please feel free to ask questions regarding my instructions or other approaches to the installation.
*Safety Note* Carbon Fiber and Fiberglass dust can cause skin, eye, and respiratory irritation. Latex gloves, dust mask, and safety goggles should be used.
Tools Required
- 180 Grit Sandpaper and Sanding Block
- Measuring Tape
- Hand Drill
- 3/16” Drill Bit
- 1/16” Drill Bit
- Screwdriver
Materials Required
- 10” Length of 3/4” or 1” Aluminum Angle, 1/16” thick
- Qty 5, #10 Sheet Metal Screws, 1/2" Long
- Masking Tape
- Epoxy Putty
- RTV Silicon Sealant, color per user preference
Installation Procedure
1. Make Mounting Clips
----- Make (5) 2.0 inch long clips from the aluminum angle.
----- Drill a 3/16” hole per dimensions shown below in picture #1.
*Note* If using 3/4" angle use 0.3” instead of 0.45”.
*Note* If using 1” angle, use 0.45”.
----- File all edges smooth and clean, round over any sharp edges.
2. Locate Mounting Clips
----- Use masking tape to cover metal tab as shown in picture #2.
----- Measure down from top surface 0.2” as shown in picture #2.
*Note* The Carbon Panel is approximately 0.18” thick. You may offset the piece as far below the top surface per user preference. The 0.2” is merely a base recommendation as every car enthusiast has different aesthetic criteria.
*Note* You should make several small marks as the surface of the roof curves front to back and side to side so drawing a straight line from one edge of the metal tab to the other will not work effectively.
----- Carefully clamp the Mounting Clip to the metal tab lining up the top edge to the marks you just made.
----- Install the Mounting Clips at the front and rear edge of the side metal tabs. Exact location is not critical. I use the tangent of the radius on the metal tab for my reference.
----- Install a single Mounting Clip in the center of the front Metal Tab as shown in Picture #3.
----- Mark the center of the hole on each Mounting Clip.
*Note* Make sure you label the position of each Mounting Clip to make sure everything lines up correctly upon final installation.
3. Install Mounting Clips
----- Drill a 1/16” hole at the marks you just made for the Mounting Clip.
----- Attach Mounting Clips to the metal tabs using #10 sheet metal screws as shown in Picture #4.
*Note* Ensure Mounting Clips align with marks on the masking tape before tightening.
4. Size Carbon Panel
----- Using sanding block and 180 grit sandpaper, sand the edges as needed until the carbon panel drops into the roof opening and easily sits on the Mounting Clips.
----- The Carbon Panel should fit closely but must be loose to allow room for expansion and contraction of the sheet metal and the carbon panel with changing temperatures. A 1/32” - 1/16” gap is adequate.
5. Adjust Angle of Mounting Clip
----- Due to the contour of the Carbon Panel, there is a gap at the edge of the Mounting Clip as can be seen in Picture #5. The Mounting Clips can be spread by carefully tapping on the back of the Mounting Clips. If you have access to a bench vice, it is easier.
----- Adjust the angle a little and then remount. Repeat as necessary until a good match in angle is achieved.
*Note* This step can be skipped depending on personal aesthetic criteria. It is recommended as too thick of a bondline can have a negative effect on the strength of the glued joint.
6. Prepare Bonding Surfaces
----- Mark the Carbon Panel where the Mounting Clip mates to it.
----- Scuff the Carbon Panel in the marked areas with 180 grit sandpaper.
----- Clean any sanding residue off with Isopropyl Alcohol or Acetone. It is critical that the bonding surface be clean.
----- Scuff the Mounting Clips with 180 grit sandpaper and clean well with Isopropyl Alcohol. Again, it is critical the bonding surface be clean.
7. Bond Carbon Panel to Mounting Clips
----- Mix epoxy well per manufacturer’s recommendation.
----- Apply a small amount of epoxy to each mounting tab.
----- Carefully place Carbon Panel onto the Mounting Tabs.
----- Apply light pressure to the Carbon Panel to seat it.
----- Clean up any squeeze out immediately with Isopropyl Alcohol or Acetone.
----- Allow to cure for 24 hours before proceeding to the next step.
*Note* If you keep the masking tape on the mounting tabs during this step you will prevent yourself from gluing everything to the chassis and allow future removal if needed.
8. Seal Carbon Panel
----- Remove the Carbon Panel from the chassis and remove the masking tape from the metal tabs.
----- Reinstall the Carbon Panel and ensure fit is correct before tightening screws.
----- Seal the edge of the Carbon Panel with RTV per the manufacturer’s recommendation.
----- Allow to cure for a minimum of 24 hours before exposing to rain or water.
9. Enjoy your new carbon fiber sunroof replacement!