
Example: (Date - Dec '09)
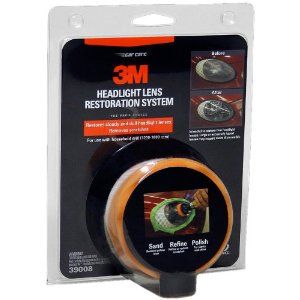
3M offers a kit (#39008) that works wonders and doesn't kill your wrists to use it. This is available at just about every auto parts store, Walmart, Amazon.com, etc. and price ranges from $20-$25. With what is included, you can use this several times and make a few dollars in the process as well.
All you need is a drill, tape, squirt bottle and a microfiber cloth. The following write-up is because I wanted to "refresh" the headlights after 3yrs since the first restoration process. The discoloration wasn't that bad but it was an excuse to go outside and enjoy a warm winter's day!
Here is a step by step process on how to use the kit:
Items used -
3M Headlight Restoration Kit
Dual speed (High/Low) drill
Painter's Tape
Squirt bottle filled with water
Microfiber cloth
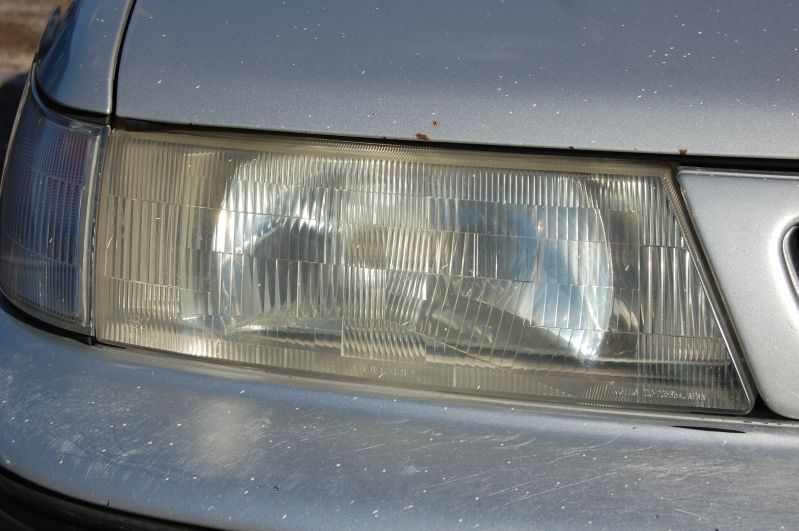
Step 1 - Cleaning
Clean the headlight of any dirt, bugs or grease/oils.
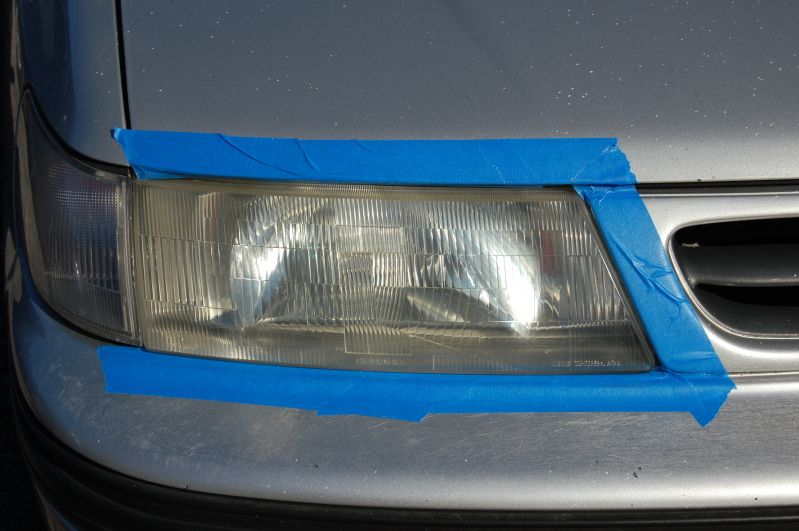
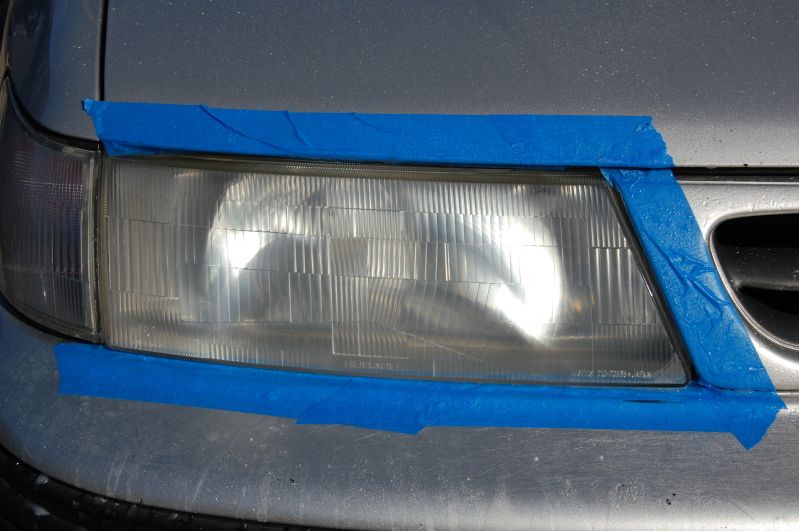
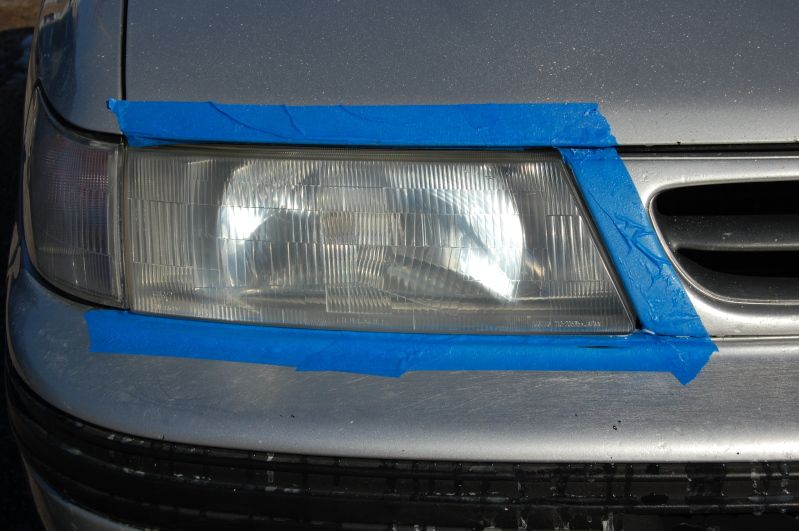
Step 2 - Surface Prep
Tape off all surrounding painted surfaces with painter's tape to prevent any damage from the abrasives.
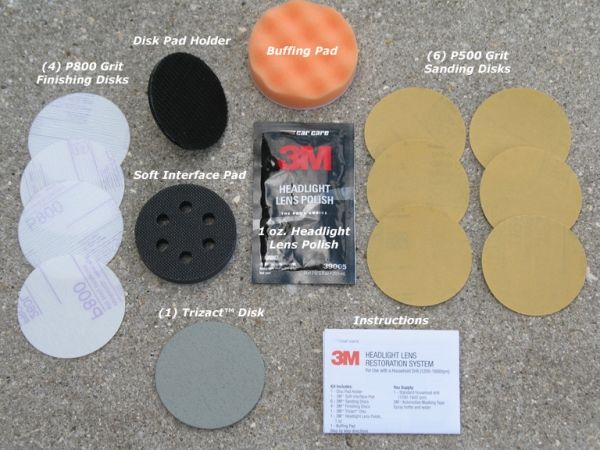
Step 3 - 500 grit disc
With the Velcro pad installed into the drill, apply the yellow 500 grit sanding disc. Make sure to wet the entire headlight surface AND the sanding disc. You want the surface to always be wet while using all of the steps with the exclusion of the buffing pad. Allow the disc to do the work by lightly skimming across the surface of the plastic. You do NOT need to apply heavy pressure. If you do, you are extremely likely to dig into the plastic and cause damage. Make several passes back and forth working from top to bottom. As you work the disc you will get a slurry form. This is the yellowed plastic being sanded off.
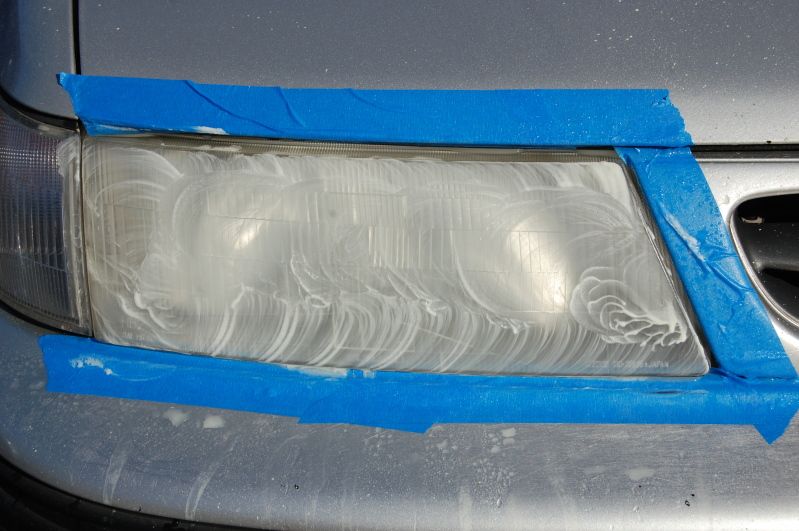
Rinse the headlight and disc off and make a second pass. Again, wet down the plastic and the disc. Continue making passes until you get a white slurry. Rinse one last time and switch out to the disc.
**I used a dual speed drill but you can use a single speed as well but be sure not to use too high of a speed so that you do not dig the sanding discs into the plastic**
Step 4 - 800 grit disc
In this step you'll repeat the exact same process as Step 3 but what you're looking to do is remove any scratches from the first sanding disc. You can make as many passes as you like but remember to rinse each time.
Step 5 - Trizact Disc (3,000 grit)
This step will remove any scratches left behind from Step 4. As previously stated, wet both the disc and the plastic before you begin. This may produce a small amount of slurry and that's perfectly fine. This is a final sanding stage so it's to be expected. Rinse and then dry when finished.
Step 6 - Buffing
Here is where you can be as neurautic as you want to be about any fine scratches that have been left behind from Step 5. As I said at the begining, this kit offers enough pieces to do multiple vehicles but it only includes a small packet of rubbing compound (liquid form) which is not resealable to keep for later. You can pick up a bottle of rubbing compound from any auto parts store and it will last you for quite a while.
When applying the liquid, only place a dot the size of a dime in the center of the pad. You CAN place too much on there and it will simply splatter everywhere and cause you more work later on. A little will go a long way!!
Take the drill and dab the liquid in several spots. This will help distribute the rubbing compound and reduce any future mess. I personally prefer to use the low speed at first to work it across the entire headlight. Once you have a good coating, you can switch to a faster speed and work it in. DO NOT keep going until the rubbing compound is dry!! You want it to remain moist. Now use the microfiber cloth to remove the compound and buff it dry.
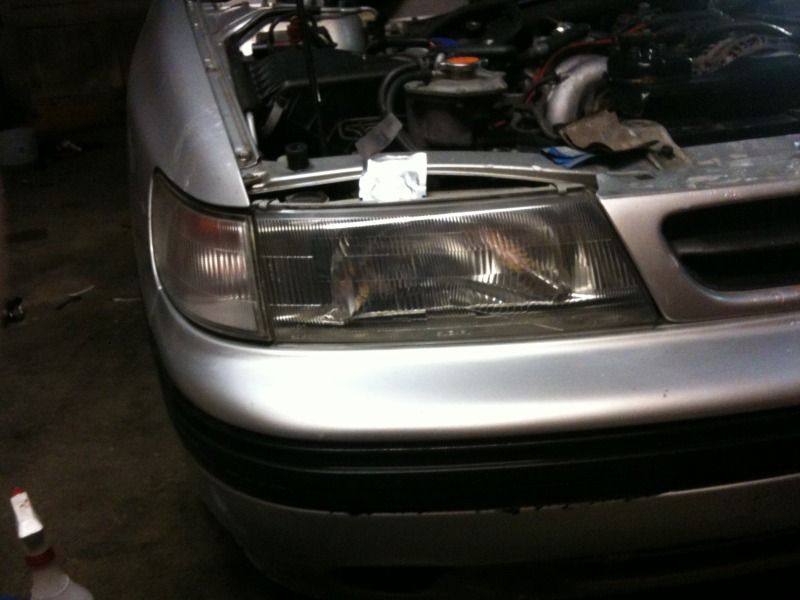
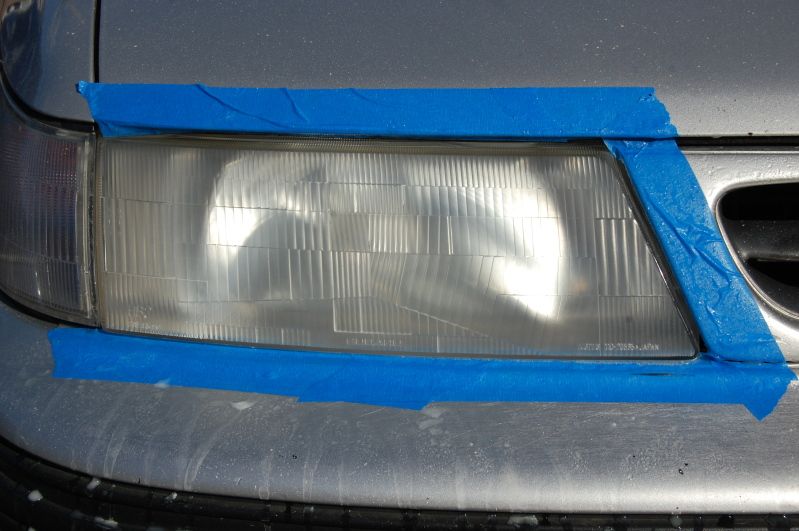
Congratulations!! At this point, you should have something that resembles a brand new headlight for a fraction of the price!!

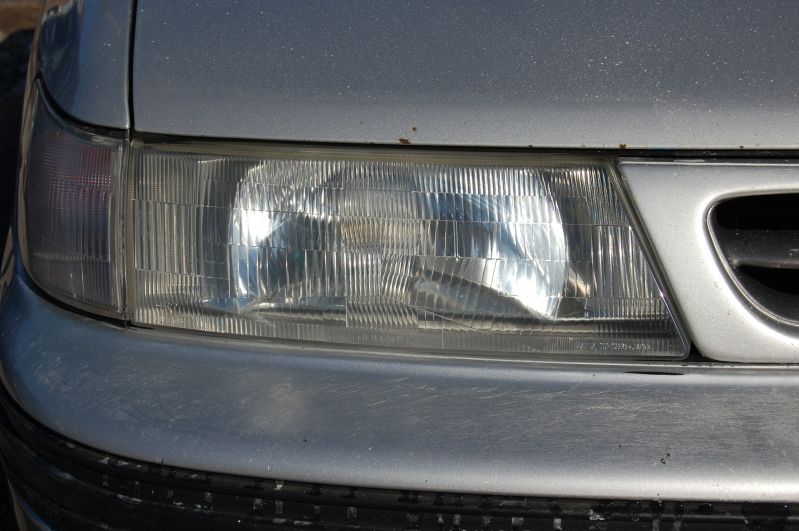
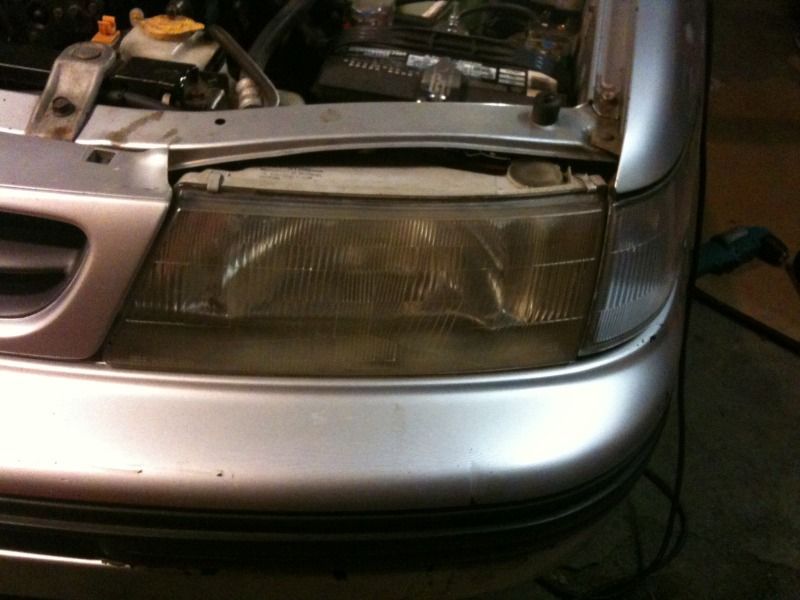
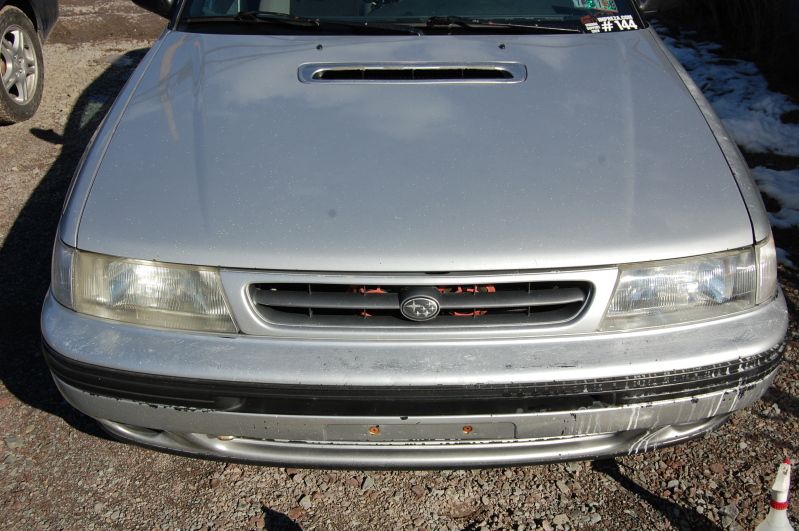
Before and after:
DISCLAIMER:
I do not work for 3M nor do I receive any compensation from them for this write-up. I am an avid Do-It-Yourselfer and did this to help out fellow automotive enthusiasts.
