I couldn't justify the $200 people were asking for the Canadian seat belts, and I'd read that the manual belts from a '95+ could be made to work, so decided to give it a shot.
Also got inspiration and the idea to do a 'hybrid' setup from Josh's POST HERE.
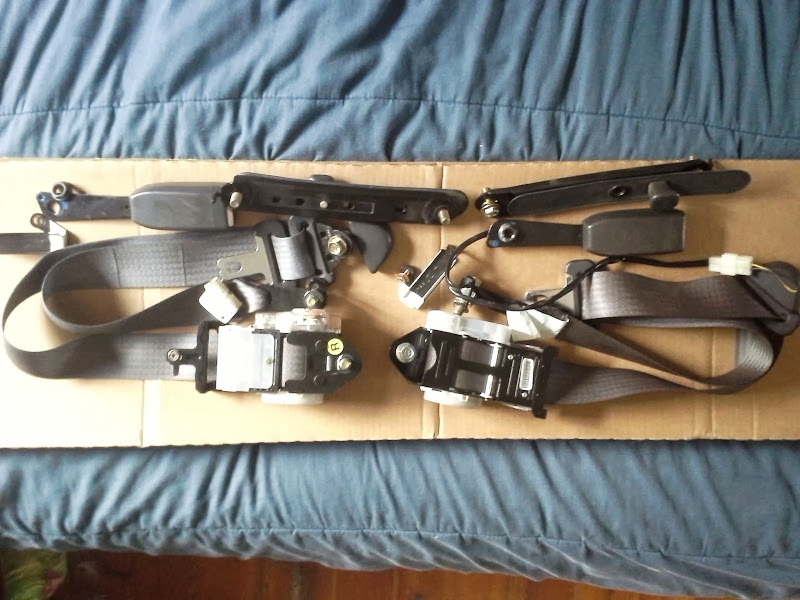
I found a '98 Legacy GT set from a part-out on LegacyGT.com that were $25, spent about $20 more @ the local Pull-n-Save, and <$10 for hardware @ local hardware store. I decided to buy a set of the auto belt rails that I cut up (in case I sell the car and the new owner wants the 'stock pieces' for whatever reason), and the plastic 'B' pillar pieces from a '97 Legacy, just to see if they'd fit - THEY DON'T.
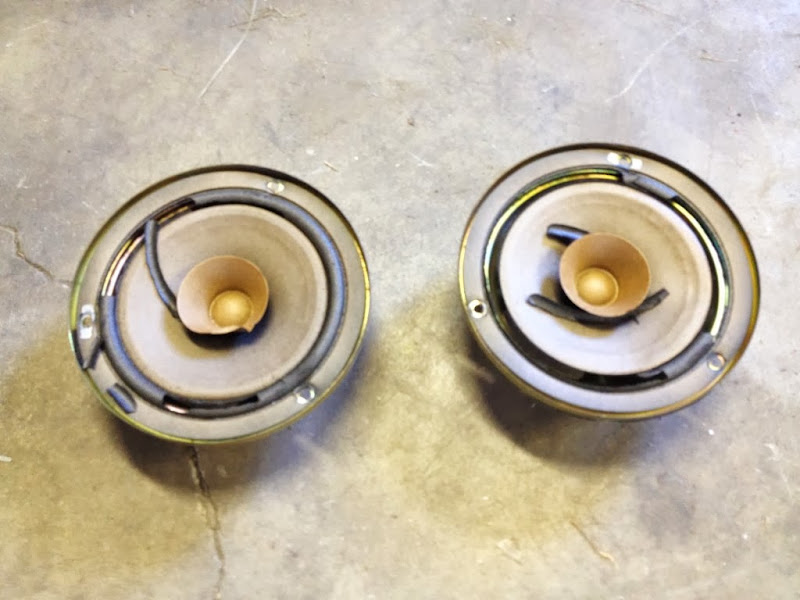
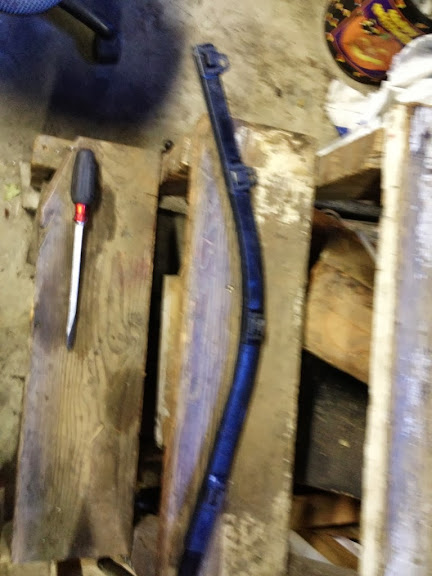
LGT belt 'kit':
I cut the rail on both sides as the headliner/trim snaps into it. Make sure to keep the 3 mounting points intact - front (A pillar) and the 2 near where the OShit handle would be on the driver's side and where the passenger's OS handle bolts into, too.:
I drilled a hole in the stock 'B' pillar trim and used a 7/16-20 (yea - non-metric) 2 1/2" long (IIRC) bolt for the upper anchor (yep, the threaded hole is already there). Although my '93 has the bolt holes for the adjustable height belt, I decided not to bother . But could have just cut a longer opening in the trim piece to fit them (interestingly, the '98's upper and lower anchor bolt threads for the height adjustment were different than my '93 - but the spacing is the same, so I'd just need different bolts).
Here's the final product:
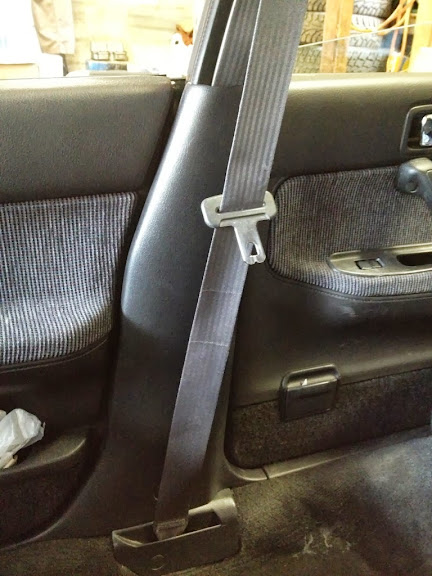
I was able to reuse the stock bottom trim piece. One end tucks into a slot on the trim behind the carpet and instead of screwing it back in (as it was attached on the stock piece) I used a zip tie thru the original hole and back around the seat belt bracket inside the door pillar. The little cap still snapped into place.
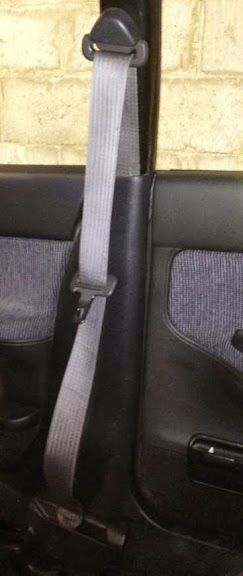
Here's the gap from where the auto belts would run along the window - noticeable but not bad IMHO. Also, see the upper anchor mount. I used a small bronze bushing that fits in the anchor's hole w/a couple of washers on either end - it needs to have some 'wiggle' room to move w/the seat, not bind against the trim piece and so the plastic cover will fit properly:
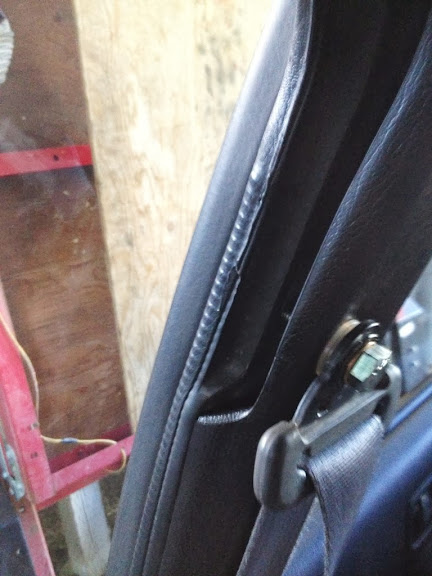
On the bottom anchor (part marked w/the yellow 'R' in the 1st pic above) it has a 10mm bolt on top and the bottom is a 14mm. The top bolt took some persuasion to get it in. I had to use an extra long (2"?) bolt to reach the hole on the B pillar and had to bend it to fit around where the frame stuck out a bit. I didn't bend the actual ratcheting mechanism - just the top mount point.
The only wiring changes I made were to unplug the connectors that are under the A pillar's trim piece and scotch-lok the 2 wires together. I have no extra lights on for the seat belts - everything works fine. The '98's driver's side belt buckle had the sensor, which I just plugged into the stock one which still works fine.
More Notes: Although I did this on warm (70's) day, the plastic is still brittle and a couple of the tabs broke off. Not sure if it'd help but using a heat gun/hair dryer to heat up the plastic ON LOW!! might mitigate the breakage???
As noted on other installs, I just bent the tabs up that would normally be used to 'locate/align' the belt anchors. They could be removed, but bending them out of the way means I can go back in and drill the appropriate holes and still use them if needed .
Also, on the SS or other sunroof-equipped cars I removed the rubber/plastic molding/trim piece that attaches to the headliner and holds it to the sunroof assembly. It just pulls off and stayed in one piece. I was then able to get much more working room to get @ those pesky rail bolts - esp. those that hold on the OS handles on the pass. side! Once done, I was able to just push the molding back into place....oh, you'll have to remove the visors, too.
TD