
First and foremost I'd like to thank the following 2 people for helping make this build possible:
Nate SanSo brother-in-law and teacher at Wyotech in Sacramento, CA - for hooking me up royally with all sorts of crap. As well as supplementing my growing knowledge of cars.
Marc Hoover at European Performance in Cameron Park, CA - for providing the professional facilities to work in and endless knowledge of engine building.[/color]
I found my 1992 White Legacy SS about a year and a half ago. I saw it in a motorhome storage park and called the owner of the park up and he sold me it for $995, all it needed was some new oil, spark plugs, and a knock sensor to get it to smog. It had 216,000 miles on it when I bought it...
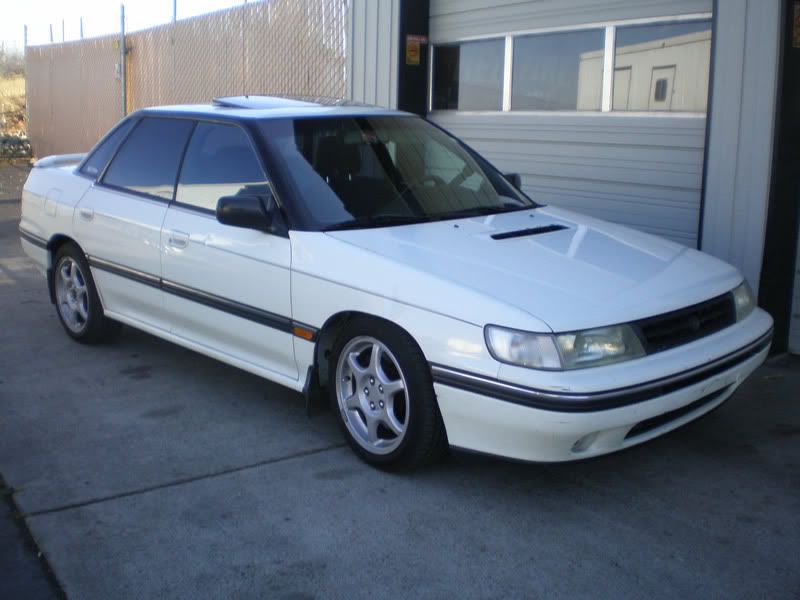
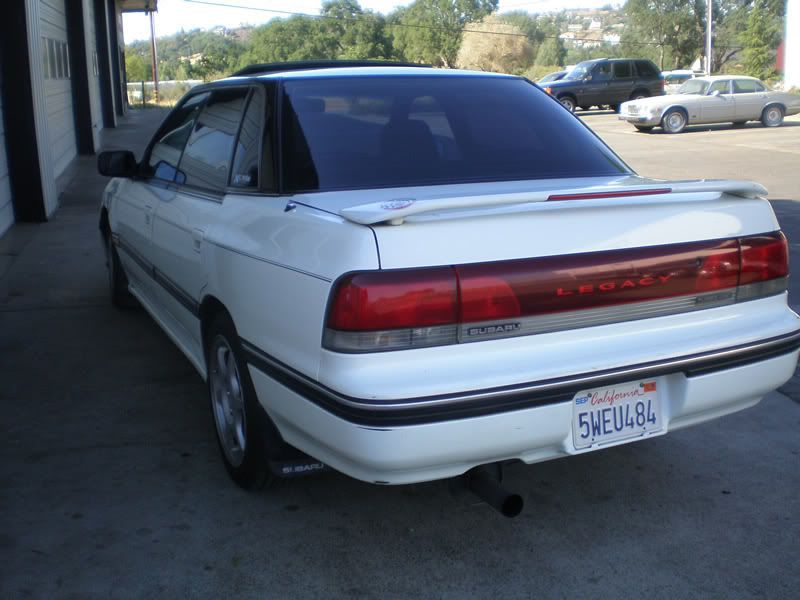

>>I don't know about you, but I think this picture turned out pretty good for a quick snapshot<<
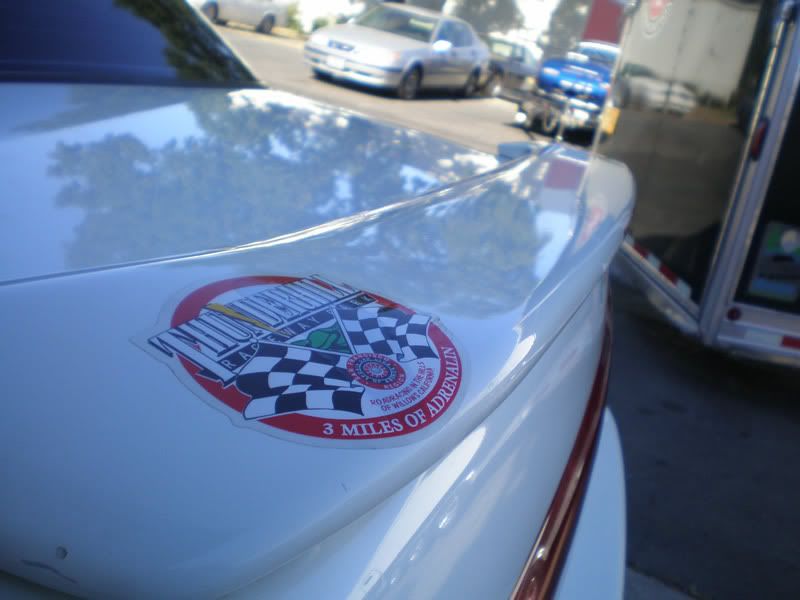
>>Scope the blue Spec Miata in the background, thats a SCCA Run-Offs winning car right there!<<
My first upgrades to the car were some primer black 2.5RS rims w/ Falken Azenis tires and wrx front brakes, and a Helix 3" turbo back exhaust that I had on my old legacy. (It was pretty loud!)
Chapter II
Since I was still in highschool I couldn't really afford much, but I finally got some version 7 sti struts that had Ground Control sleeves and some eibach springs that were pretty stiff. Later I bought a set of Goodridge stainless brake lines and some Project Mu NS pads for the front.
After a while I figured it was time to up the anty and stick an intercooler and a bigger turbo on this bad boy. So I waited for the perfect deal and found a 2006 wrx TMIC for $40 shipped and a TD05-16g with fresh oil seals for $380 shipped. I took the time/money to do a good intercooler piping setup with a prodrive y-pipe, t-bolt clamps, and silicon couplers from atpturbo.com
My pride and joy is my TurboXS BOV setup, I bought it unaware of the 90 degree elbow it came with, but it turned out to work awesome and has led to a pretty funny experiment which should show up on youtube shortly
Chapter III
So at this point my car was scootin' along pretty good and it just so happens my brother-in-law works at the Wyotech school here in Sacramento. If you don't know what Wyotech is all about, its an automotive tech school like UTI, but they have a lot of aftermarket programs such as fuel injection/high performance powertrain etc... So they have an AWD Dynojet dyno!!! This equates to free dyno time for me!
At this point the car had the following mods:
TDO5-16g running @ wastegate boost (~9psi)
3" Helix Turbo back exhaust
'06 WRX TMIC
The car dyno'ed out at about 140WHP and 163 lb/ft with a funky AFR curve. I think with some fuel control I could have done better, but it was good enough for me.
Soooooo.... I was content and all was good. I had aspirations of Apex-i boost control and parallel fuel rails when IT happened...
Chapter IV
What is "IT" you ask? Well I'll tell you...
I was driving home on the freeway and I was climbing a hill on the freeway. Since it was around 10pm and I was getting impatient I decided to go faster up the hill. Soon after I rolled onto the throttle and the engine began to pull I was surprised by a sudden loss of power and a very different engine sound. I thought I had killed the engine, so I limped it to the next exit and stopped at a gas station to get my fluid levels and see what the heck happened.
My oil was a bit low, but other than that everything was normal... except it hardly idled and was down on power. Since then I have came to the conclusion that I must have some collapsed HLA's... So I began planning on rebuilding my heads, but then I thought "what the hell, I work at a race shop, and my car has 240,000 miles on the clock, why not do a whole engine overhaul?!"
This thought has lead me on my current quest. And I hate to admit it but I have still been driving my legacy since it broke... I guess you could call it a testament to how tough this engines are!
Update:
After yanking the heads off at the beginning of my engine tear down I discovered that an Exhaust Valve in the number 3 combustion chamber was missing an almost popcorn kernel sized chunk of itself. Needless to say, leak down was 100% loss on that cylinder, but it still managed to make some power while running.
Chapter V "The quest for more powa!"
I thought about what I wanted out of my engine, and what I want is something that can take a good beating at a track day yet be civil and smog-able here in California. So far my list of things to do is as follows:
Head work:
Port & Polish (including combustion chamber)
Back-cut valves
Gasket matching
Delta Stage 1 cams
Flowing heads & all the detail work
Block:
General overhaul crud...
ACL race bearings
Piston rings
But then I figured I should add on the following gizmoes:
440cc injectors
Apexi Fuel/Boost control
Heat shielding
Engine mounts
New tranny?
Lets start with the head work...
Thanks to my brother-in-law working at Wyotech, he hooked me up with a student of his who was quite proficient at porting heads. And since the kid just wanted practice, it was done for free, all I had to do was supply an intake manifold gasket for the gasket matching process.

>>Exhaust ports after the port/polish<<

>>Close-Up of exhaust ports<<
As you can see, the exhaust ports have been opened up quite a bit, he took off about an 1/8th of an inch or so of material so that it matched up to the gaskets. These pictures don't do it justice, the exhaust ports are beautiful. Not much was done to the intake side, just some minor porting and gasket matching, and he made sure to keep the port somewhat rough to keep the incoming air charge tumbling.
Here are some numbers from the flow bench:
(Values are in Cubic Feet per Minute)
Average Intake flow @ .100" lift - 54.46
Average Exhaust flow @ .100" lift - 62.54
Average Intake flow @ .400" lift - 198.45
Average Exhaust flow @ .400" lift - 186.33
Highest Intake flow @ .400" lift - 203.13
Highest Exhaust flow @ .400" lift - 190.26
(keep in mind that the exhaust ports are different lengths)

>>Assembling the heads, I went through about 48 springs trying to find the stiffest ones that measured within spec. I finally ended up with a set that were consistently within around 1-3 lbs of each other<<

>>Meticulously unassembling, cleaning, assembling the rocker assemblies<<
Gasket matching the exhaust headers...

>>I took this picture before I went over the headers again, smoothing out as far down into the pipe as I could go<<

>>As you can see, the gasket-matched headers are opened up quite a bit<<
As my rebuilt heads, Delta Cams and everything else sits and waits patiently, I attack the engine block!
Tear down took a few hours, as I attempted to label groups of bolts, parts etc... I would suggest to others who are planning on splitting the case to go out and buy some quality Snap-On tools such as a 14mm allen socket, 12pt 14mm sockets, and some good extensions. YOU DO NOT WANT TO USE INFERIOR TOOLS THAT WILL BREAK AND LEAVE YOU WITH A ROUNDED OFF BLOCK BOLT THAT SITS 3 INCHES DOWN IN A WATER PORT!!!
I say this because it ALMOST happened to me.
Pulling the pistons
I had to fashion a crude slide hammer out of a very long yet skinny bolt, a nut to thread on to the bolt, and the slide weight from another slide hammer in order to get the piston pins out. The FSM gives you a part number for the slide hammer, good luck finding a Subaru dealer to sell you one...
Pulling the piston pins and splitting the case were the 2 most difficult tasks of the tear down. Once you remove the 14mm allen plug from the block you must pull out the outer-most cir-clip and insert your crude slide hammer dealy through the piston pin and jam it through the other cir-clip and hook it on the very edge of the piston pin. I had to grind down the head of my bolt so that I could avoid scoring the piston-piston pin friction surface.
Once the pins were out, I had to split the case. Basically what I did was hang one side of the block from an engine stand, remove all but 2 block bolts and started gently hammering them apart with a plastic dead-blow hammer.
In retrospect it may have been better to leave around 4 bolts in and loosen them all evenly so that I could keep the blocks square in relation to each other and not hang up up on the dowel pins that located and align the two block halves.
The cylinder walls all looked great, with no lip at the top of the deck and beautiful factory cross-hatching. Upon further examination of the internals, I was very relieved to see that there was no scoring on any of the pistons, cylinder walls, rods and caps, and the cranks. The only bad part was the amount of carbon that had built up on the pistons.
I'm missing pictures here, but lets just say it took me a loooonnnnggg time to get all that crap off of the pistons safely. I almost considered buying aftermarket pistons...
Now the engine is back together and sitting in the car!!!!!
Chapter III
IT LIVES!!!!!!!!!!!!!!!!!!!!!!!!!!!!
So I've been putting it around for about 100 miles to get everything good and broken in and I finally got on it a little today. I threw on my sound canon of a muffler (part of my helix turbo back exhaust) as well. I'd been craving some obnoxiously loud suby-rumble.
Its definitely faster, and I can feel that the powerband has been pushed up higher in the RPM range. Power comes on at around 4k. It just feels so eager to accelerate now!
On a serious note, I'll be dyno'ing the car soon with the fresh engine to see what I gained. Air temp and humidity should be about what it was when I first dyno'ed it so hopefully there wont be much discrepancy.
Last time it made 160lb-ft torq and 143whp with the following mods:
'06 wrx intercooler
Helix Turbo back exhaust
TD05-16g
Now I'll be dyno'ing it with the same as above but also:
ported heads/3 angle valve job & back cut
Delta stg1 cams
match ported headers
new rings
By the seat of my pants I'd have to say that the its gained at least 15hp, probably more.
At the same time that I was rebuilding my engine, I bought some new suspension:
(pictures will come soon)
My setup consists of:
front:
Ground control wrx front housings
Koni 1085 Sport inserts
Grounc Control wrx camber plates
rear:
sti vr6 struts w/ vr8 springs (I'm too poor to afford the koni's just yet)
Set-up:
Front:
Camber: -2degrees
Toe: 1/16th out
Caster: 2.85 degrees (stock setting)
Rear:
Camber: terrible, like -.2 degrees
Toe: ~1/16th in
my passenger side front tie rod is seized up or something, so in order to reduce the toe out that it already had I had to make my steering wheel crooked and equalized the driver-side toe.
Performance:
Holy crap -2 degrees of camber feels good!!!! I can't imagine what It'd feel like if I had some actual performance tires on the car! It not only corners 100% better, it has a much more controlled feel to it while mid-corner. No more "oh crap I'm understeering"
more to come soon!!!!
