DIY sporty seats

Anything and Everything about the Body, from paint to undercoating and interior, including in-car entertainment (ICE).

Moderators: Helpinators, Moderators

Post Reply
Kelly
Fourth Gear
Posts: 1286
Joined: Sat Nov 01, 2003 5:35 pm

DIY sporty seats

Post by Kelly »

We start with a seat. (if we need to explain how to remove a seat, this mod may not be for you :wink: )

Image

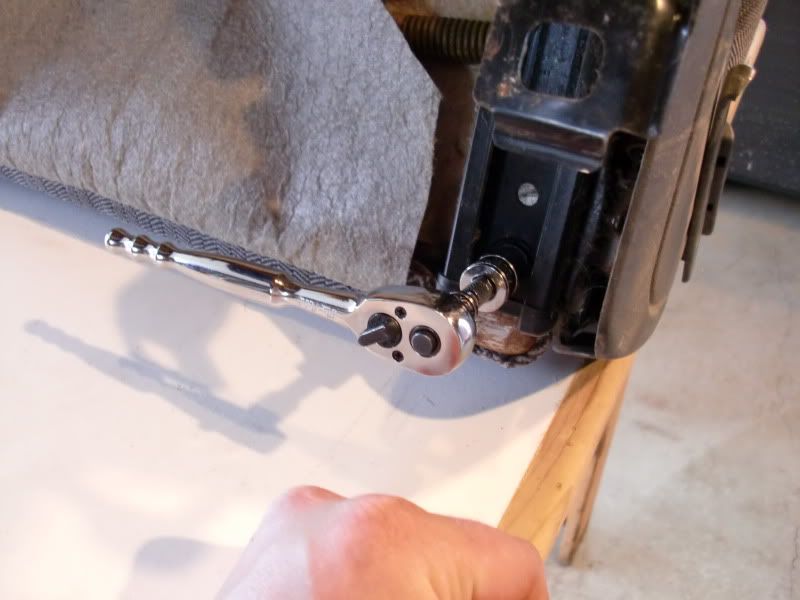
Start by removing the seat sliders, there are four bolts.

Image

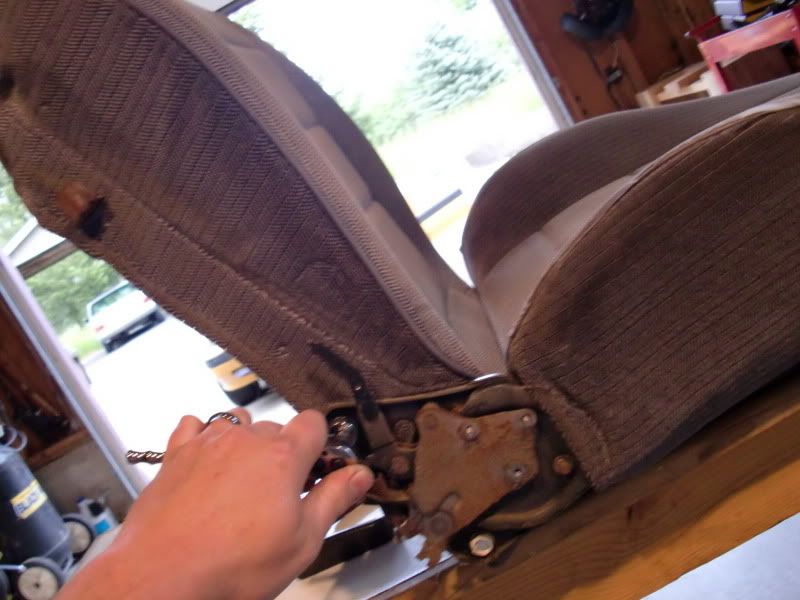
Pop off the seat belt holder cap to expose nuts on the outer side of the seat. remove the screw on the seat back adjuster handle, remove side plastic.

Image

On the inside side of the seat, remove the plastic cap on the seat hinge, and remove the Phillips screw.

Image

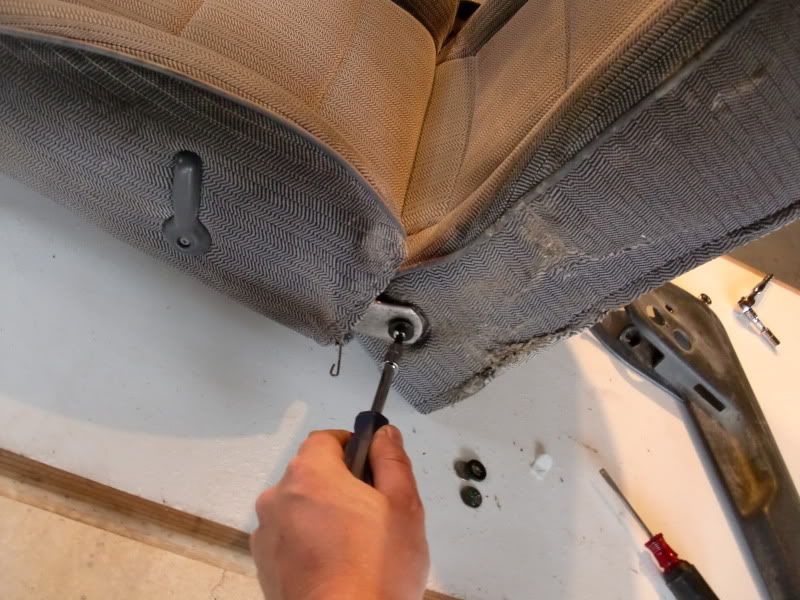
On the outer side of the seat, remove the two bolts that hold the seat back to the seat bottom frame.

Image

Image

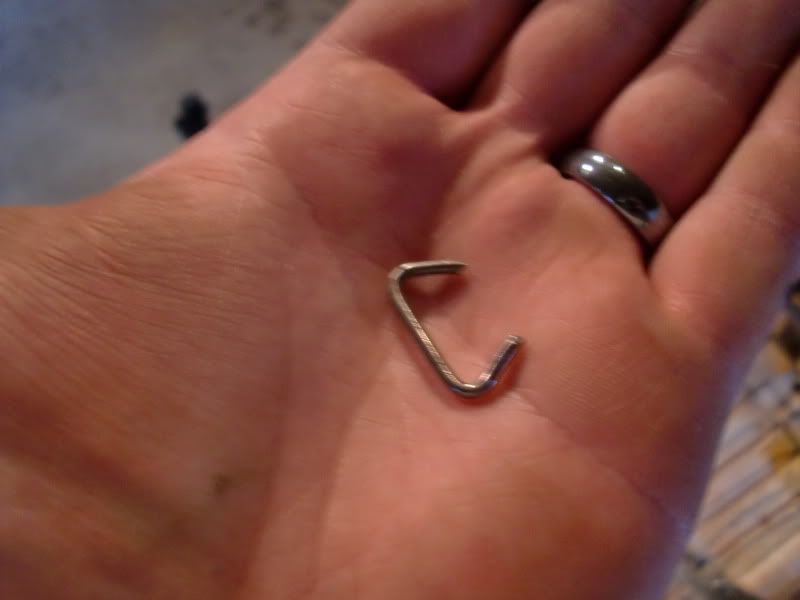
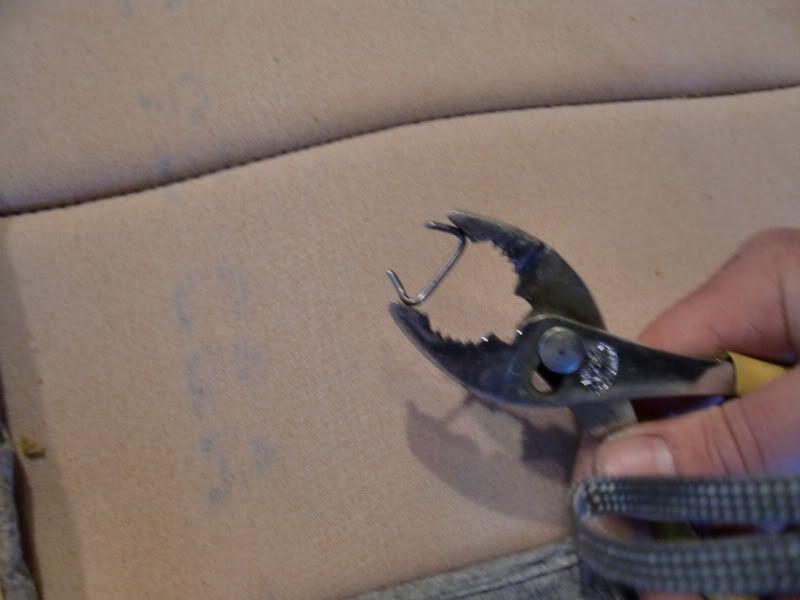
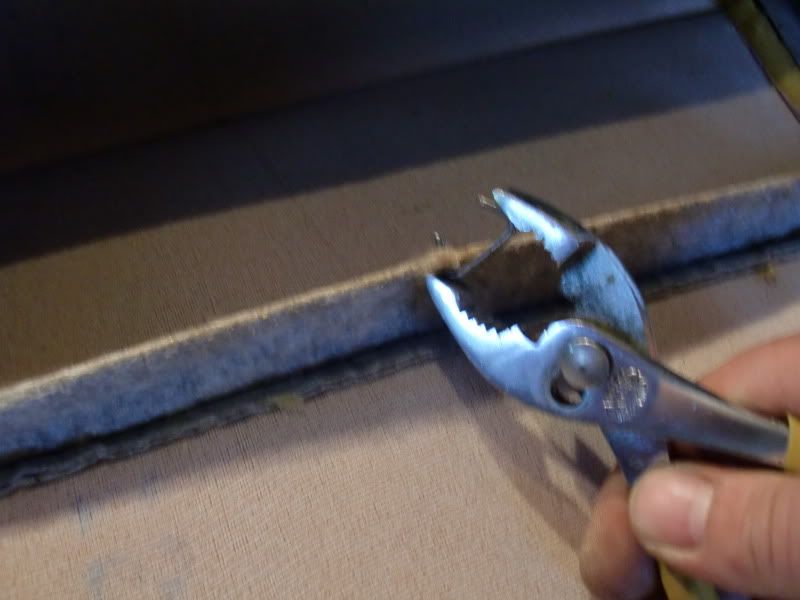
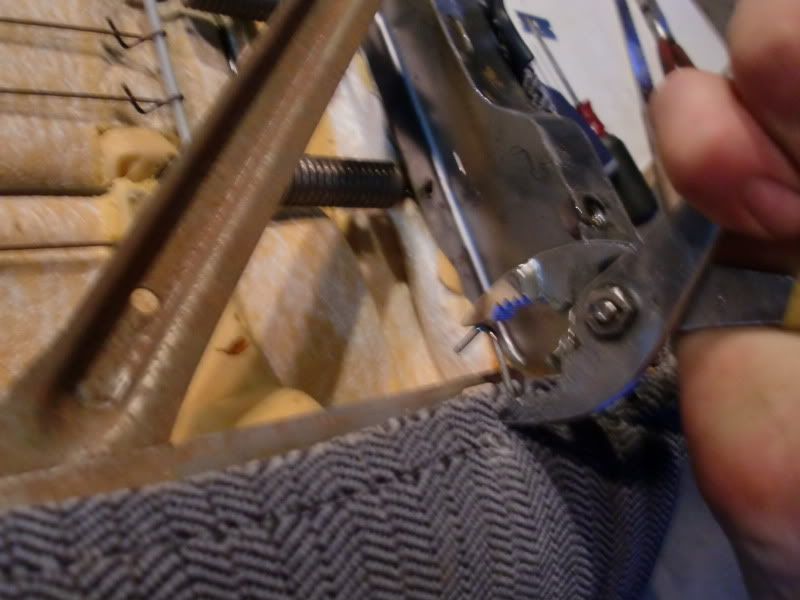
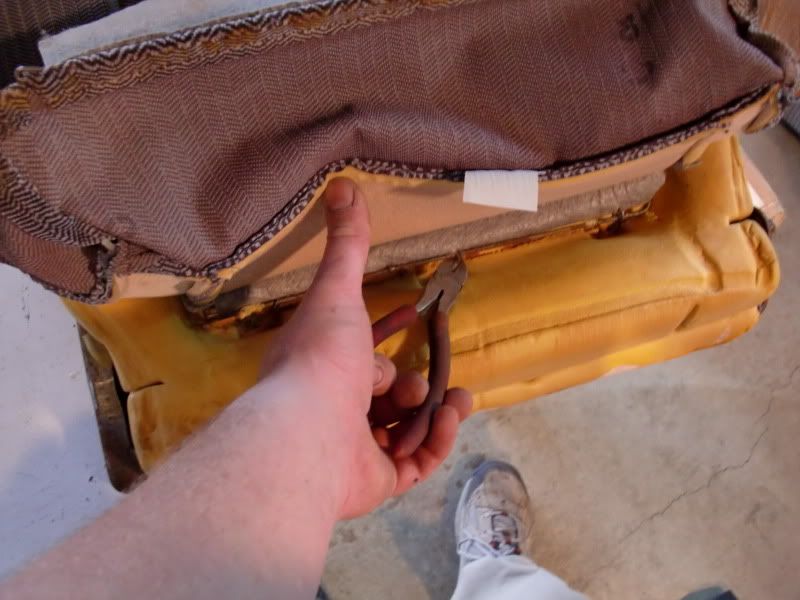
Then, with a pair of clippers, remove the "hogrings" in a steadfast twisting motion to remove the seat cover from the frame.

Image

Image

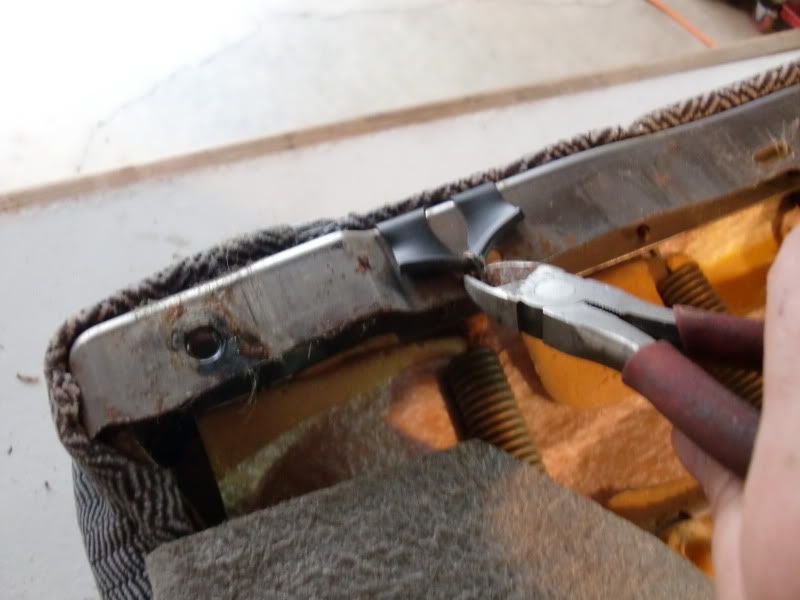
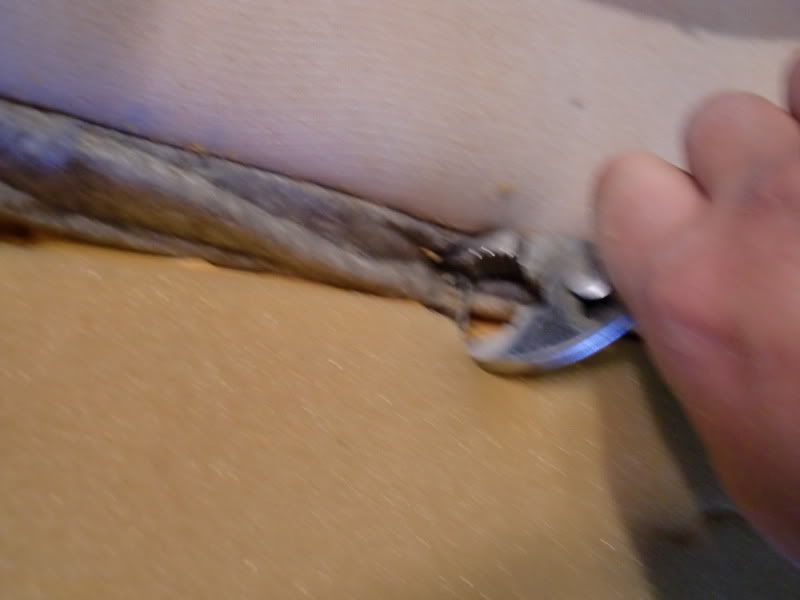
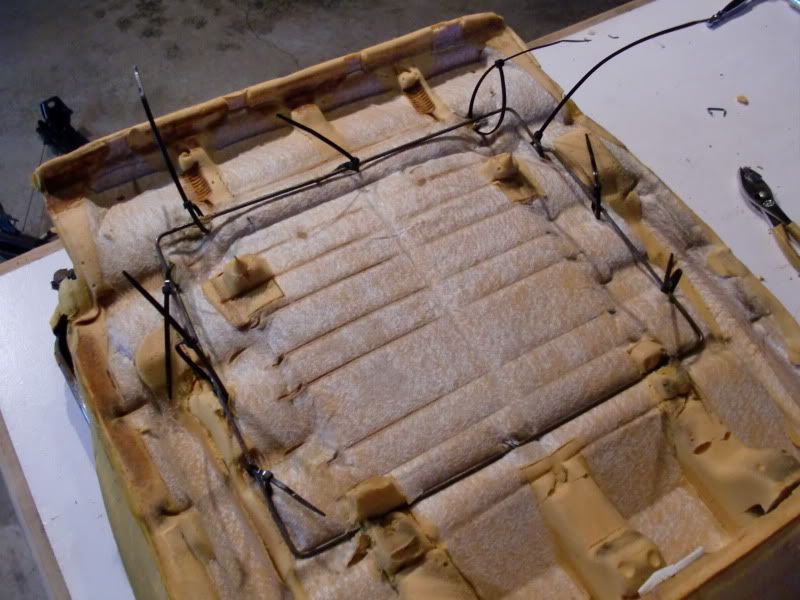
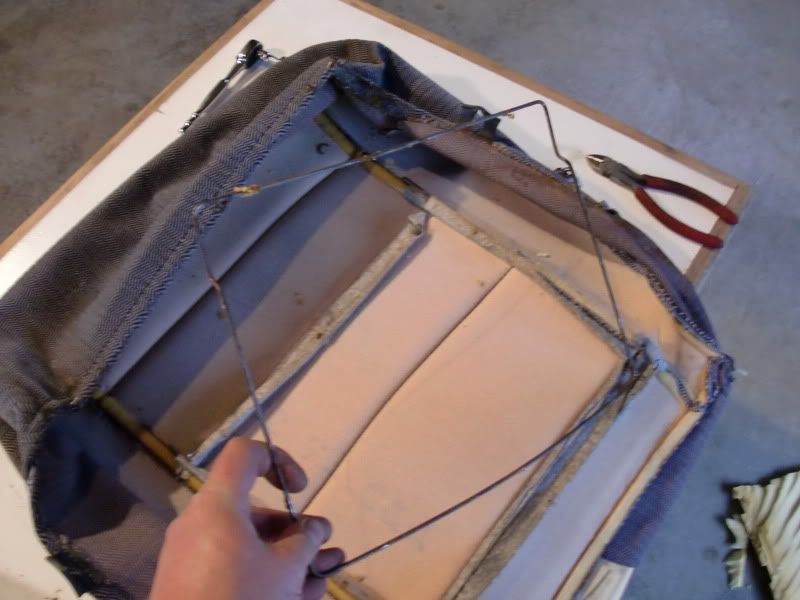
Next, there will be hogrings that hold the cover to the foam. Imbeded in the foam in a wire that the seatcover attaches to. In my seats, that wire (which is rectanguler shaped) has seperated from the foam after 300k mi worth of use.

Image

I'm going to put this wire back on the underside of the foam when I reattach the seatcover.

Image

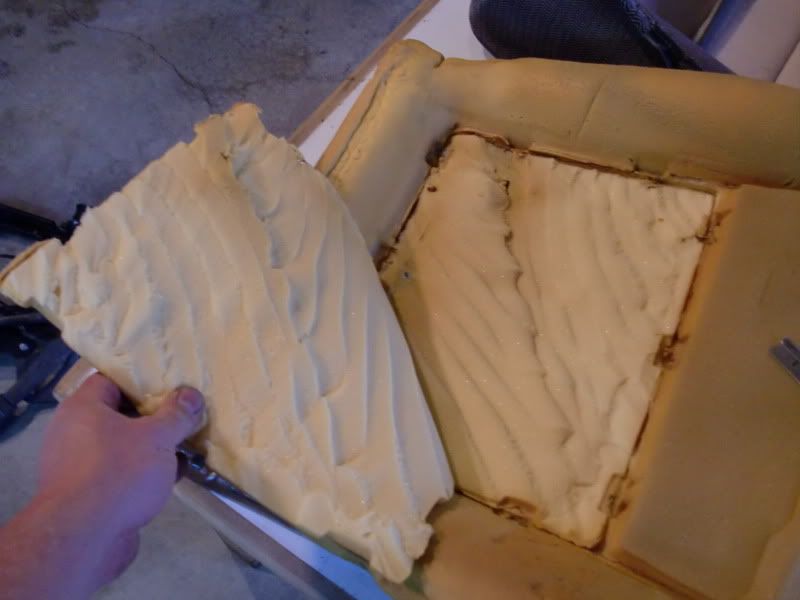
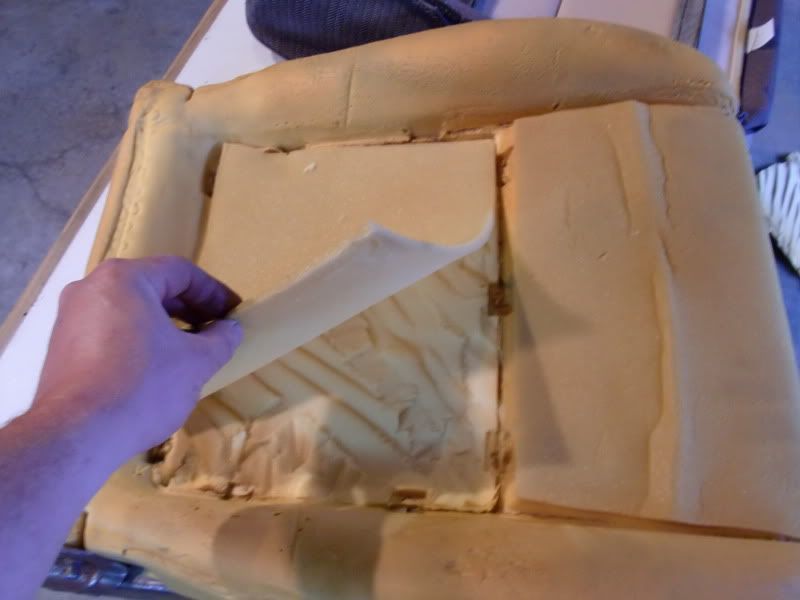
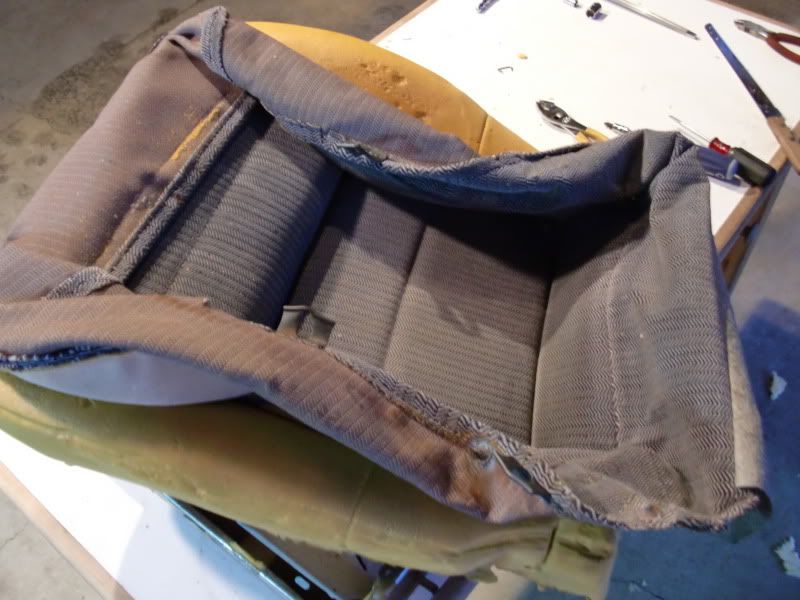
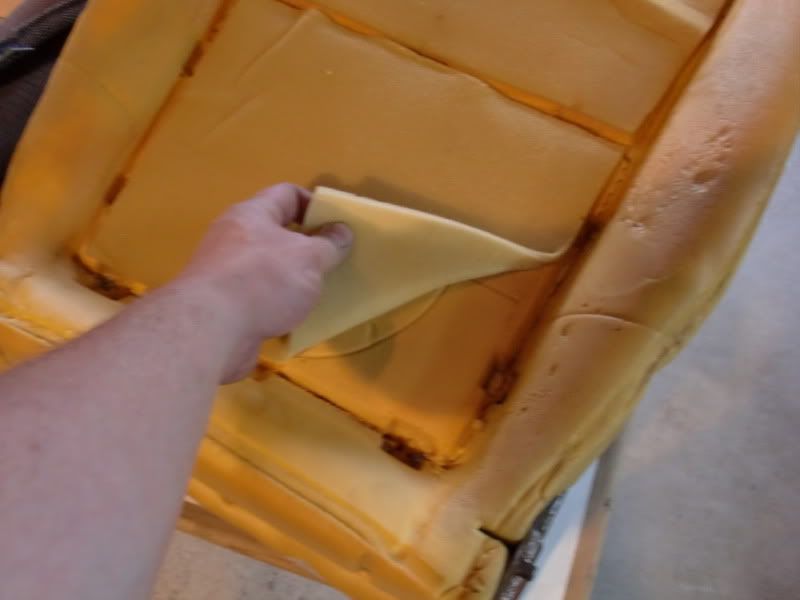
First, there is a thin sheet of foam on top of the seat cushon. It comes off easilly, and I'll reuse it later. Remove it and put it aside.

Image

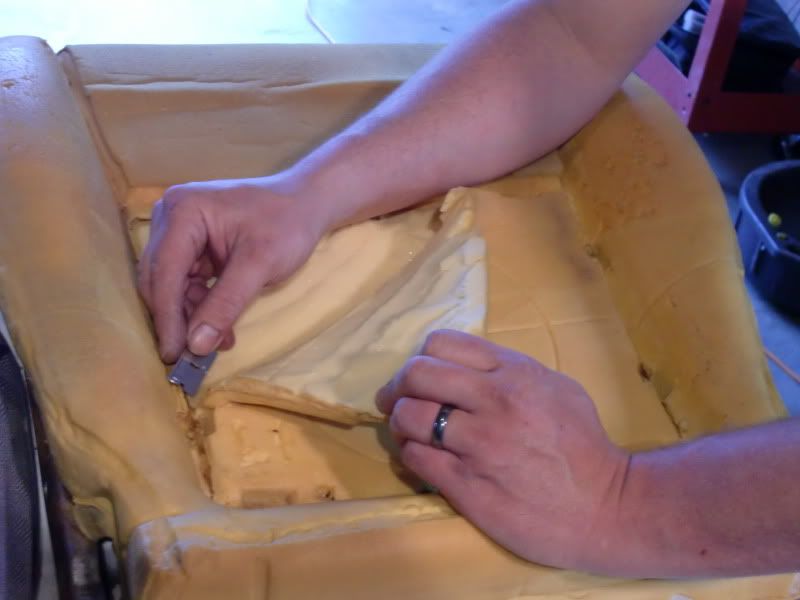
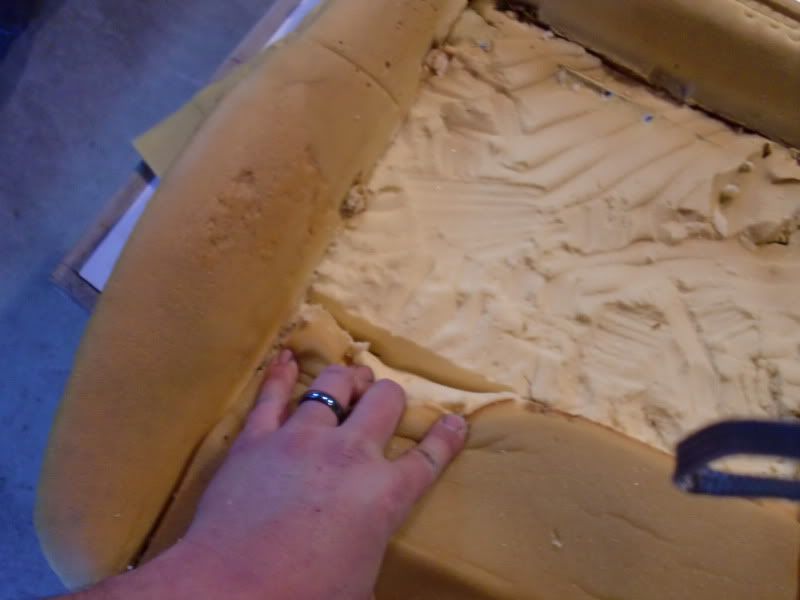
Next, I start cutting out foam in only the "butt" part of the bottom cushon. Foam makes blades dull surprisingly fast. I like to use disposable razors, but a good serrated nife, or electric bread knife works well too if you can sharpen it as needed.

Image

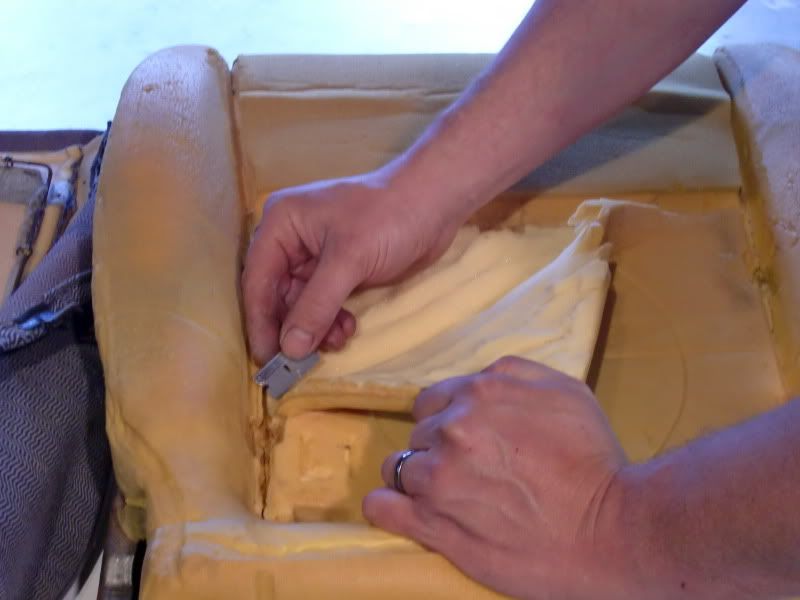
Take your time. Its tough to do this real smoothly. You cant go too deep, but you want to remove as much foam as posable too.

Image

Image
Kelly
Fourth Gear
Posts: 1286
Joined: Sat Nov 01, 2003 5:35 pm

Re: DIY sporty seats

Post by Kelly »

Now, we have the "Hogring". Its what upholstry is put together with. You could probably pick them up at a fabric or upholstry store I think. I grew up doing interior work since a wee lad and still occasionally shit these things out as I'd usually just throw a handfull in my mouth while putting seats together.

Image

Image

There is a specific plier for these. Its called a "hogring" plier. Go figure. I do have a pair, however they are in my toolbox at work and Im feeling a bit too woosey by now to drive all the way out there and get them. These pliers should work for now.

So now I'm gonna put this little piece of foam back to kinda smooth everything out.

Image

I remove the foam seat cushon from the frame. It just pulls off. Then I hold the wire ring underside the foam.

Image

I slit the foam so the wire in the seat cover will sink down into it.

Image

On the seat cover, there should be holes in the "loop" which the wire runs through. Put your hogring through there.

Image

Line it up and push the hogring hard down into the faom with one hand, while pushing the wire on the underside with the other hand, and clamp. Dont put hogrings into your hand, its bad.

Image

If you do prefer your digits to be less holier than mine, one could use zipties I suppose. Just dont tell your friends about it.

Image

Image

Put the faom and cover back on the frame. Push the front corners or the cover over the foam, then pull down the sides, like a fitted bedsheet. This is where you either fail and get a real wrinkly looking crappy ass seat, or take the time and make it look somewhat nicer then that. Pull, and smooth out all the wrinkles. If you spray the foam with silicone spray first, it makes it a lot easier. Take your time, drink some beers, talk to Doug on speakerphone about how he doesn't care if he keeps blowing motors. Just dont rush it.

Hogring the cover to the bottom of the frame.

Image

Then smooth out some more wrinkles.

Image
Last edited by Kelly on Mon May 17, 2010 5:37 am, edited 1 time in total.
Kelly
Fourth Gear
Posts: 1286
Joined: Sat Nov 01, 2003 5:35 pm

Re: DIY sporty seats

Post by Kelly »

The backrest part of my seat didn't have wires running vertically. Otherwise, I would have done the same thing to it. Some seats might have more "loops" and wires in the backrest seat cover then mine. If so, if one were so inclined, they could remove foam back there and "sportify" even more. The backrest cover and foam assembly can be a bit more tricky because the cover slips down over the foam much like a condom(so I hear)

Anyway, I just assembled my seat back together in reverse order of disassembly.

Image

And, in the car. Sportified vs. not sporty at all.

Image
beatersubi
Fifth Gear
Posts: 2385
Joined: Tue Mar 13, 2007 12:56 am
Location: 10-9-oh(!), wa

Re: DIY sporty seats

Post by beatersubi »

The following user says thanks for the post: beatersubi

Is there any type of product available to add foam to the seats? Possibly in the side bolster area. Or would you not recommend doing that?
93 legacy wagon L, 22T swapped (TW imitator) now with five forward speeds. (Gone, but never forgotten)
johndrivesabox wrote: Rally, my kyboard is brok, his has nohing o do wih h liquor.
Originalcyn wrote:Apparently everyone hates Gabe.
Legacy777
Site Admin
Site Admin
Posts: 27926
Joined: Tue Oct 15, 2002 11:37 am
Location: Houston, Tx
Contact:

Re: DIY sporty seats

Post by Legacy777 »

Very cool Kelly!

Thanks for sharing.
Take your time, drink some beers, talk to Doug on speakerphone about how he doesn't care if he keeps blowing motors. Just dont rush it.
LOL @ Doug :lol:
Josh

surrealmirage.com/subaru
1990 Legacy (AWD, 6MT, & EJ22T Swap)
2020 Outback Limted XT

If you need to get a hold of me please email me rather then pm
crashnburn
First Gear
Posts: 152
Joined: Wed Feb 10, 2010 9:19 am
Location: Covington, WA

Re: DIY sporty seats

Post by crashnburn »

nice mod. I never ever thought of this. +1 for you.
91 Legacy SS 440s, vf39, FMIC, LSD, Revtronix Stage 2, MSD Coil
07Evolved
Second Gear
Posts: 545
Joined: Wed Nov 25, 2009 10:00 pm
Location: Roanoke, VA

Re: DIY sporty seats

Post by 07Evolved »

yeah man, thank you very much! this is a great idea!
Brad

1991 Subaru Legacy L AWD Wagon 5MT (DD)
2000 Outback 5MT (DD)
2005 AW STi
2010 LGT (hers)
1998 Outback (her DD)

Build Thread
Post Reply