ok, busy weekend working on the car and freezing my jingle balls off!
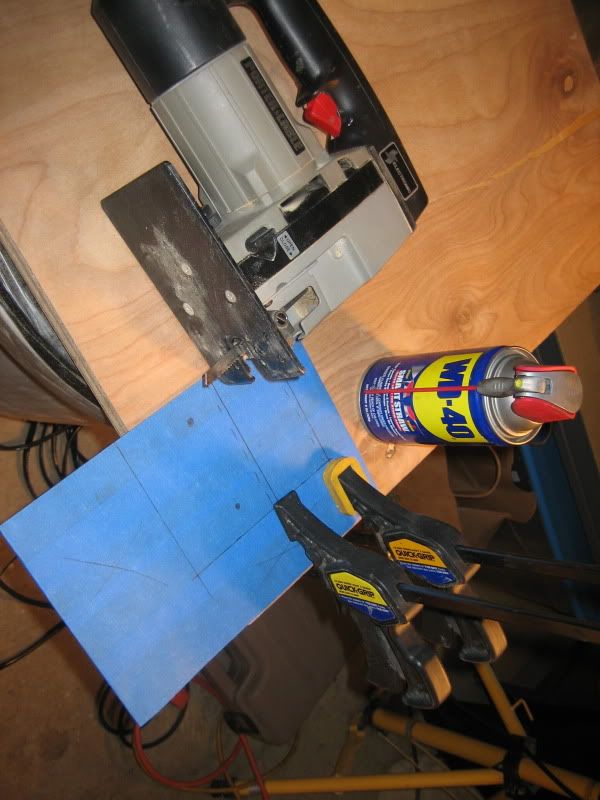
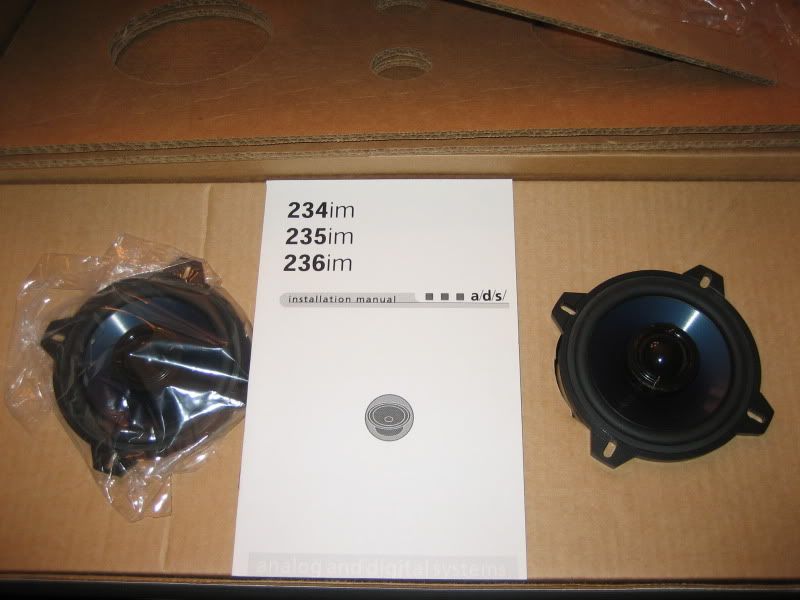
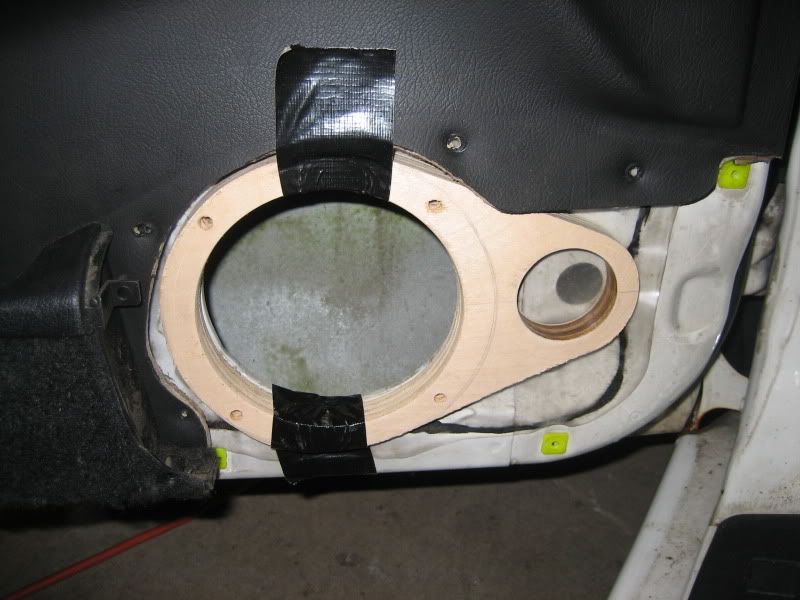
My first course of action was to tackle the door speakers. My 6.5" midranges were around .75 inches deeper than the already aftermarket pioneer coaxials I had in there so I went with 3/4 inch birch plywood for a material to make the adapters.
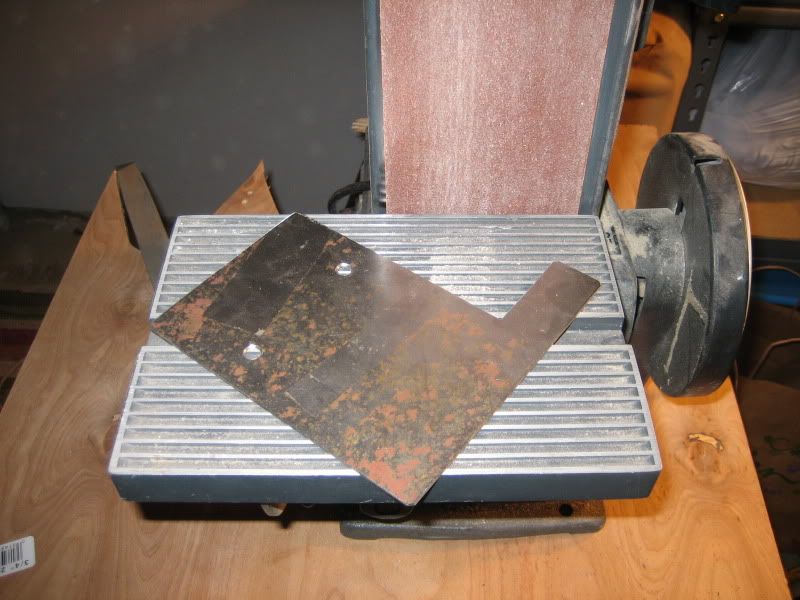
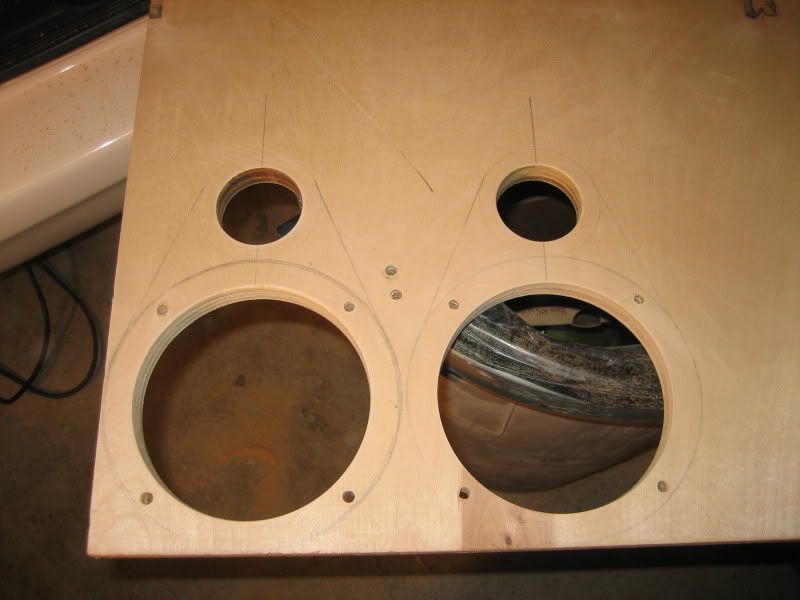
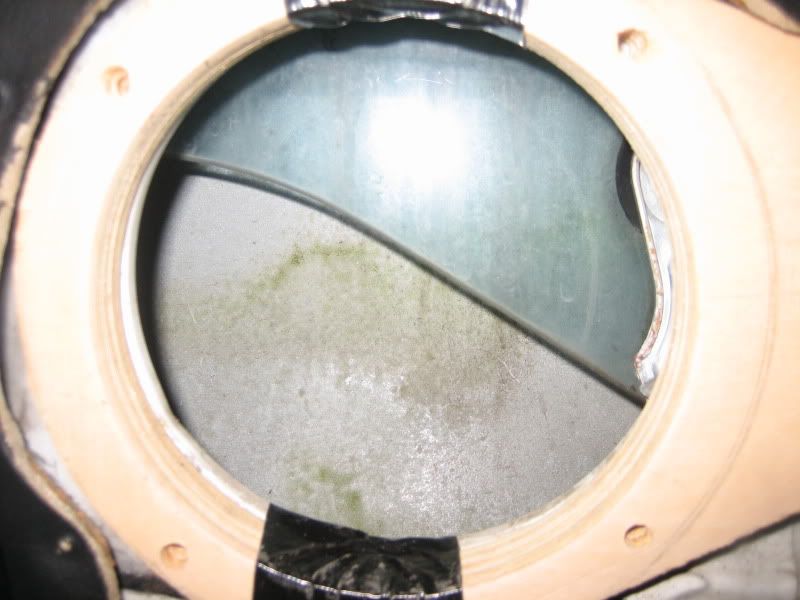
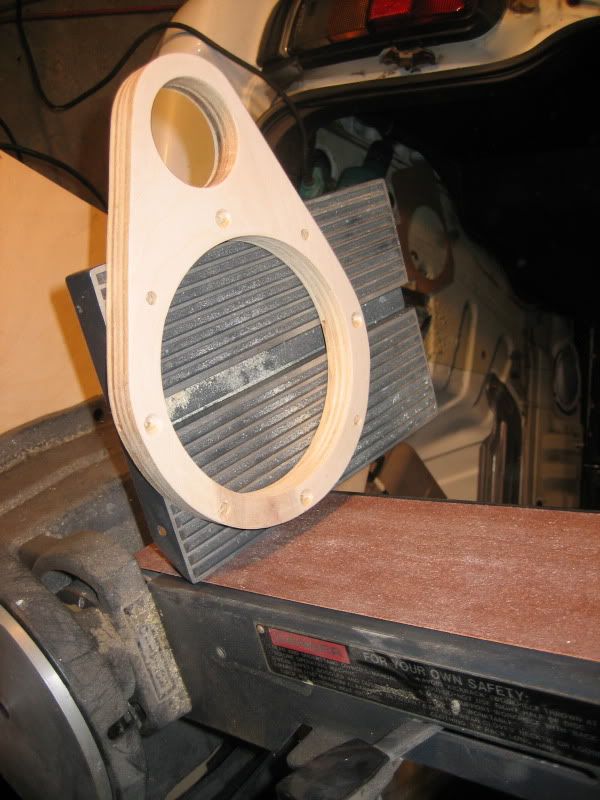
ok, so after taking a peek at the door I came up with a template out of cardboard and tranferred the design to the 3/4 inch stock to make the plates.
I'm using birch plywood for the entire system including the speaker boxes. (THIS IS NOT AN OPEN DISCUSSION OR A HOW TO SO DON'T COMMENT ON HOW I "SHOULD" BE USING MDF INSTEAD. I KNOW WHAT I'M DOING AND DON'T WANT THIS THREAD TO BE A PISSING MATCH ABOUT HOW YOU READ SOMEWHERE THAT MDF IS THE BEST ETC ETC) lol ok rant over Thanks

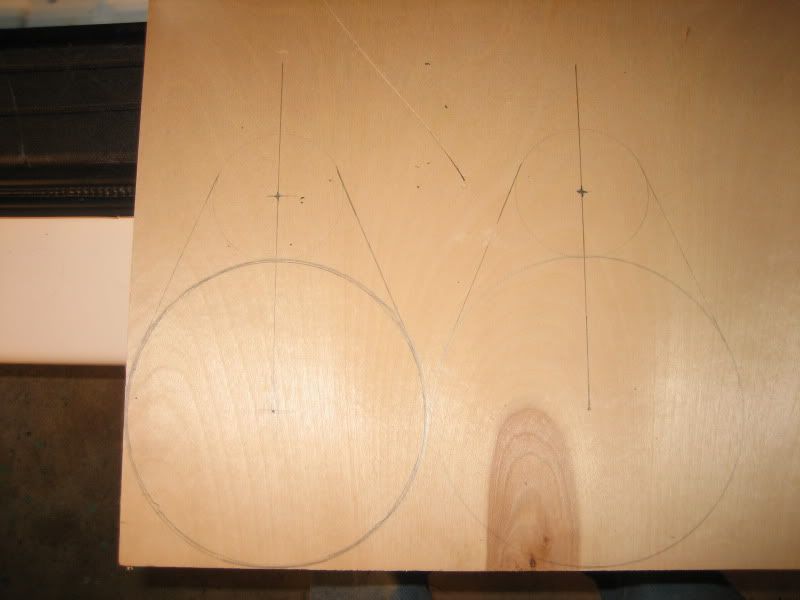
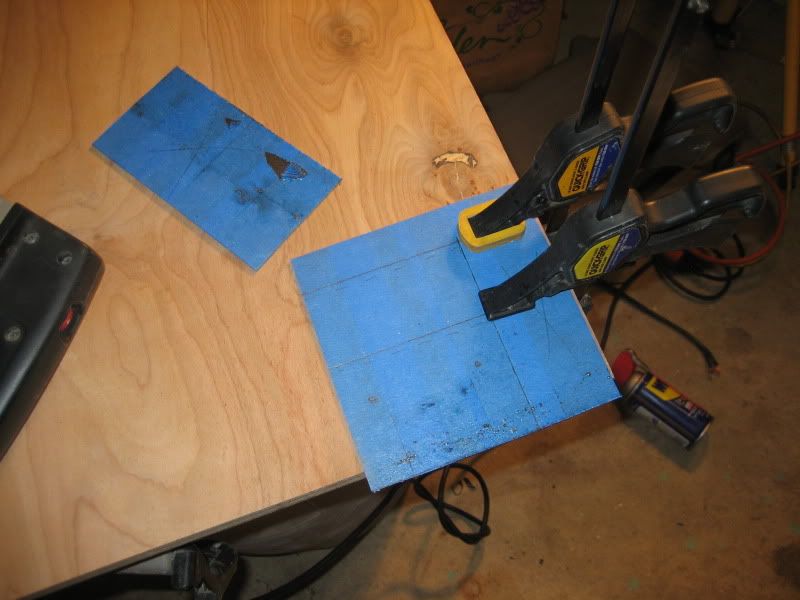
As you can see I added an area to flush mount the tweeters in the plates as well. Now to cut the holes:
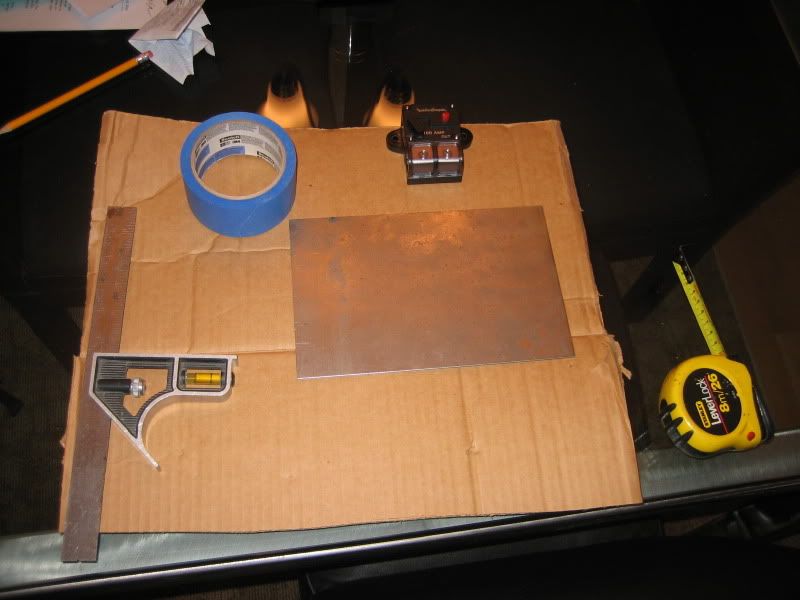
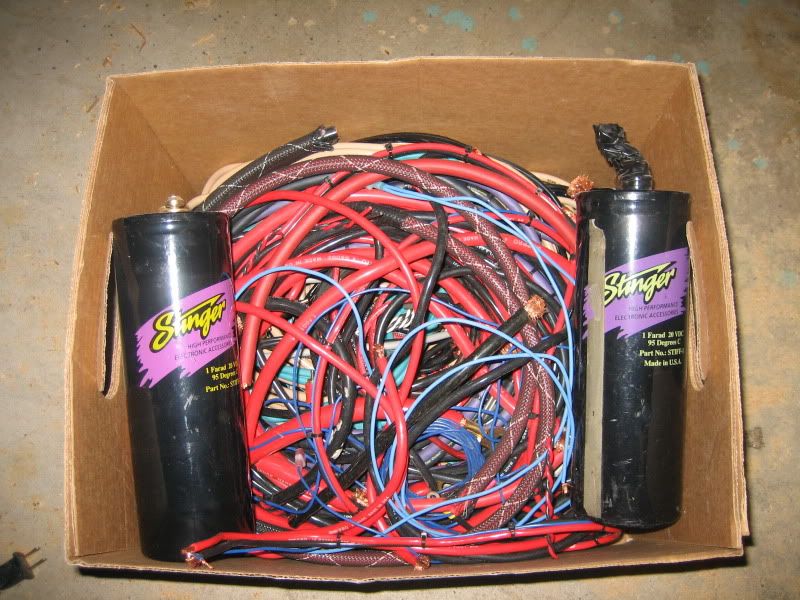
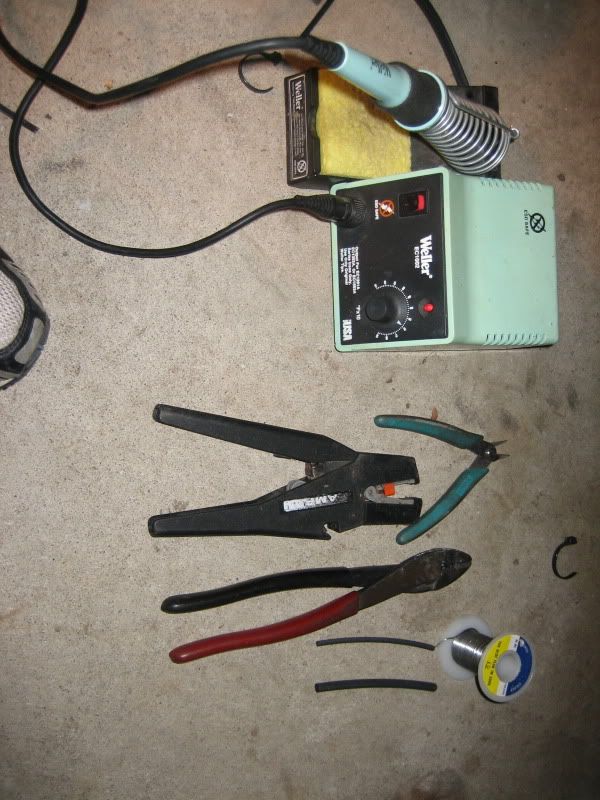
Grab tools, what is in this box cost me a lot of money!
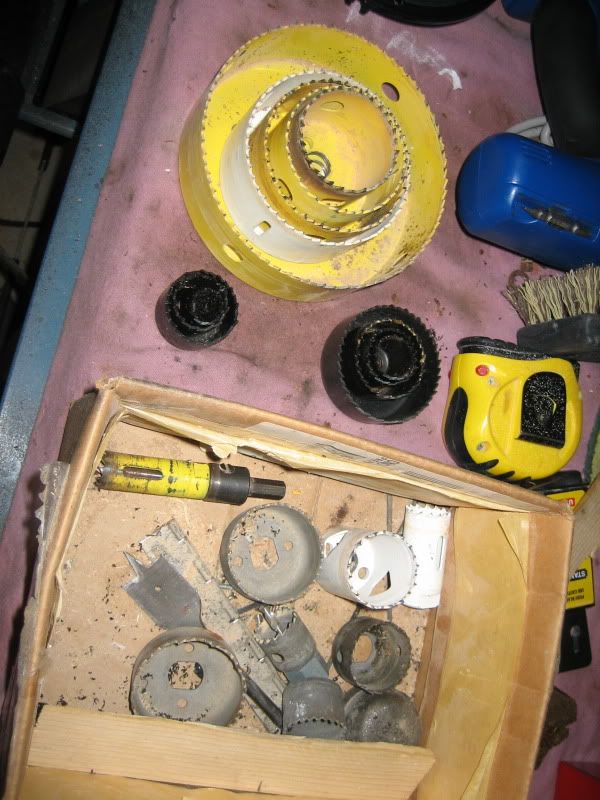
Heres the 6" (I think) hole saw used:
Tweeter holes cut:
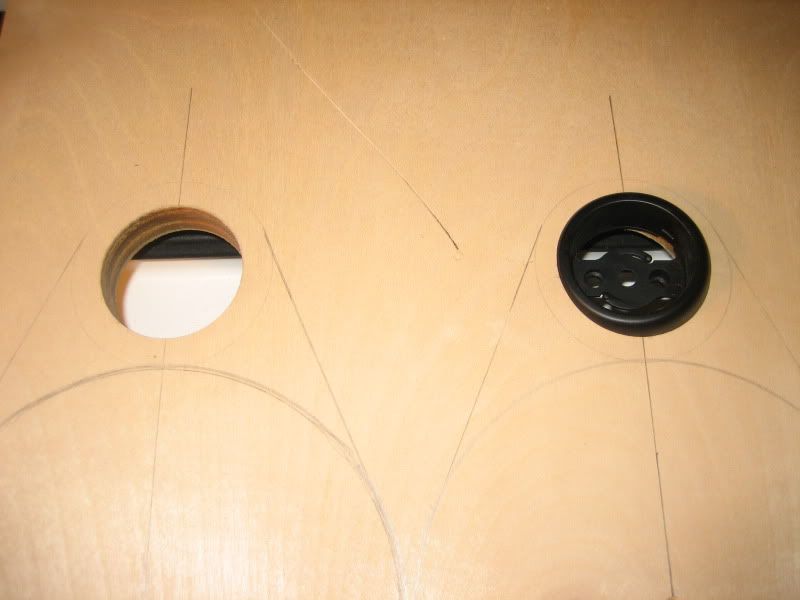
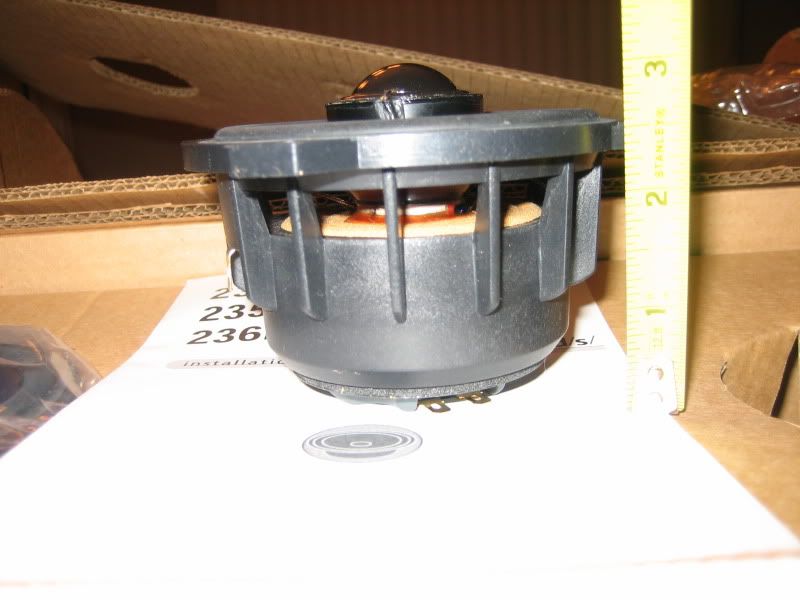
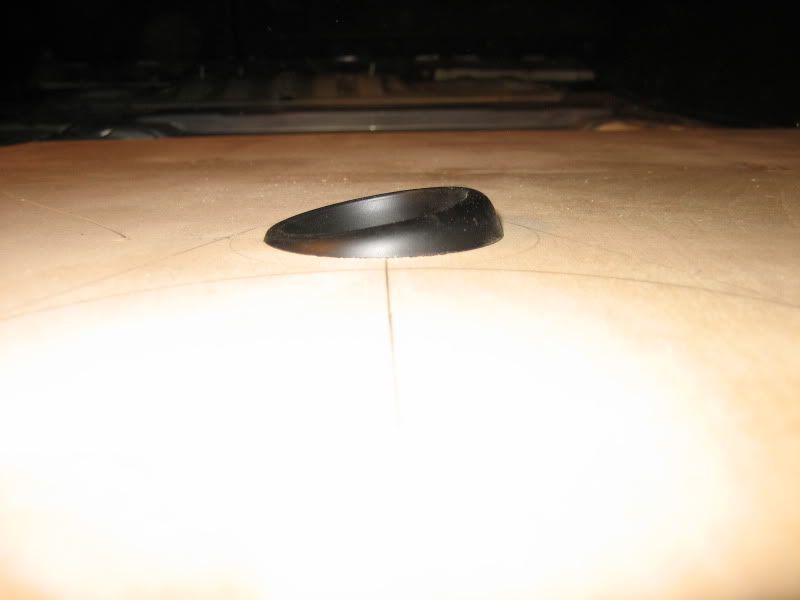
Angled slush mount cups used to angle the tweeters back and up at a 45 degree angle in the door:
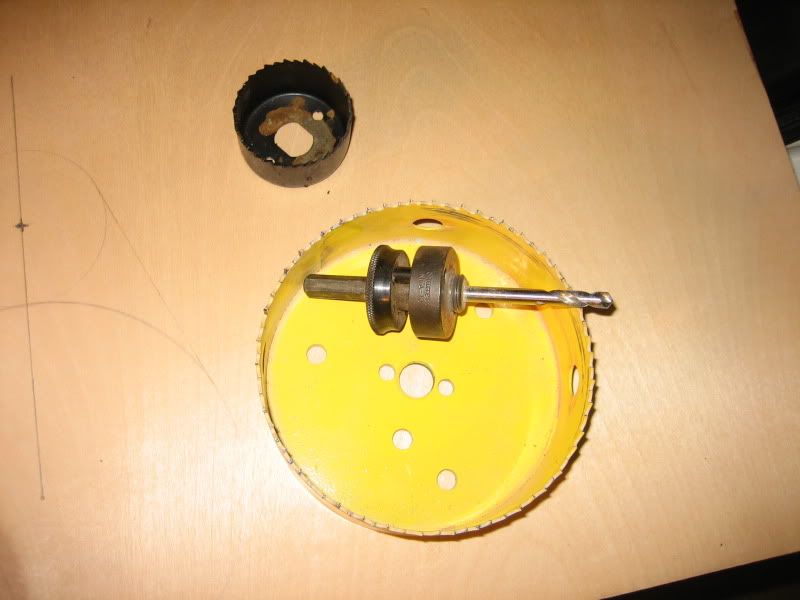
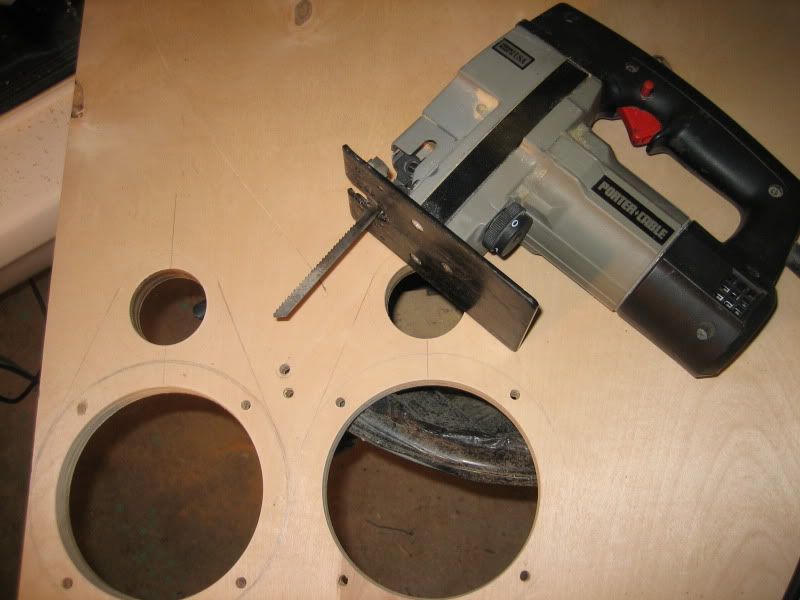
Heres a little trick I'll share with you for cutting large holes with a hole saw.
1. Get the hole started to give an outline of where the hole is exatly and then use a flat style bit to slam 4 holes quickly at the quadrants on the onside edge. This gives the sawdust a place to evacuate while you are cutting the large hole and the bit wont overheat and burn the wood (as much). Works pretty good:
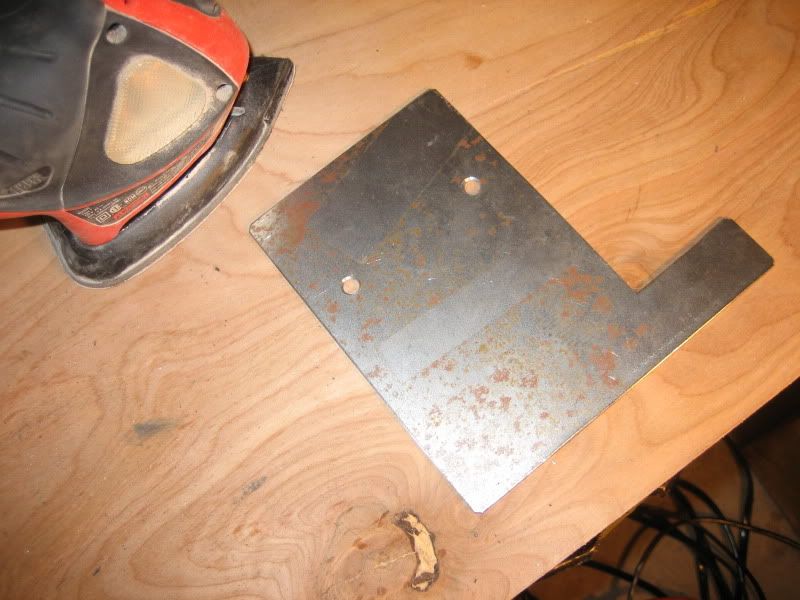
Holes cut:
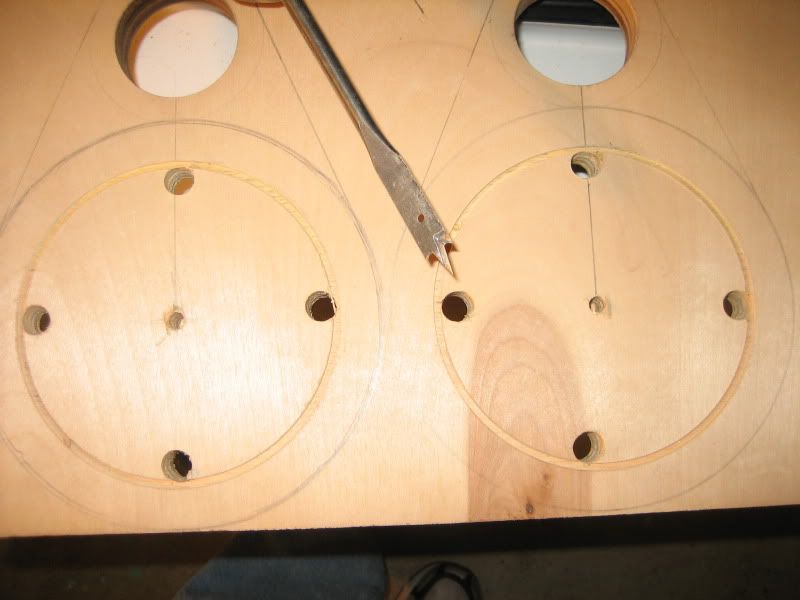
Heres another tip- Do all the cutting and drilling while the plates are still in one big piece of wood. Its a lot easier to handle the work and drill holes etch as well as clamp.
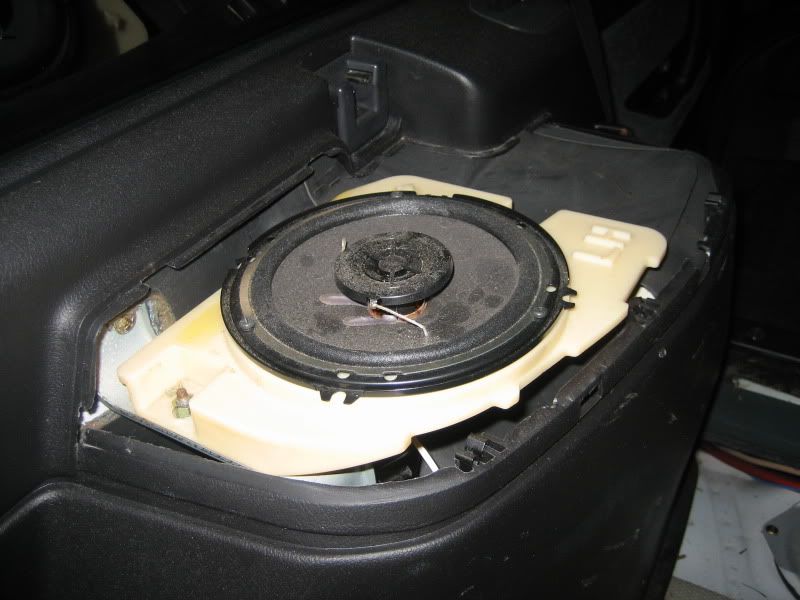
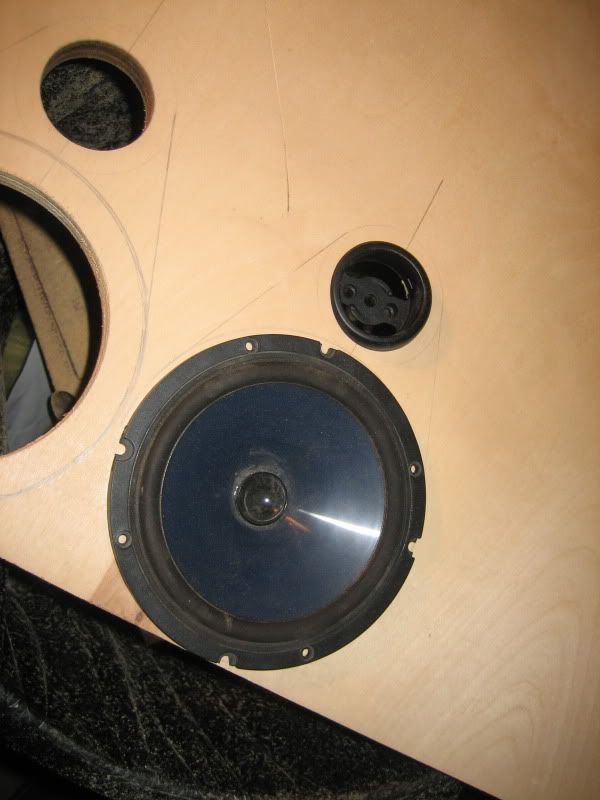
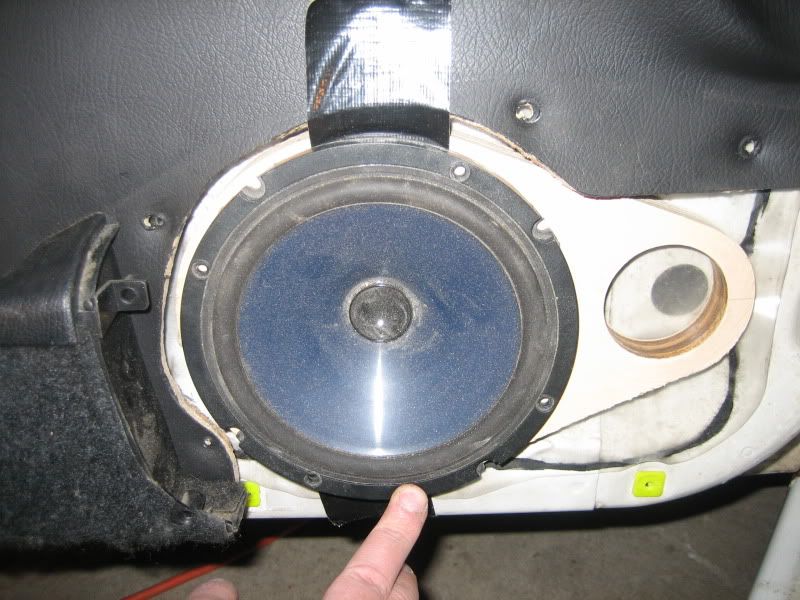
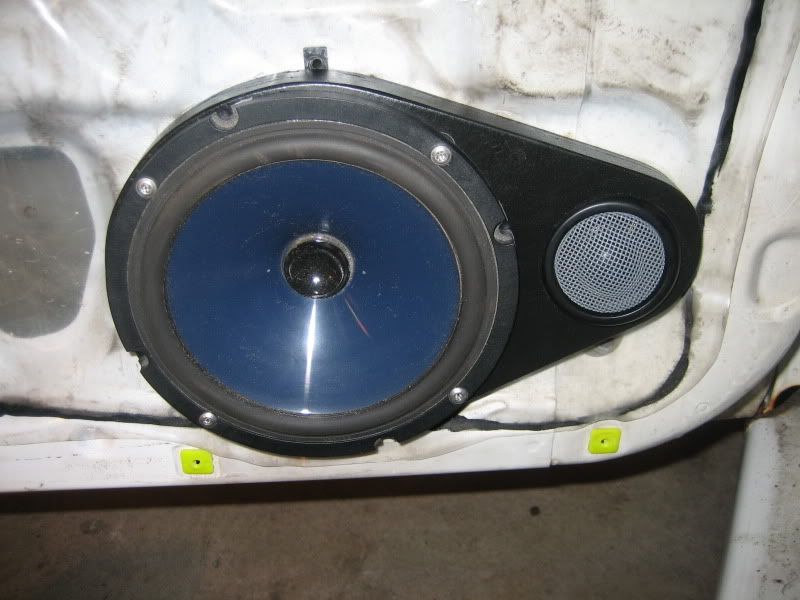
Speaker fits:
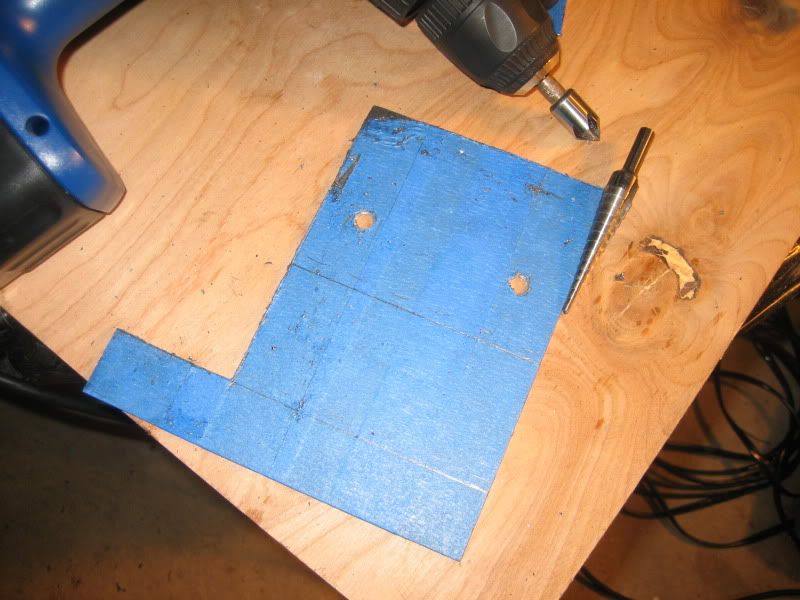
Now for some goodies (Brass thread-serts):
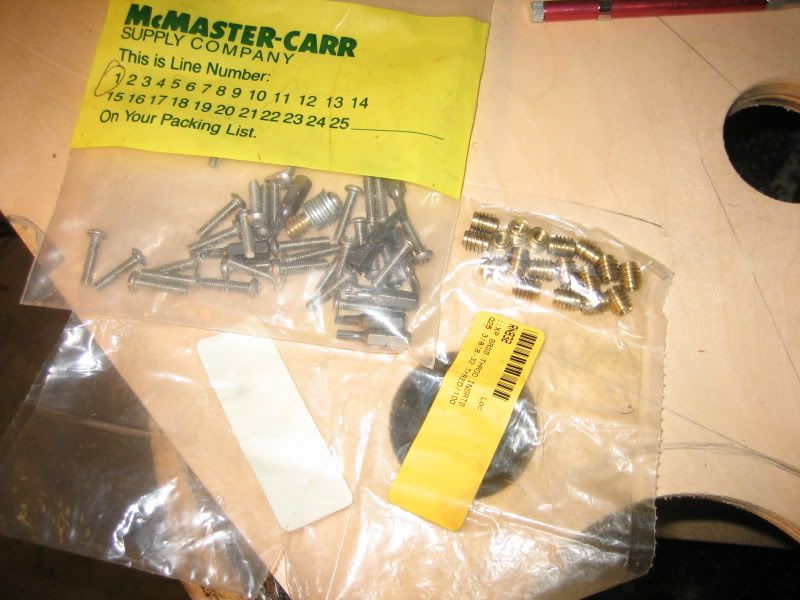
Threatsert holes drilled where the speaker mounting holes line up:
More on that later......
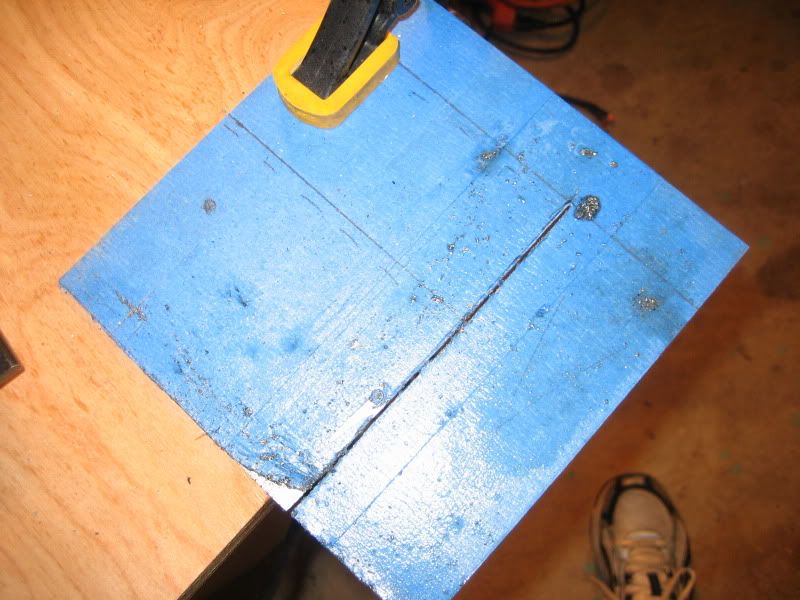
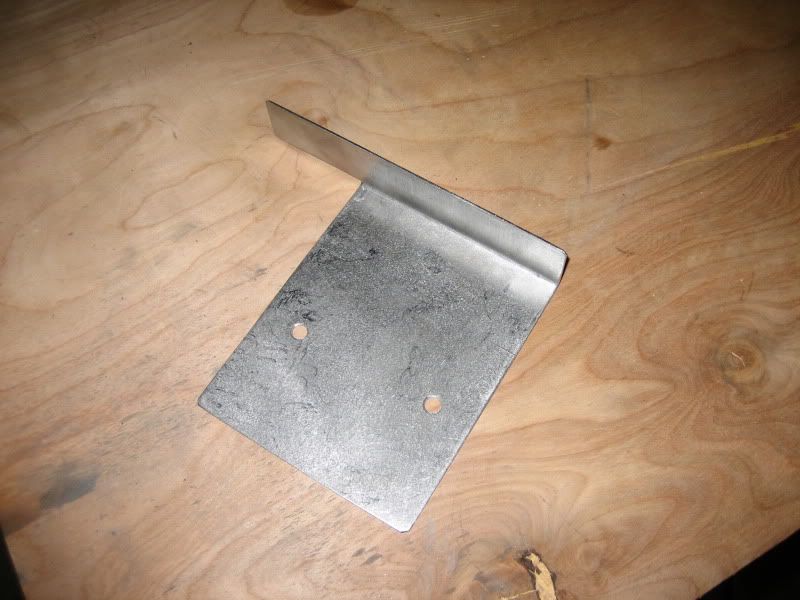
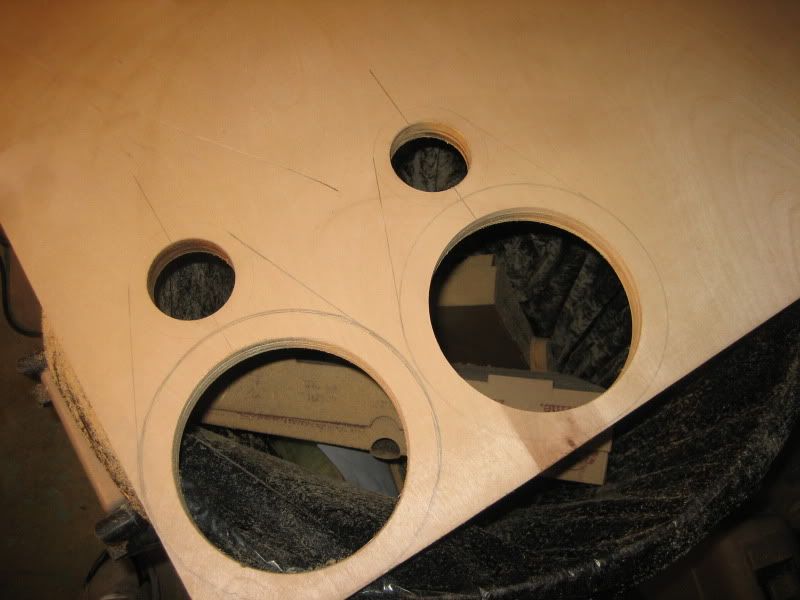
Now I cut the shapes out:
Test fit in the door and check for some clearances:
Window down at a point where it would hit:
Speaker in (no hittie):
A little sanding for paint prep:
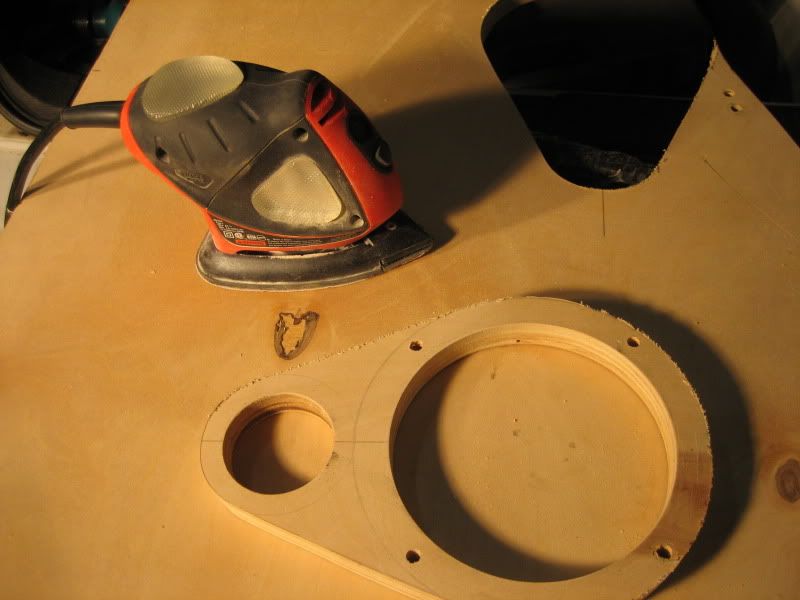
More sanding to clean up outer edge:
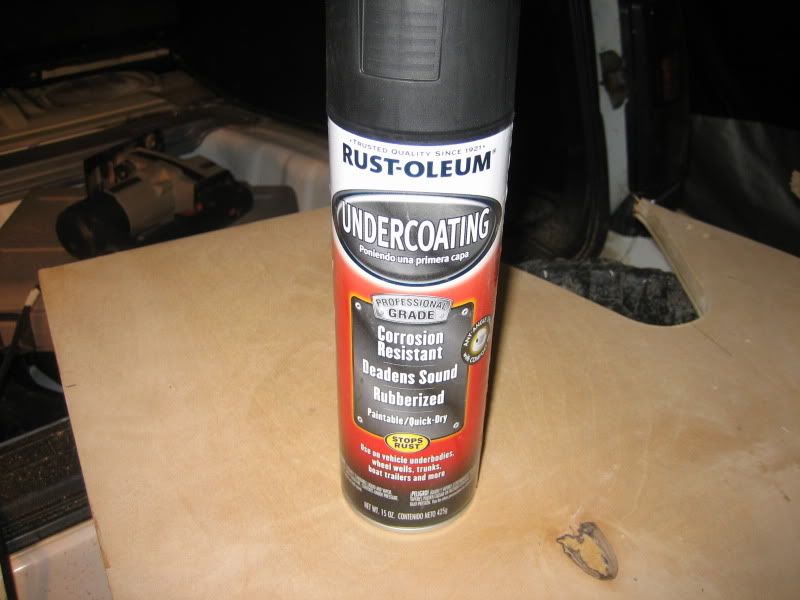
Now to protect the plates from moisture, a good coat of ruberized undercoating. Yes this is what installers use although Wurth makes some really nice shit and this stuff sucked but will still do the trick

Now for the threadserts after they dried of course:
Threadsert "installation" tool
:
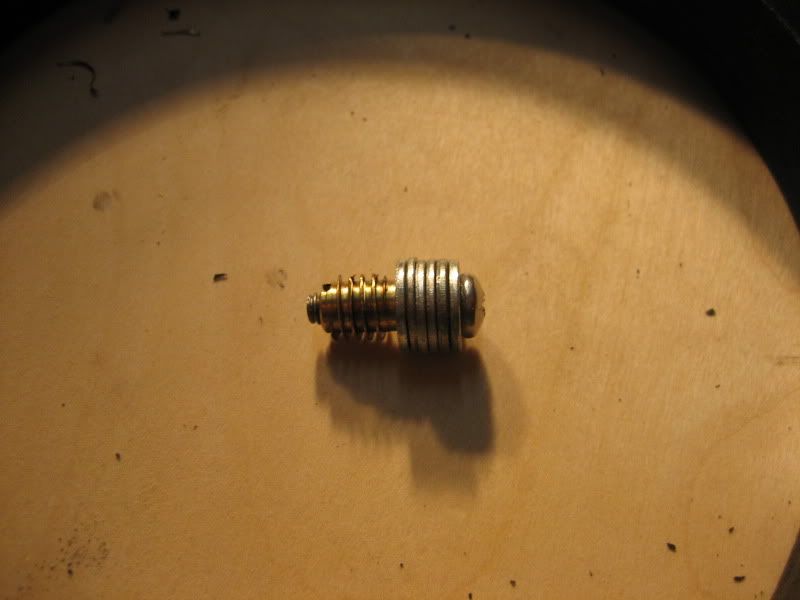
Threadserts installed:

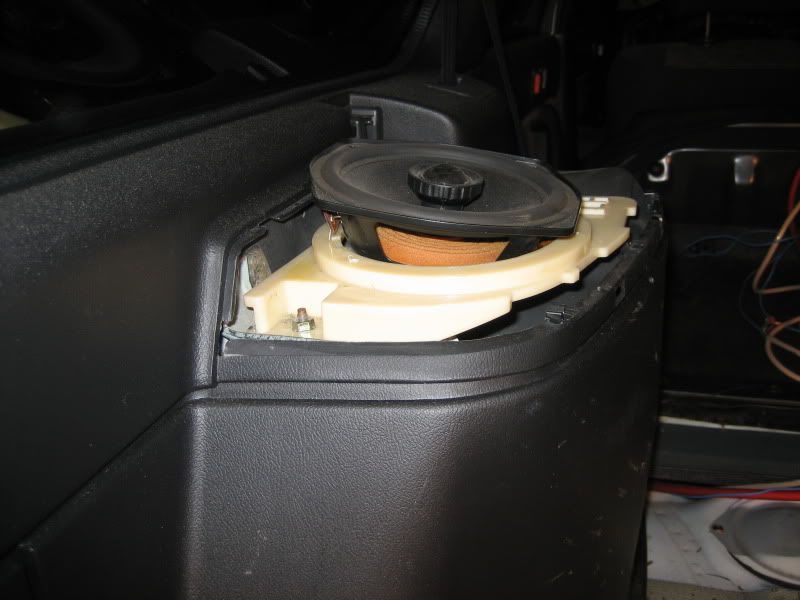
Tweeter pods were just hot clued in place, there was no room for anything else. Would have used epoxy but I dont really care and I think it will hold just fine.

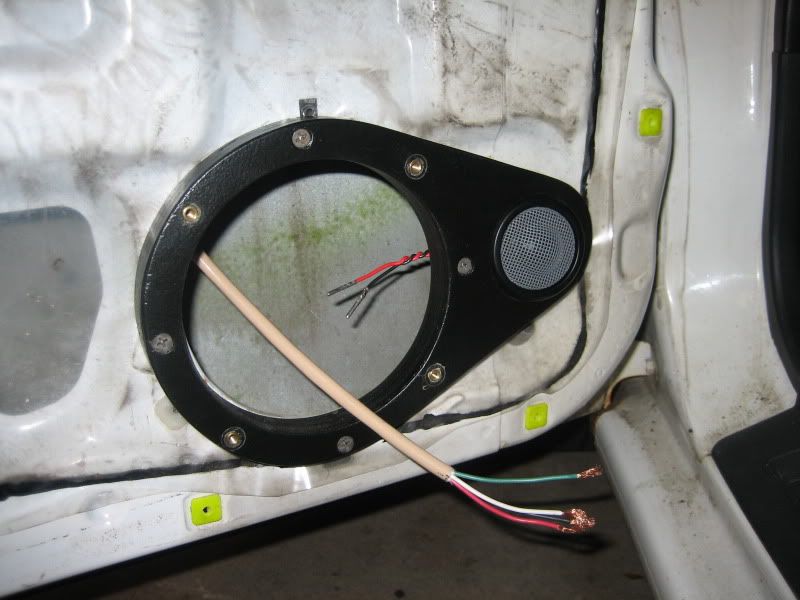
Screwed in the door:
I'll skip to the wiring (I was doing that while they were drying
)
About 10 years of installing yields you one of these boxes lol:
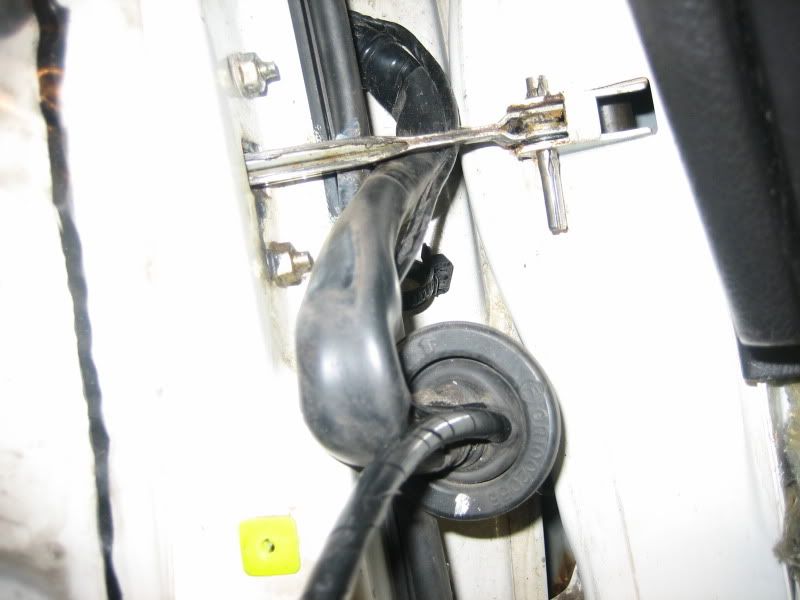
Now to get the wire into the door:
Pull the car end of the rubber grommet out.
I made a slit in the grommet and pulled it through the "quick" way:
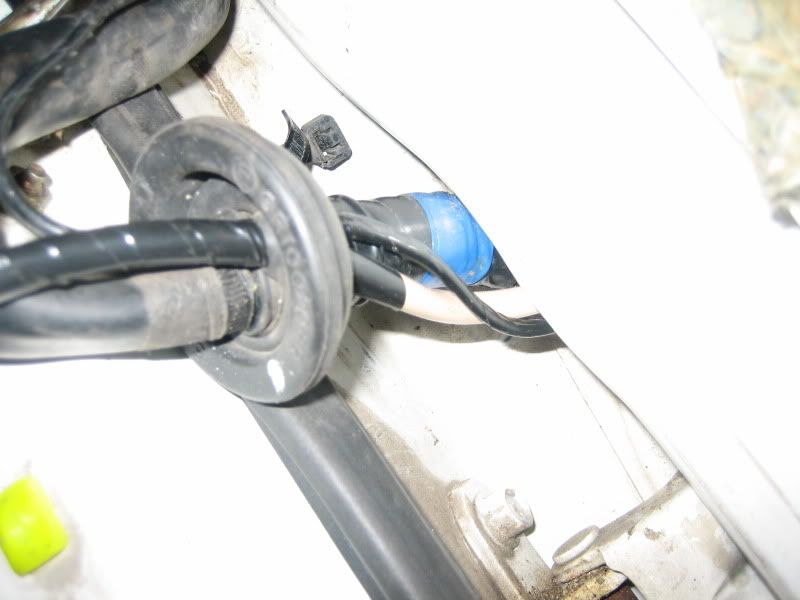
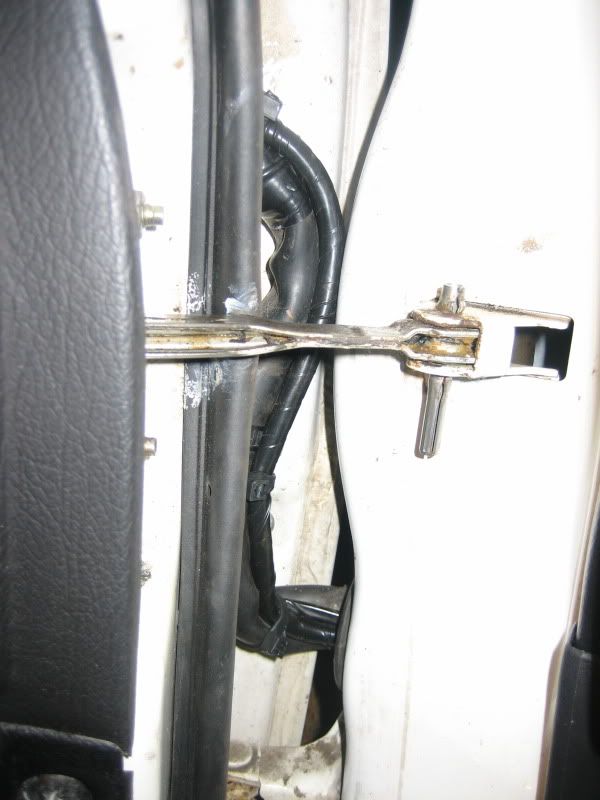
I just wiretied it to the main harness:
Disclaimer - Normally I would have run the cable through the factory harness and not cut into the boot but I dont really give a shit anymore lol.
Now for connecting it to the speakers:
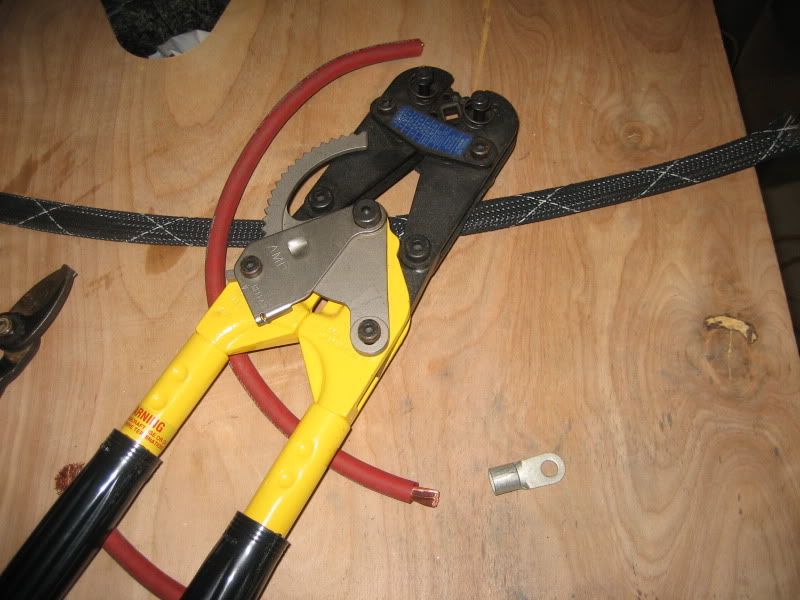
Tools:
Tweeters:
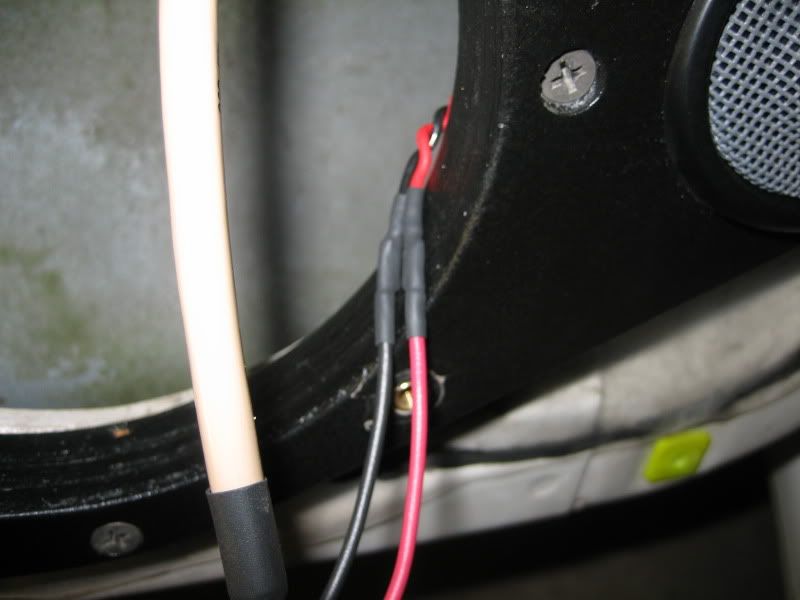
Mids:

Done:
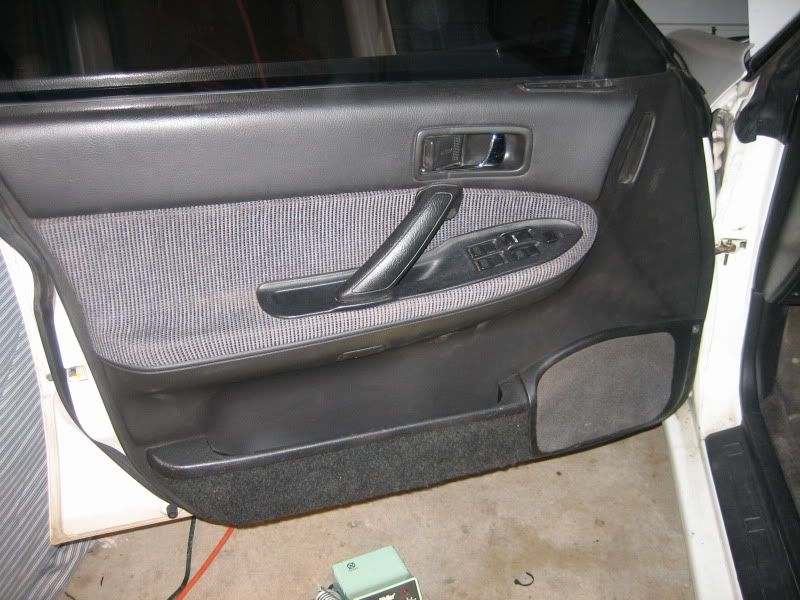
Door panel on:
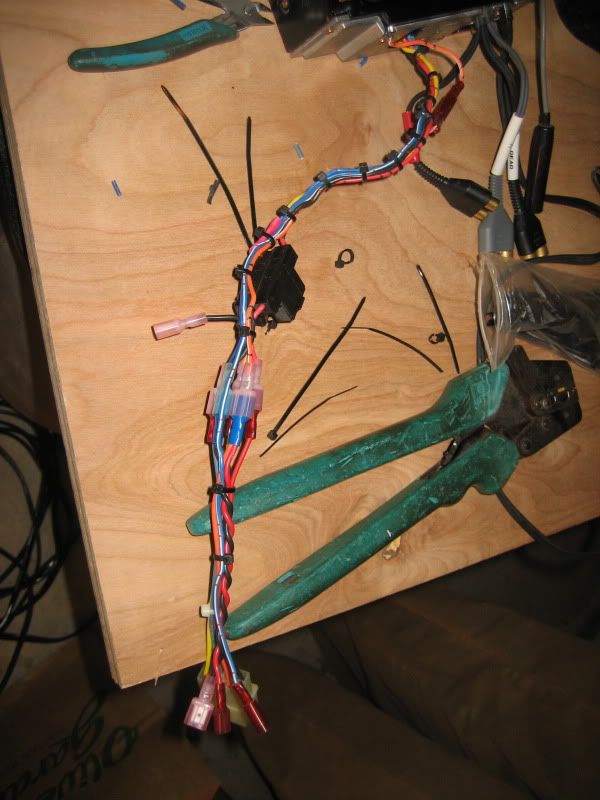
Got the harness wired for the sony deck:
Threw in some extra wiring there for the illumination on the volume pots used by the ads amps:
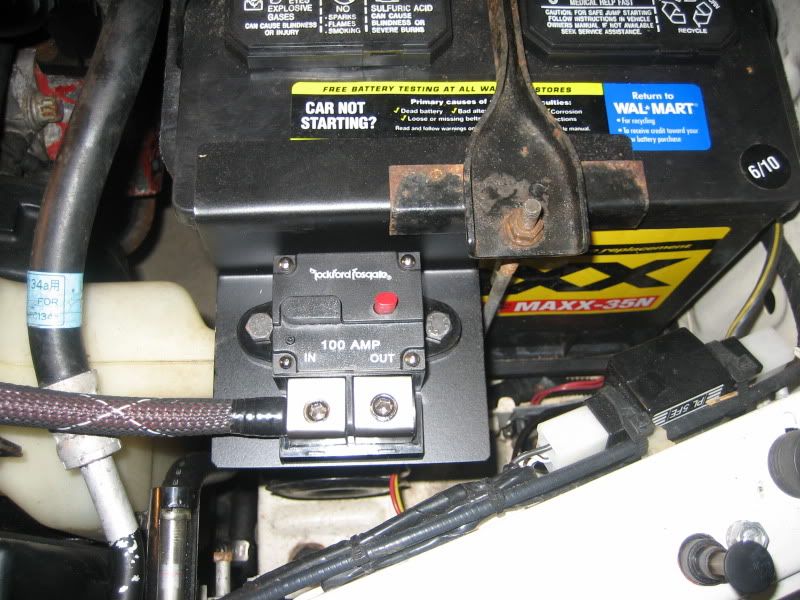
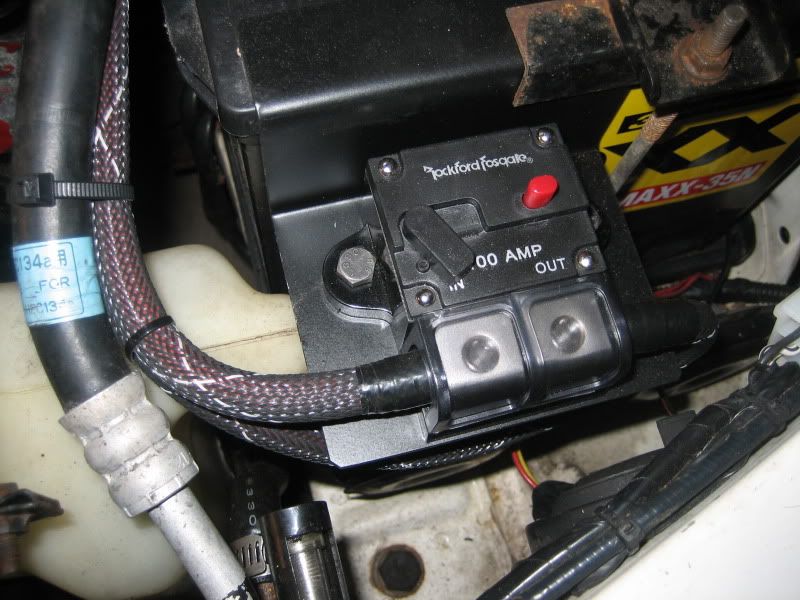
Next project:
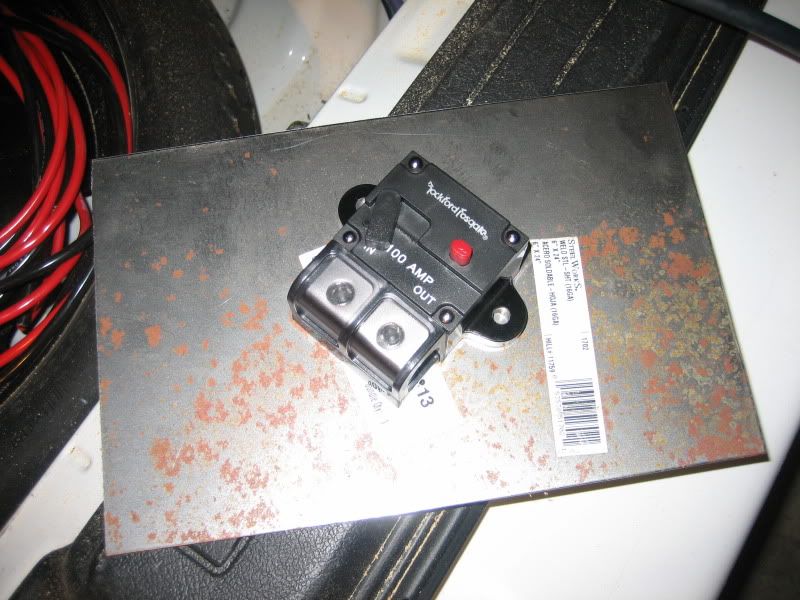
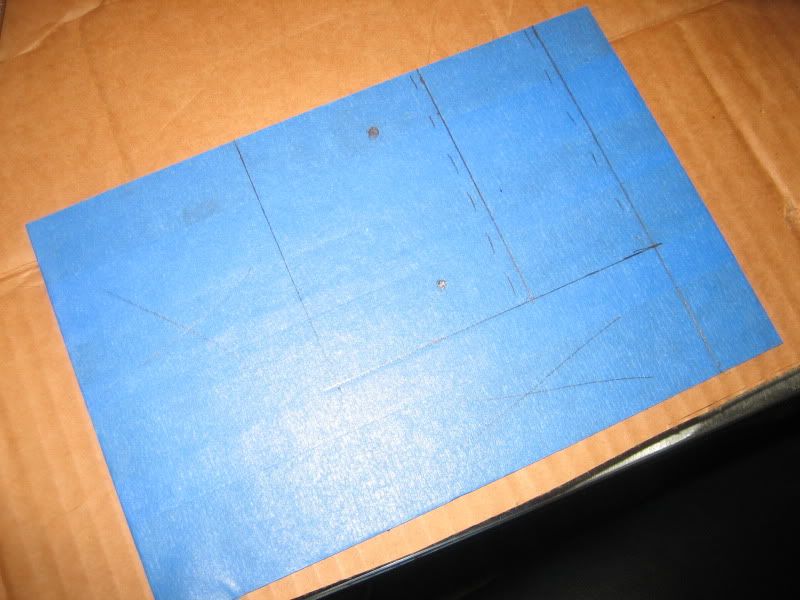
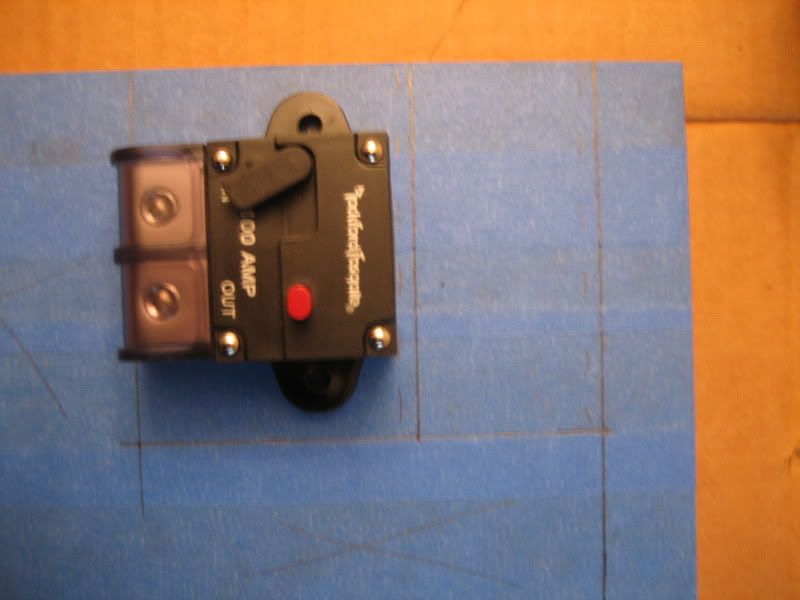
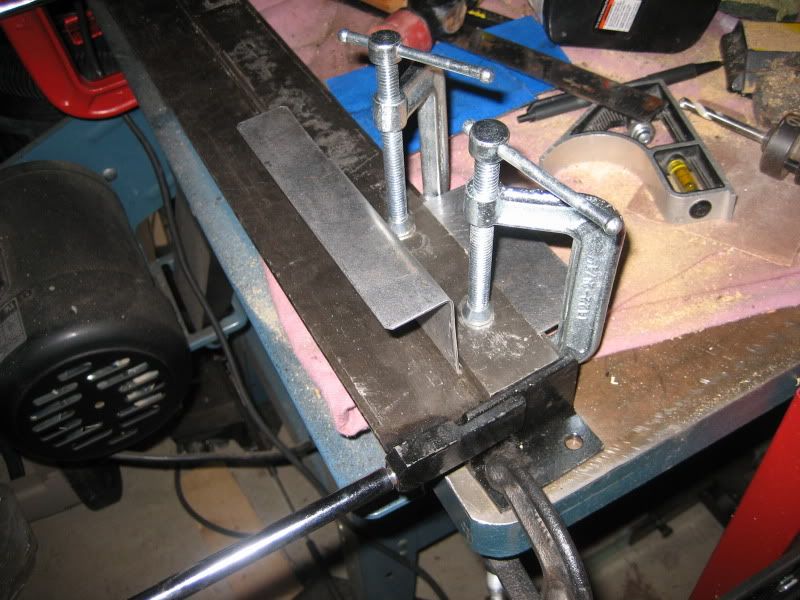
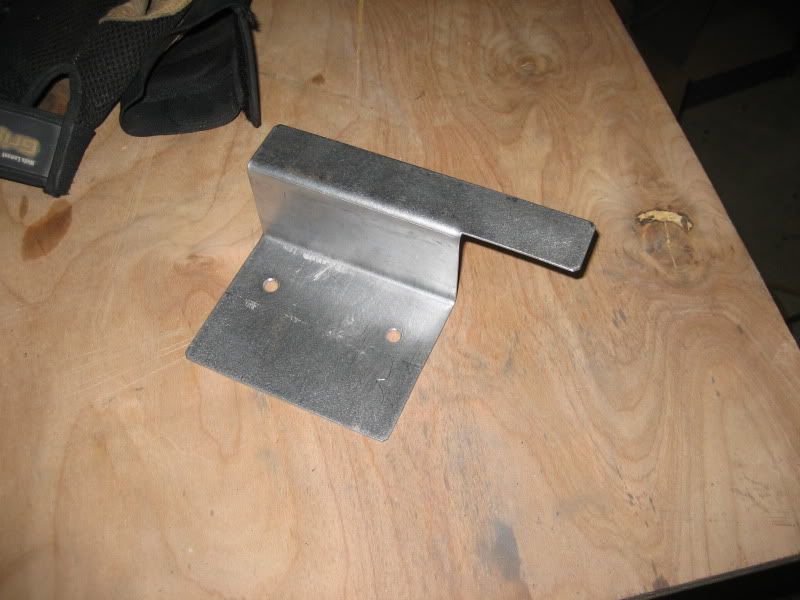
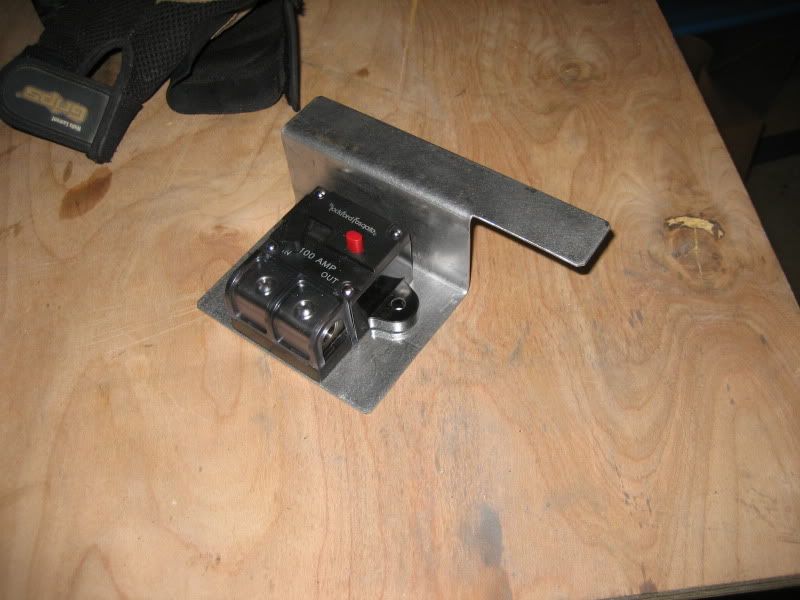
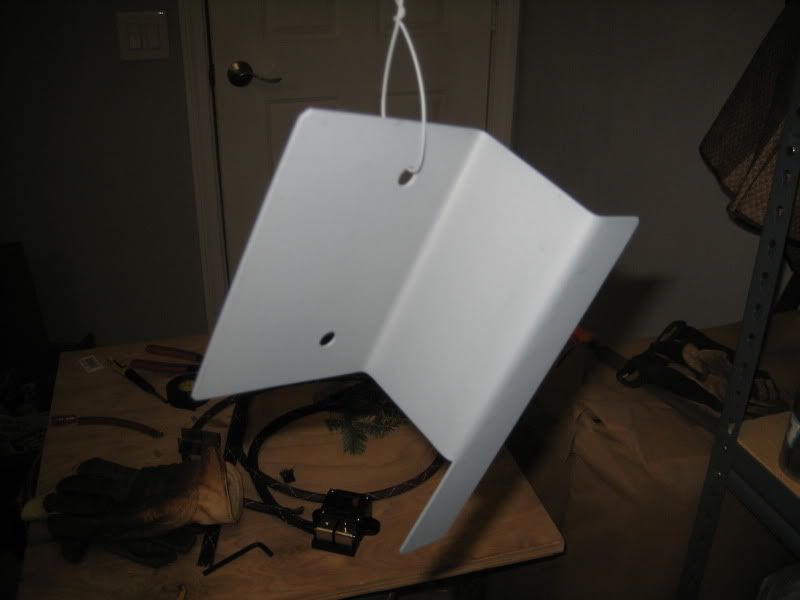
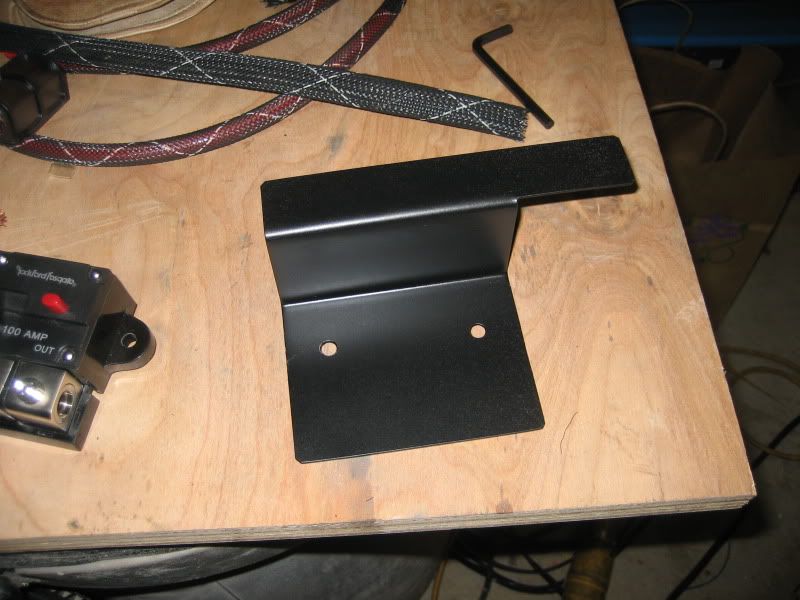
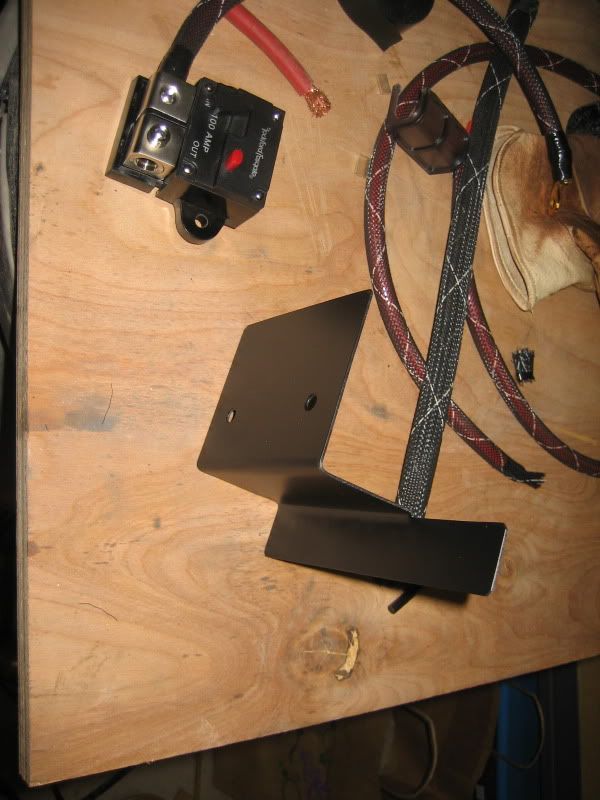
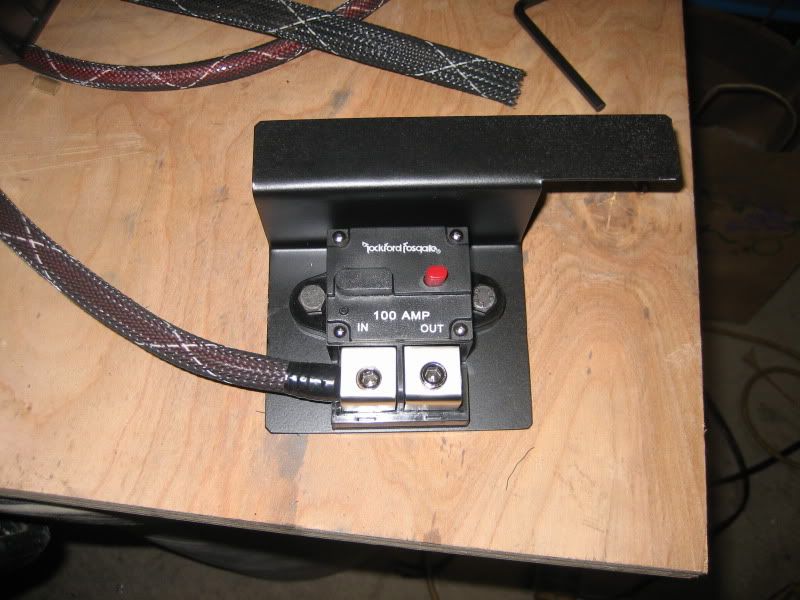
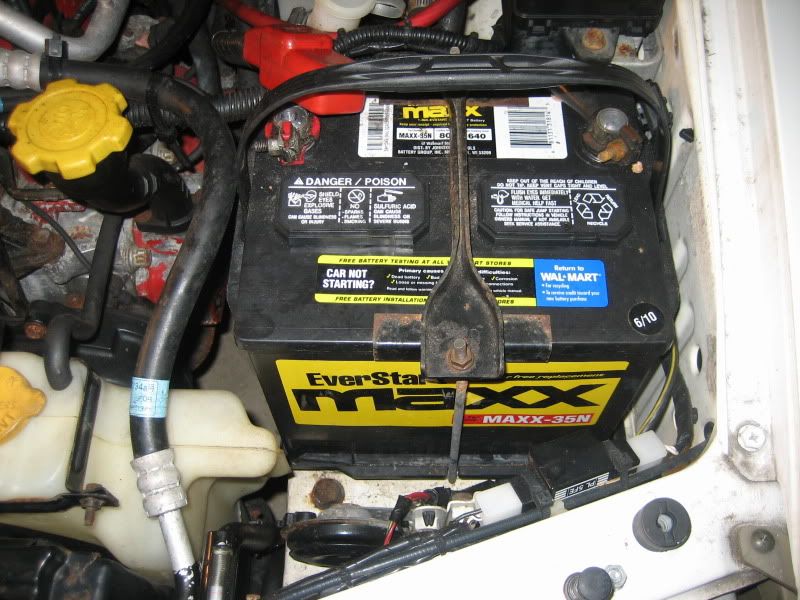
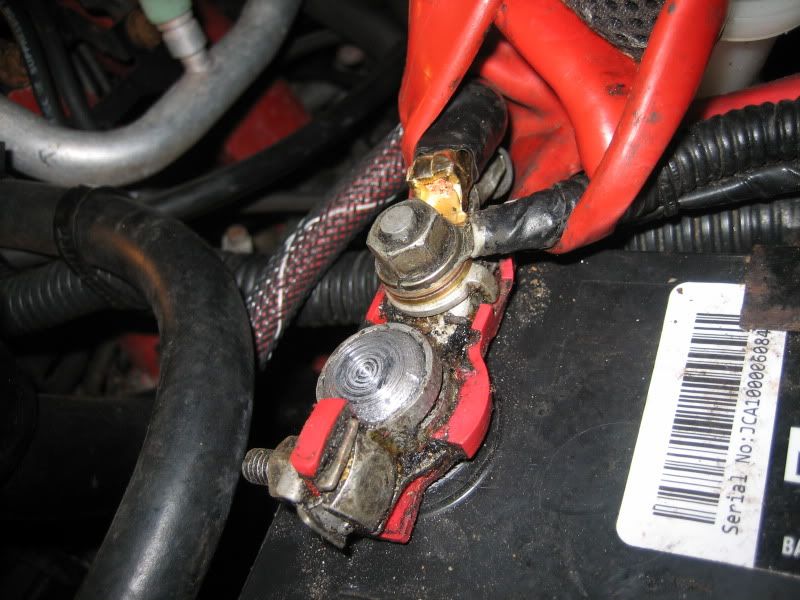
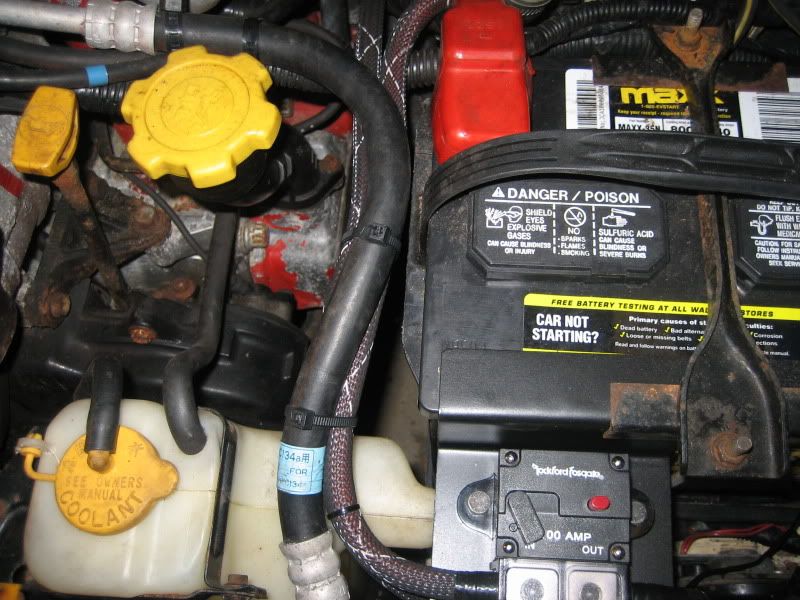
I need a holder for my circuit breaker thats going in front of the battery: