No catastrophes yet Chris! Although I almost cut the power cord with the dremel while not paying very close attention to what I was doing. Keep the popper going though!
So here is phase 1:
For this project, I should note that I am aiming to satisfy the needs of an 06-07 WRX intercooler with a 2003 WRX scoop. The measurements I need to meet are simple. The back of the scoop is 5/8" in front of the washer fluid sprayers to allow for proper airflow across the entire intercooler face. The intercooler fins are roughly 3" in front of the washer fluid sprayers. The fin area is 4" which brings the grand total space up to 7" where the hole needs to go. This '03 WRX scoop is more than able to handle the needs. Here is a crappy drawing to illustrate what I have outlined:

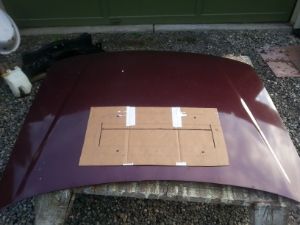
Next, I decided to just use a center point to launch my placement. I marked the 5/8" in front of the washer sprayers and dropped some masking tape to create my back edge for the scoop. Next, I needed to find the center of the hood and marked this on the tape. I measured between the sprayers to find the half way point.

Next, I found the center of the scoop using the middle clip hole as my reference and marked it. I matched up the two center points (hood and scoop) and measured from the back of the scoop to the edge of the backside of the hood at the sprayers to assure it was equal distance and facing straight.

After I was sure the scoop was centered and straight I traced a line around the scoop. It is important to keep your sharpie angled in to assure you are getting the outline correct. You can see in this picture that I drew at an outward angle creating a bad outline (outside blue line in photo):

I corrected this so that when you are looking down you can see the outer edge of the line peeking out from the scoop edge. Notice how far off the first line is:

Next I measured the clearance needed for the clip housing on the bottom of the scoop on the front/back/sides. The scoop has a thin edge of the hood surface that it will be sitting on. These clip housings on the scoop are not flush with the bottom and therefor sit lower than the hood surface. The back side has about a 1/4" width. The sides and front area have 1/2" width inside of the scoop outline. With these measurements, I measured inside of my outline a 1/2" on the front and sides using a dotted line and 1/4" in from the backside of the scoops outline. This dotted line will be the line that is cut out using a dremel. I also placed a piece of tape across the front line as a sort of cutting guide:


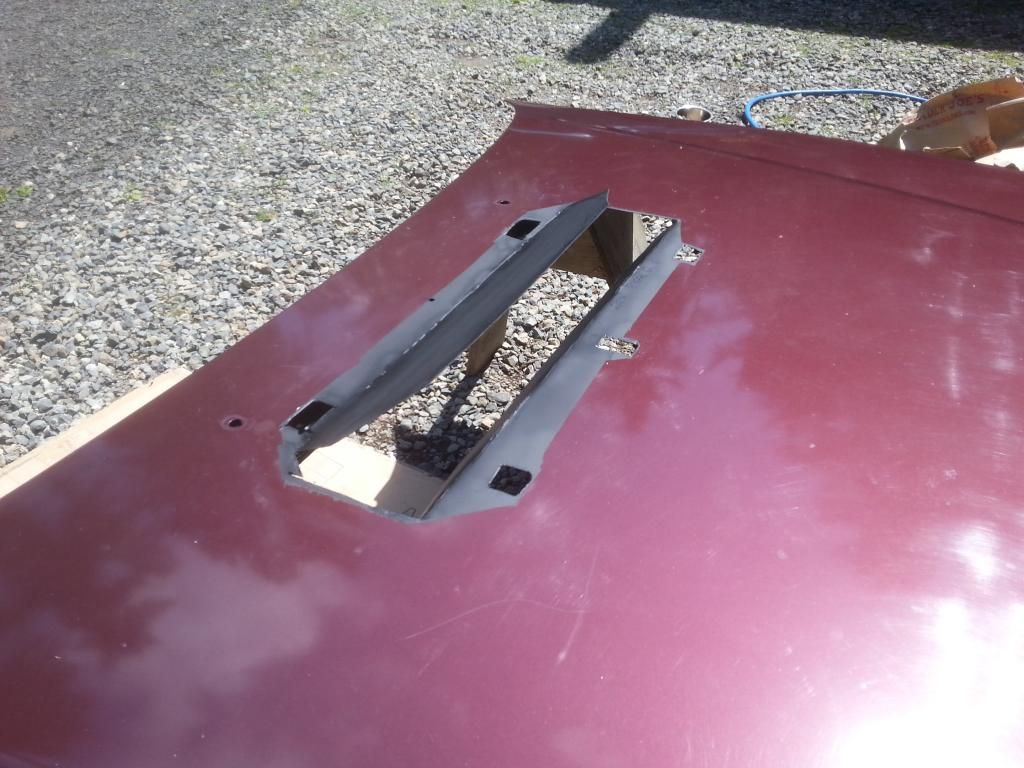
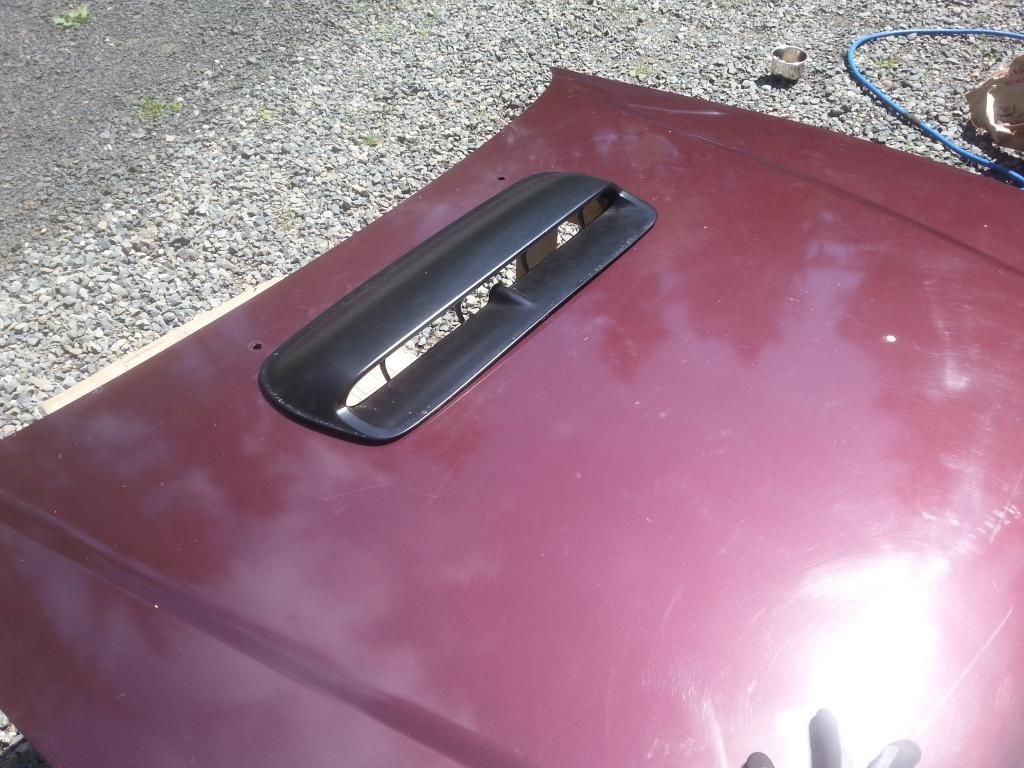
I ended up only using a disc and a half to complete the cut. Once that was done I placed the scoop into the hole to assure proper fitment and to find any areas that needed an extra trim. Everything was good with the measurements I used above!
Once I knew the fit was good I put the scoop back on and marked on the tape at the front of the scoop and the back of the scoop where the clips are. These clips are what will hold the scoop on and eventually we will be drilling holes for these. All we need to do is mark where they are for now. I traced the front of the scoop onto the tape after the clips were marked to verify I hit my lines. Amazingly everything lined up perfectly:


The actual holes for where the stud on the clip will drop down for tightening are 1" away from the edge of the scoop on all six locations (three front and three back). I just measured an inch in from the outer outline of the scoop and placed the dot on the lower supports or second layer of the hood. You can see these on the tape near the back edge of the scoop hole.
Next I used a wonder bar and popped out the plastic clips holding the dampening material to the top of the hood. All clips are reusable still:

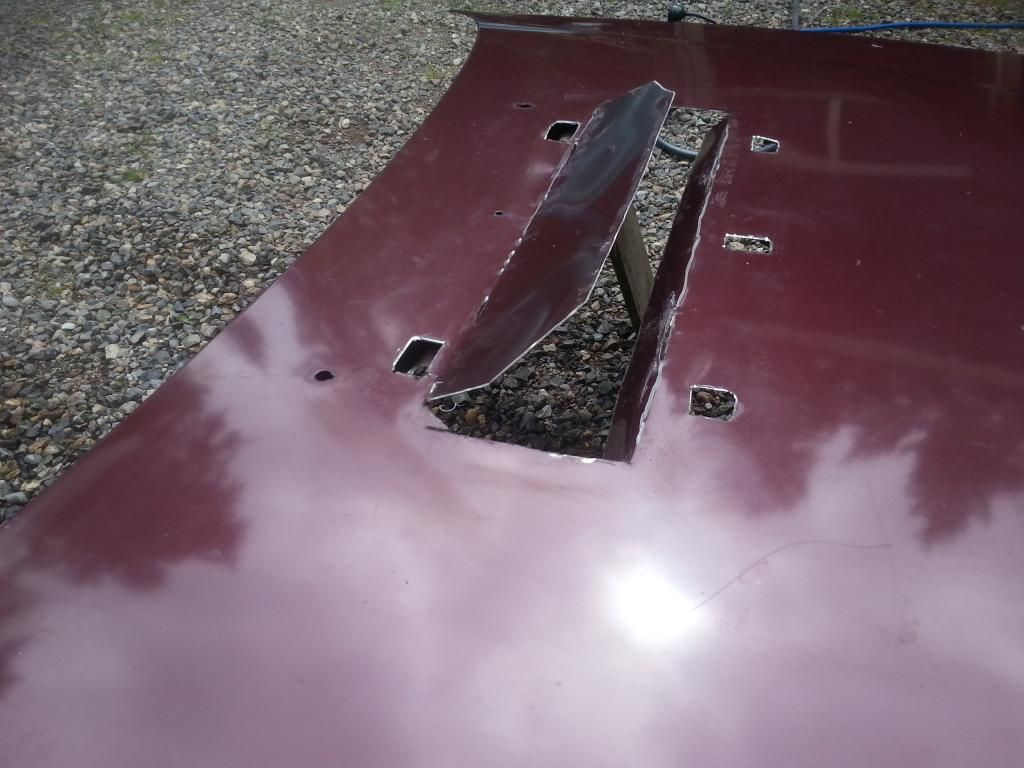
Next it is time to open up the area for the air to flow. I just cut across the straight sections as the measurements were appropriate for opening up this to gain flow across the whole face of the intercooler.
Before:

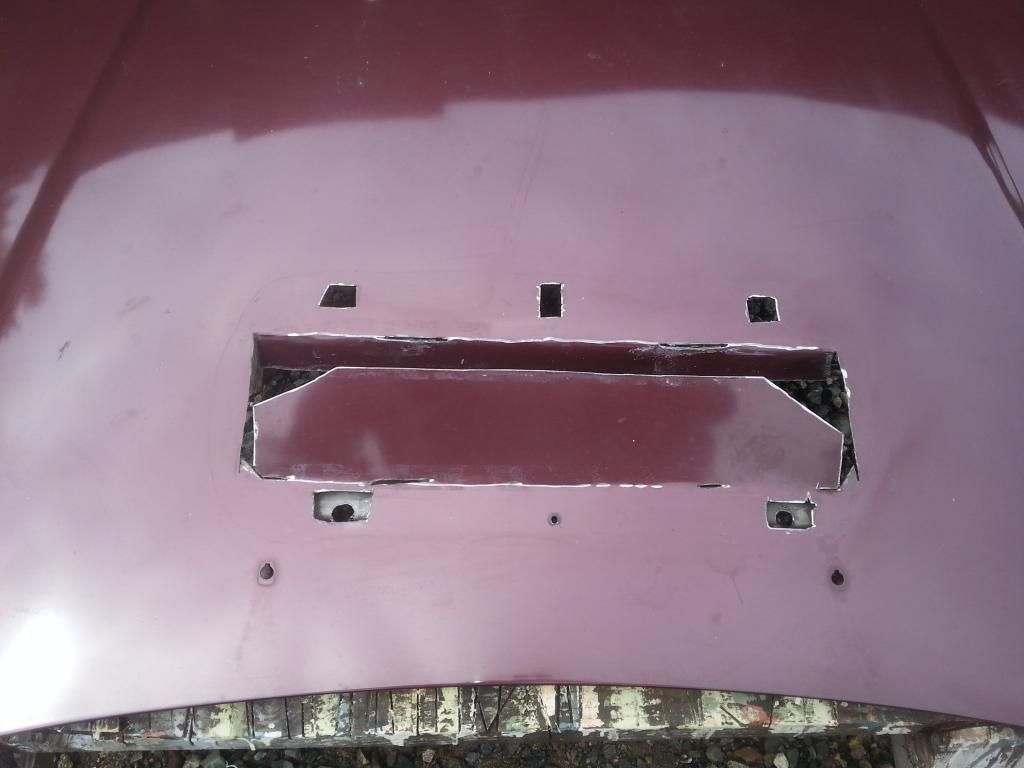
After:

In the picture above you can see that I have also secured the scoop to the hood. I had troubles with getting a hole aligned perfectly with the studs on the scoop clips so on the front side I ended up cutting long, slender, horizontal holes so I would be assured I would get it right. I just used a washer and tightened the nut down and it held perfectly secure.
Next I cut slits in the splitter to align with the scoop. It was a good idea but the studs were not long enough to reach through past the splitters surface. I did notice that there were two holes in the hood that lined up perfectly with two holes at the back of the splitter. The holes on the hood were for the clips that hold the dampening material (pic 2). This centered the splitter properly and gave me extra hold at the back side of the splitter. I ended up using self tapping screws in four spots on the splitter to secure it in place (pic 1).


Next it was time to secure the dampening material to the hood with the original clips. I just used a utility blade to cut out the hole in the material. Took no time at all.

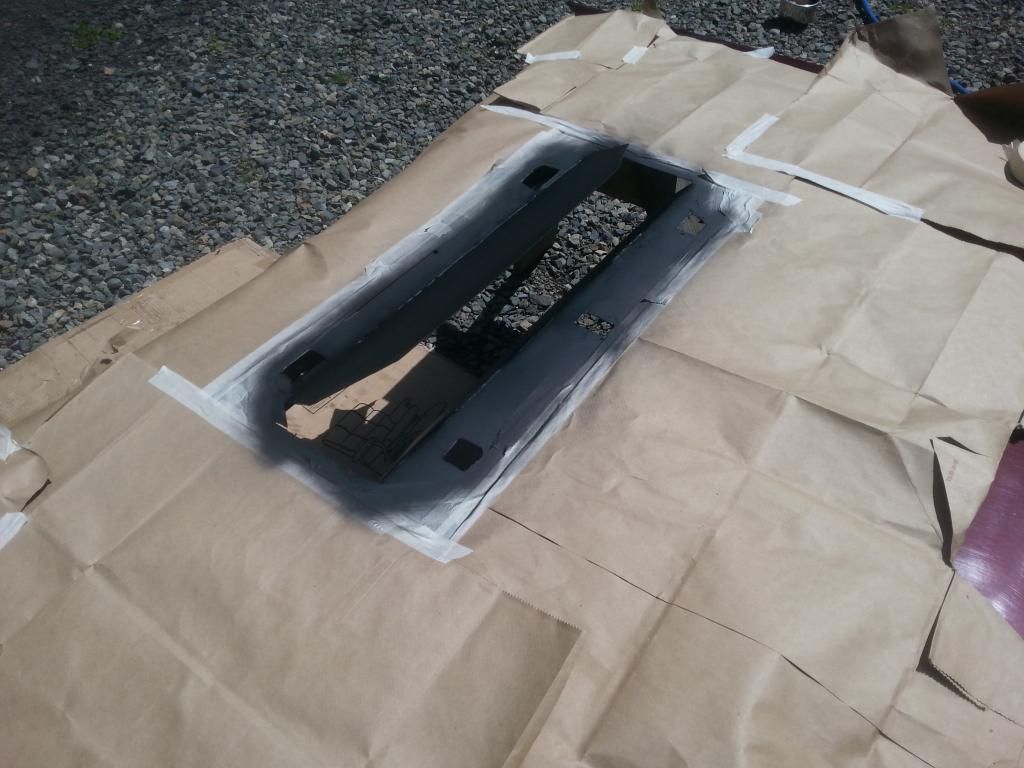
I noticed that there was a gap at the front of the scoop in-between the top of the hood and bottom of scoop. I wasn't able to figure out how to close the gap on this. It was mainly in the center portion. Since I am poor man painting this (Plasti-Dip) I decided to fill the gap with caulk and call it good. I then put four coats of dip on.

The splitter didn't reach all the way up to the top of the scoop so I used some aluminum tape to create a curved contour from front of the scoop down into the TMIC. I put on a couple of layers for strength. It is reflective and you can see the TMIC when looking at the scoop from the front which is cool. I may paint a stencil on it as you will be able to see the reflection from the front. (Didn't get a good picture)
After putting the hood on I couldn't get the hood to latch. I noticed that my TMIC had a slight incline to the drivers side and it was impeding the hood. I straightened the TMIC and noticed it was still tight. I figured this was why nobody has used a splitter (that I have found anyhow). I am able to apply solid pressure over the hood latch and get it to close securely. I will either need to bend the splitter in at the back so it isn't making contact with the TMIC or remove it.
Here are some after pics:


Please shoot any helpful info into this thread if you have some. Anything to make the next time easier would be most excellent!


