
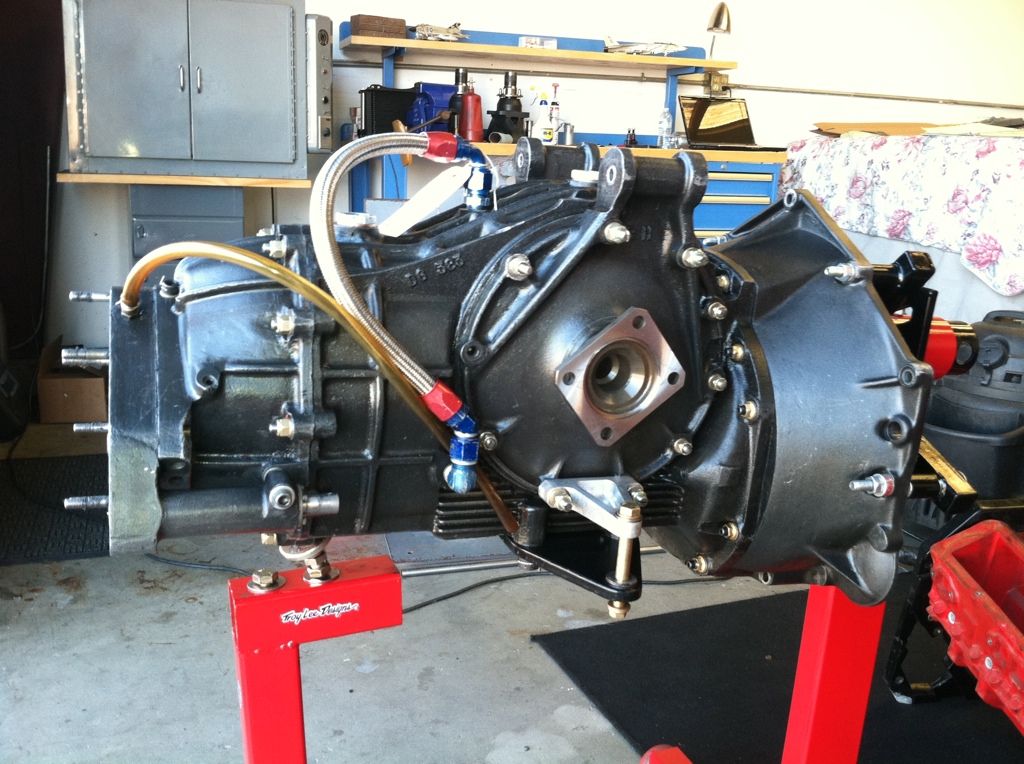
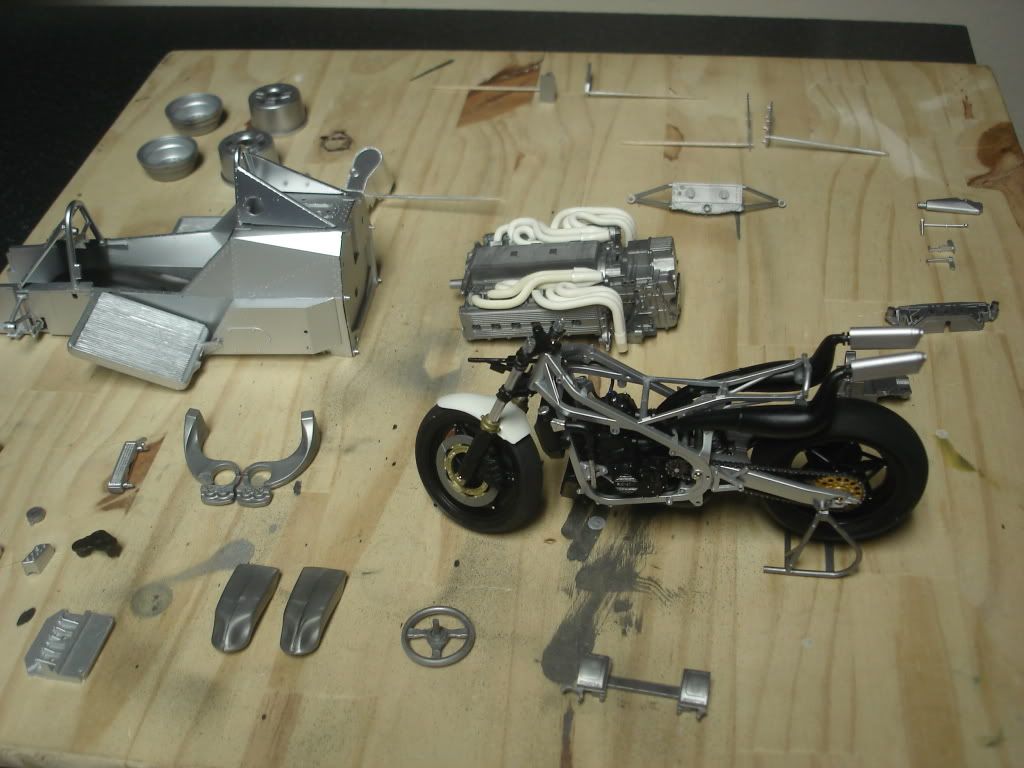
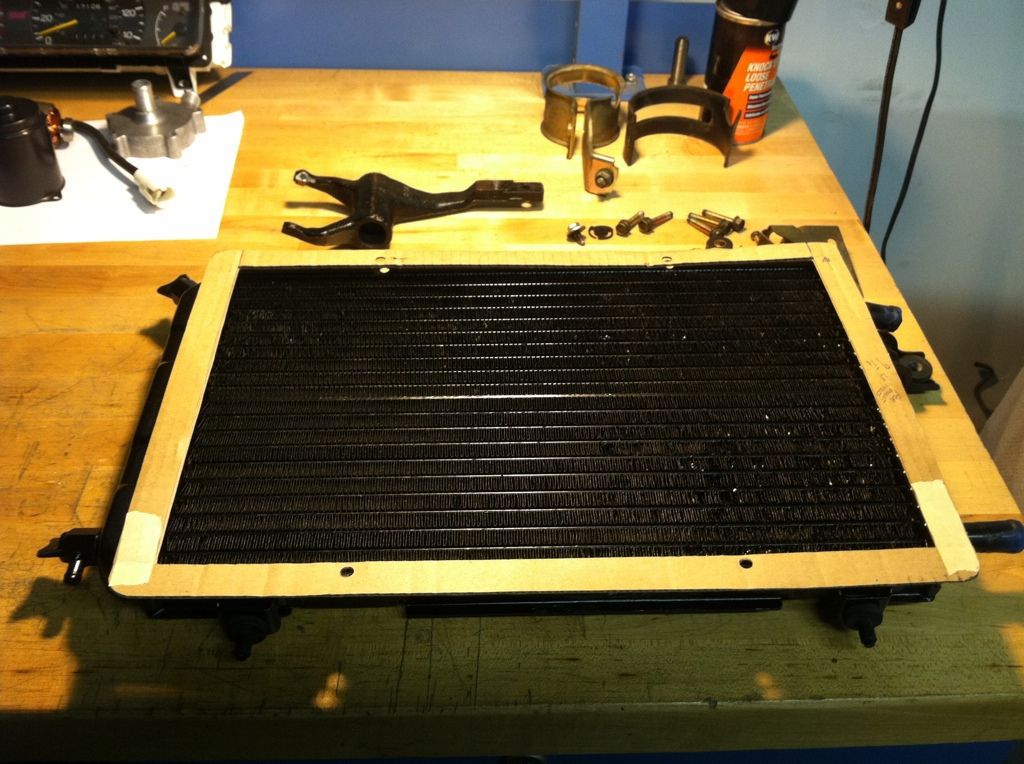
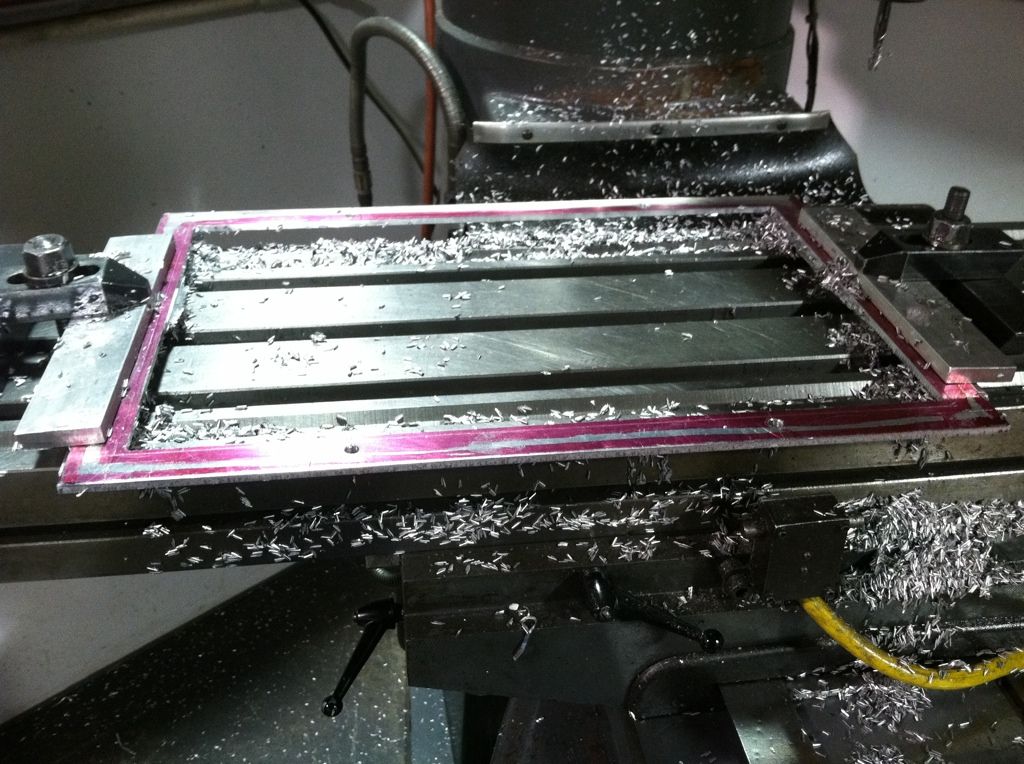
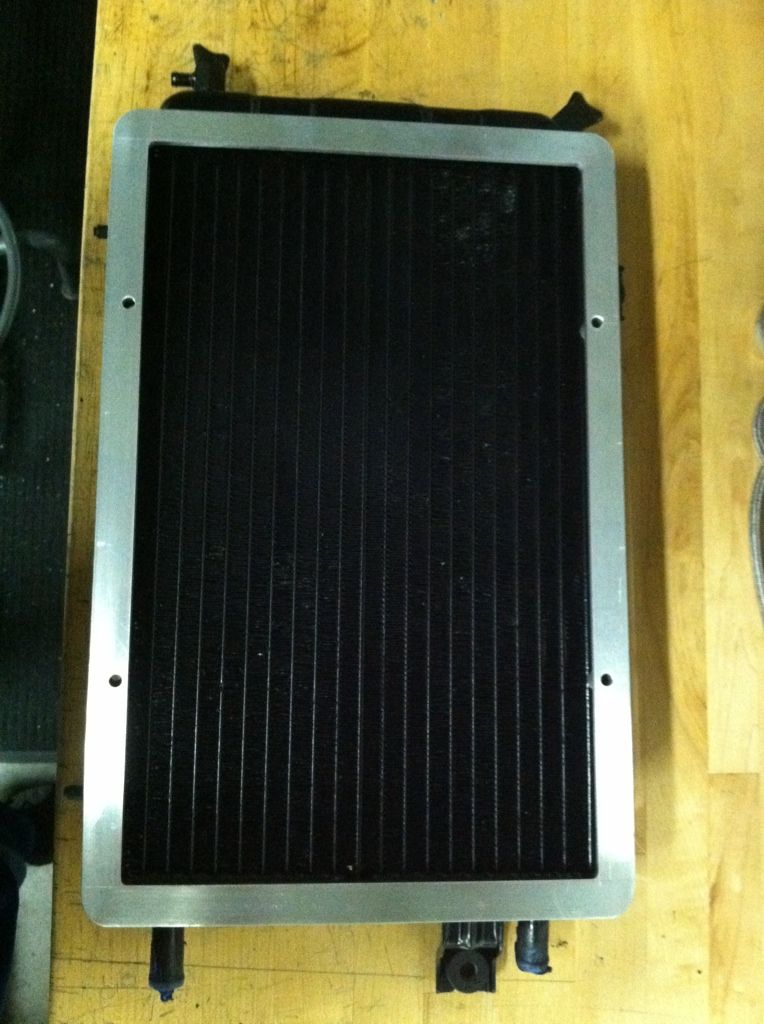
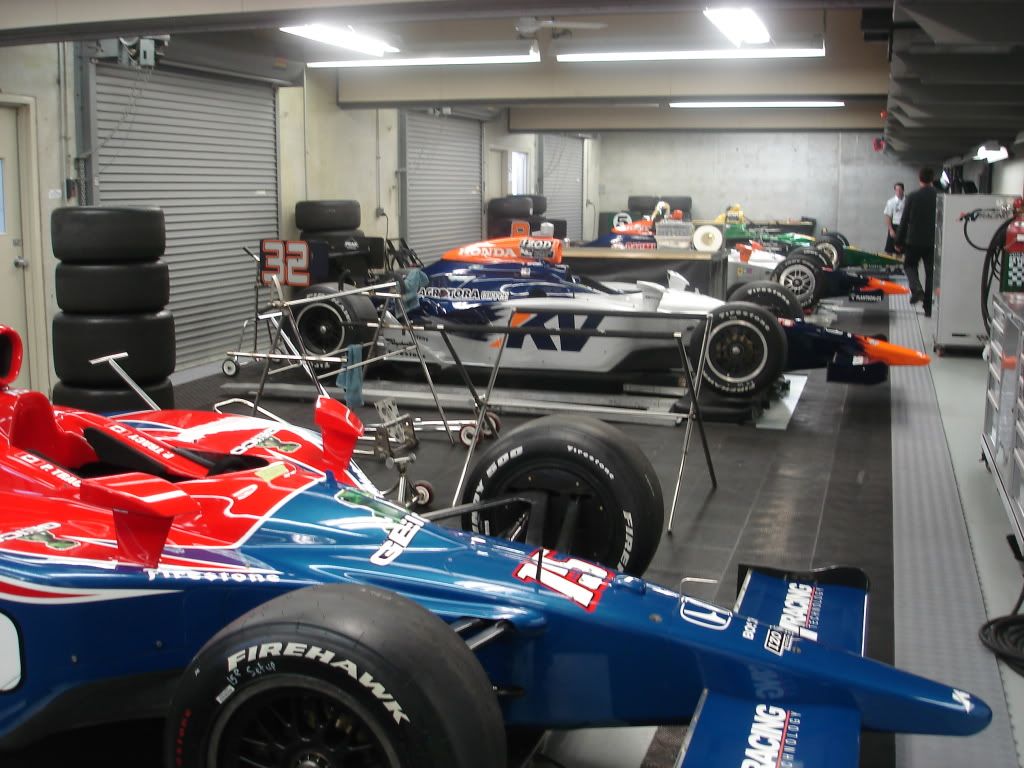
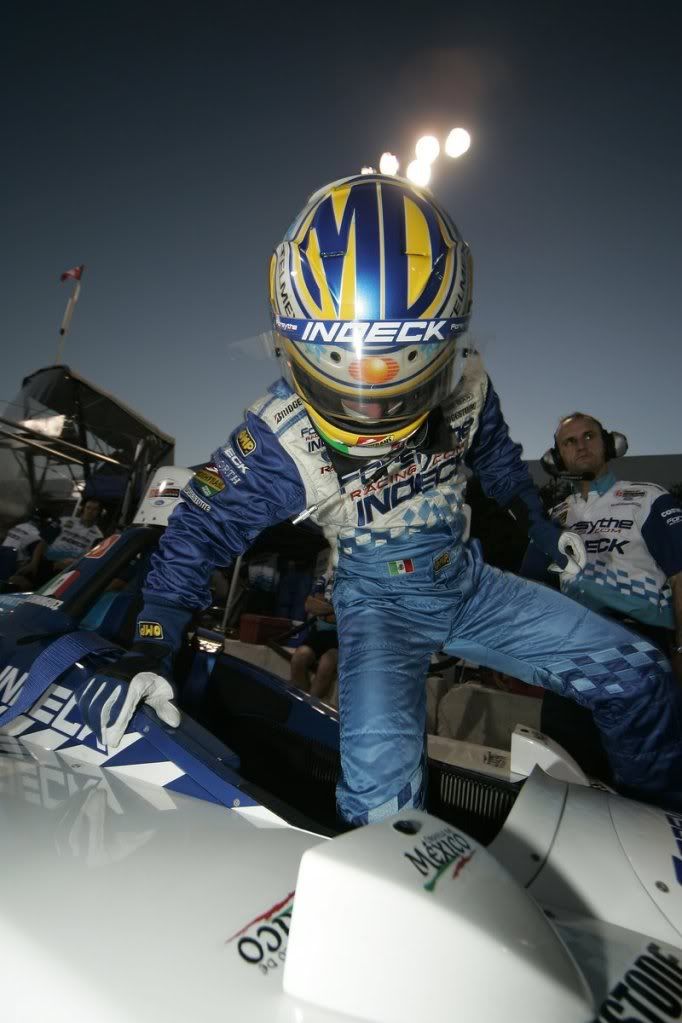
Here are some pics of those projects
Moderator: Moderators
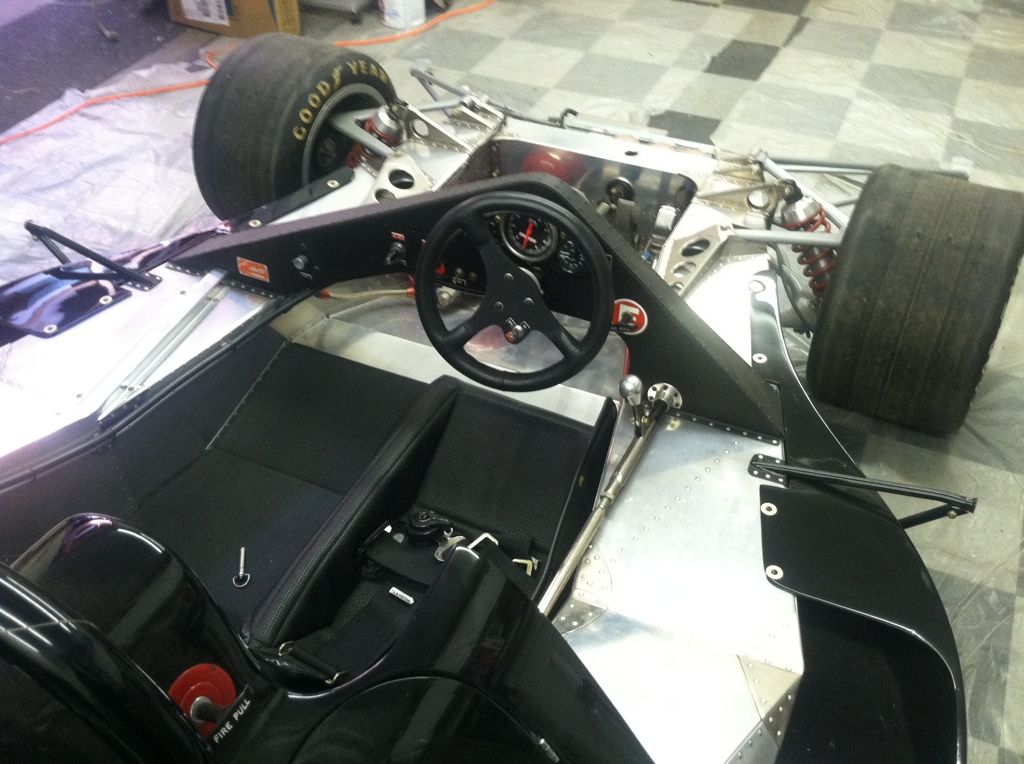
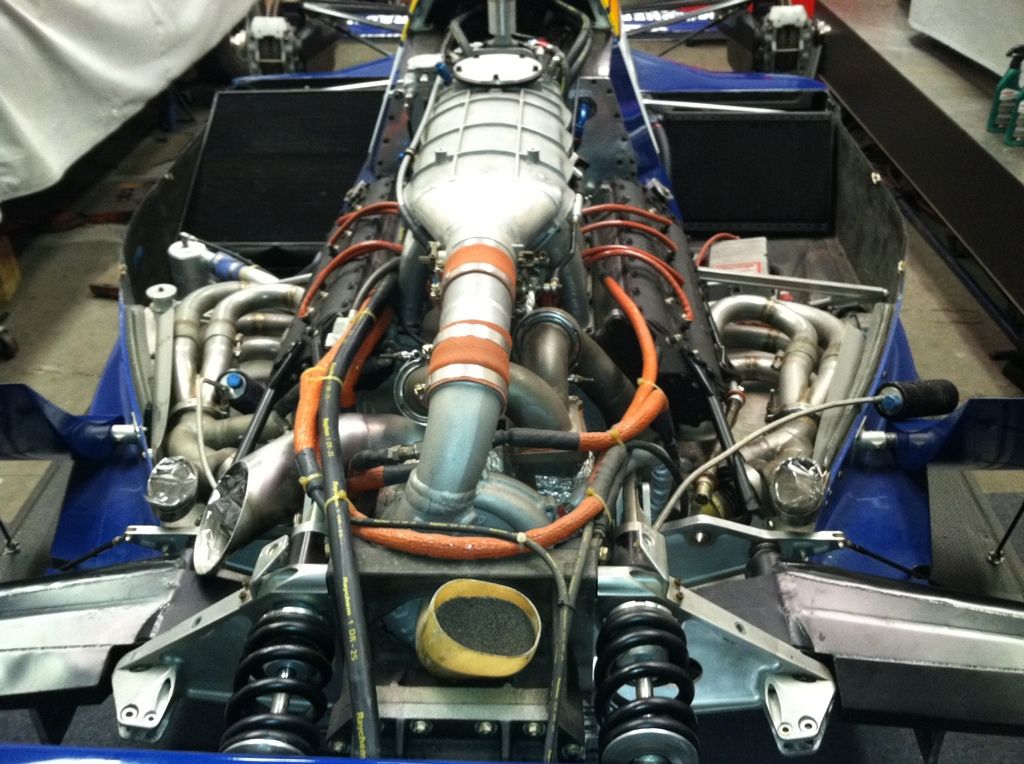
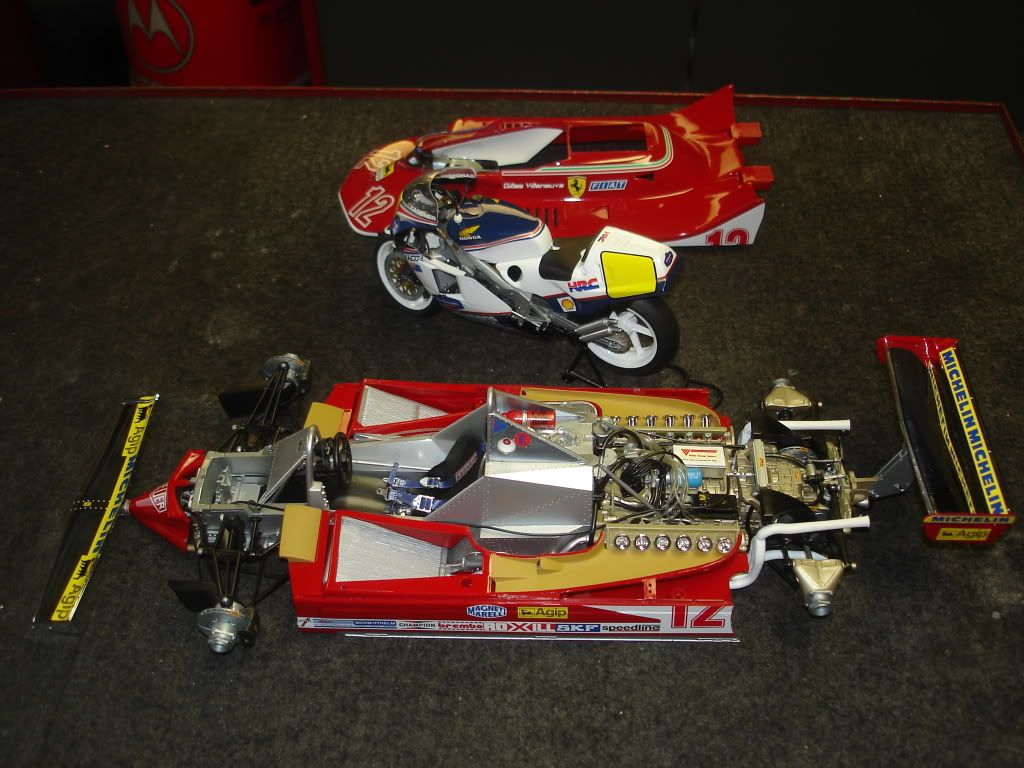
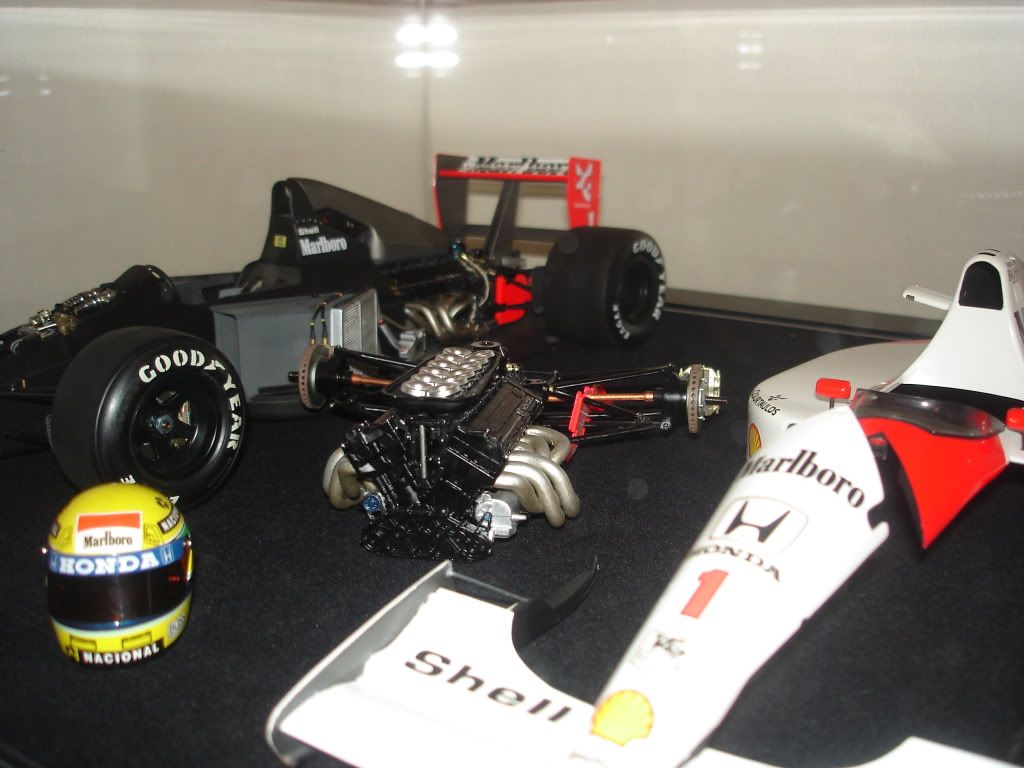
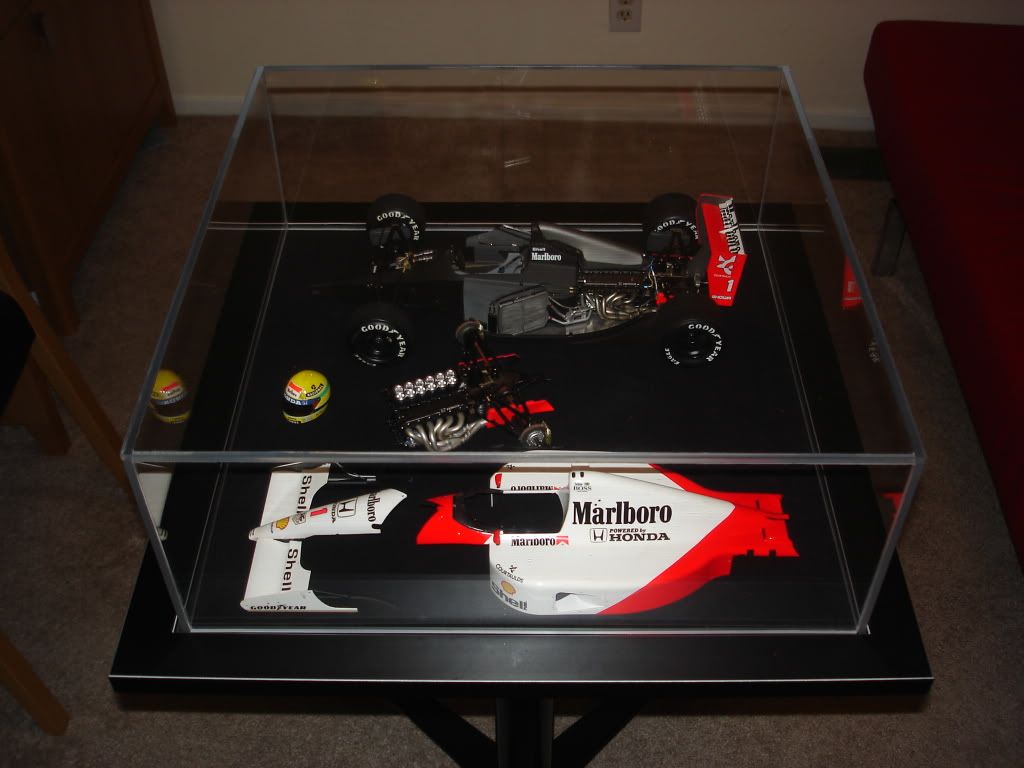
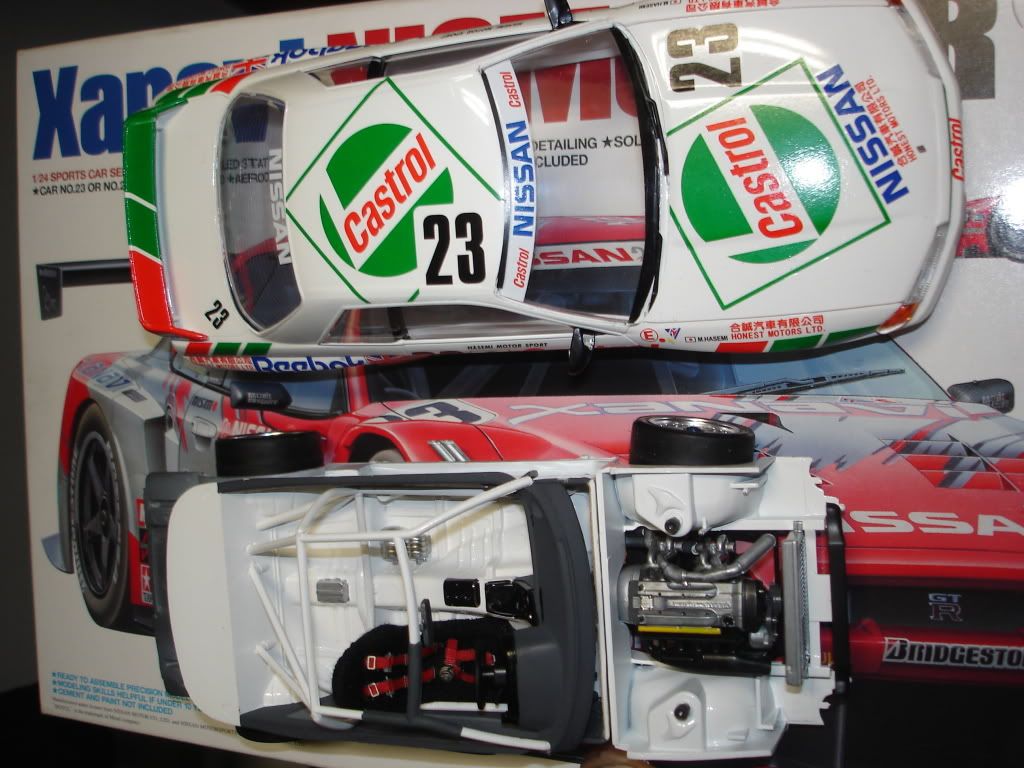
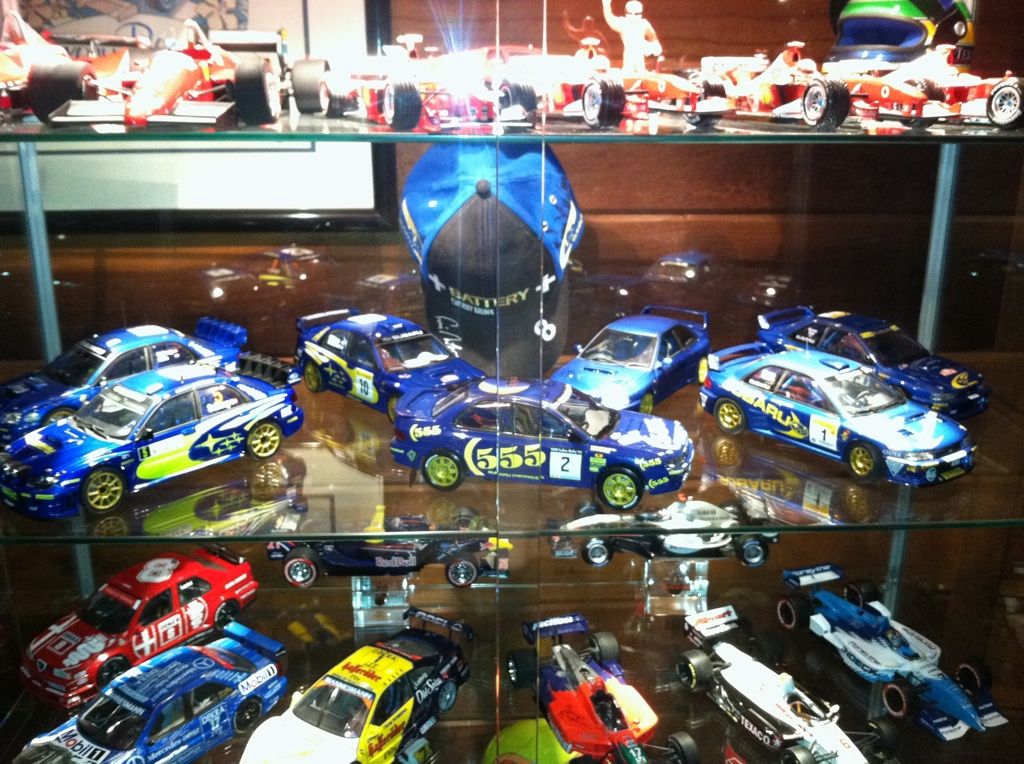
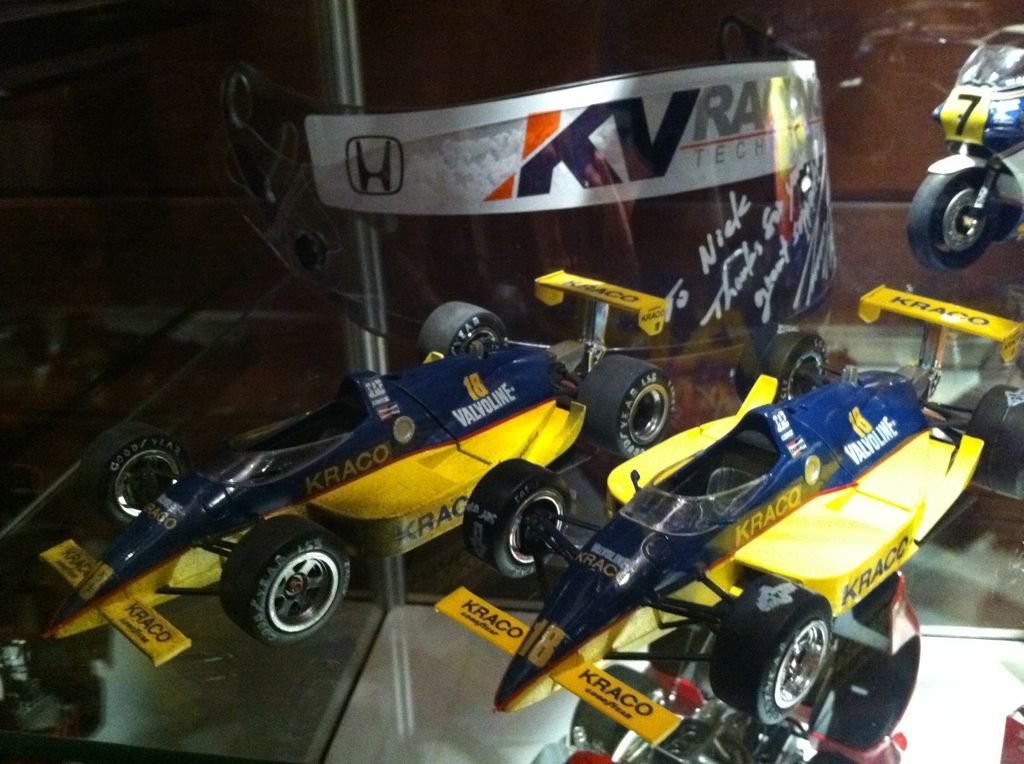
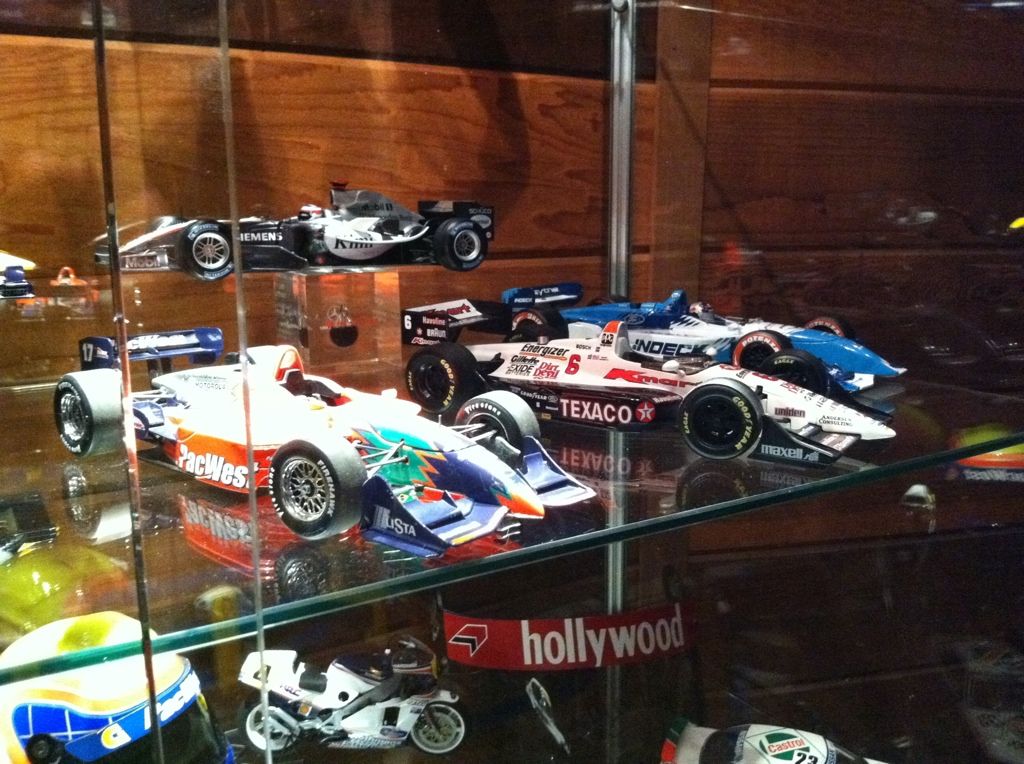
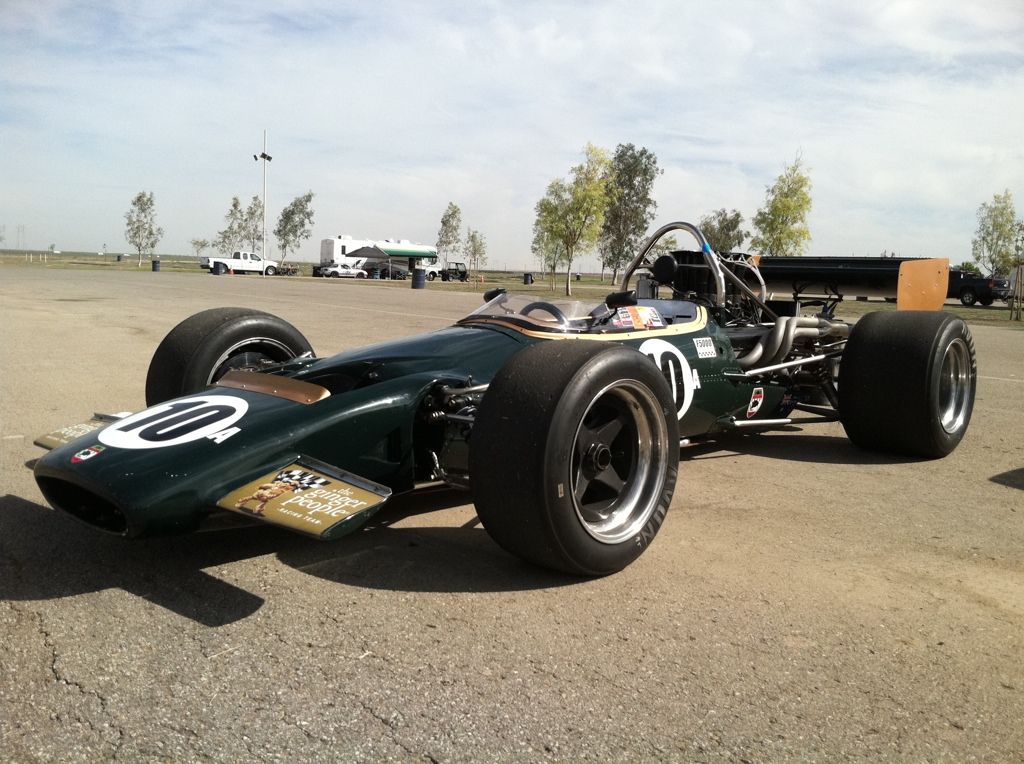
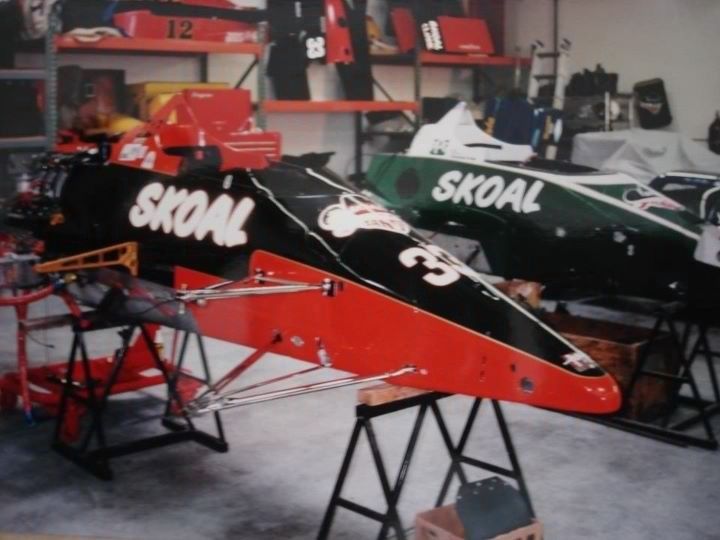
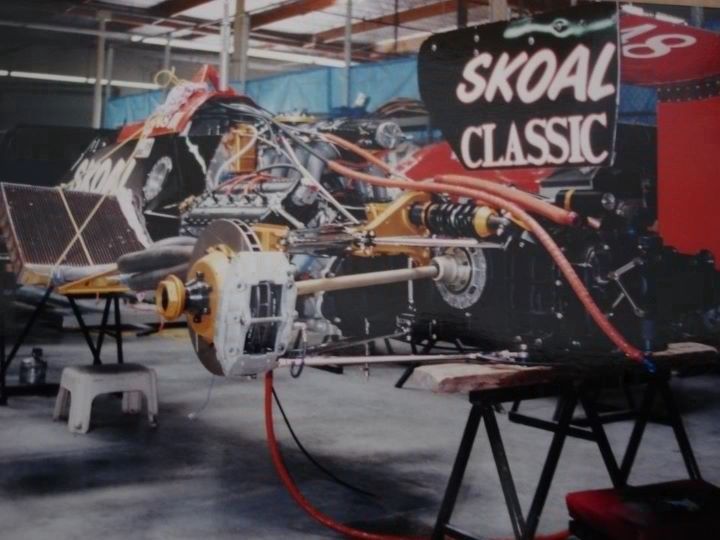
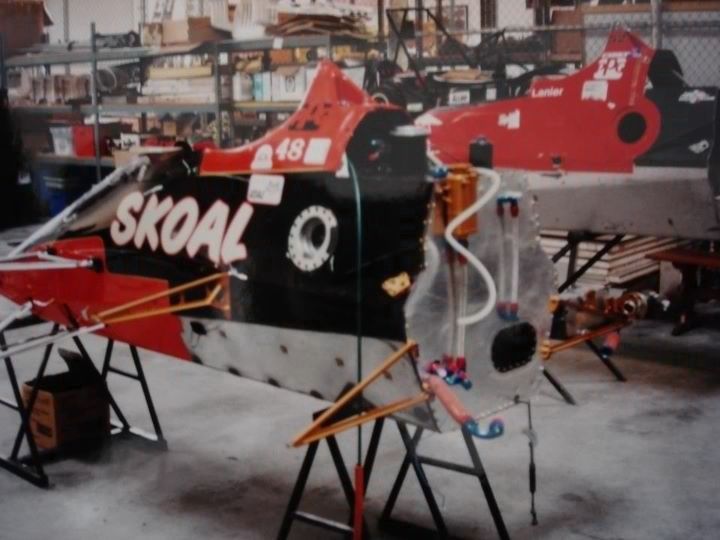
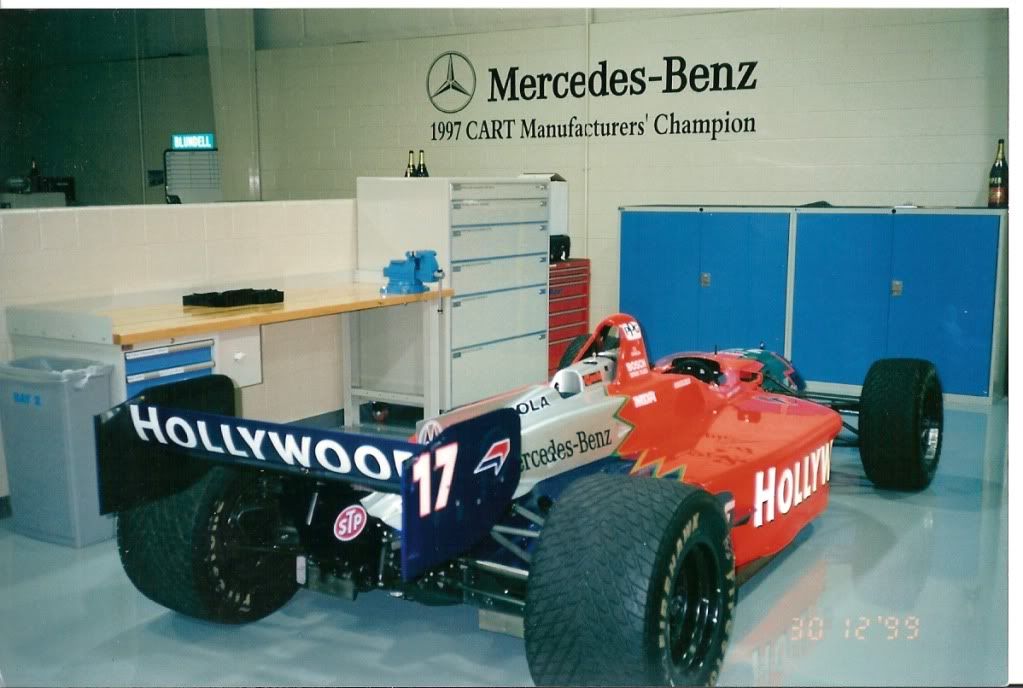
Thanks, here are a few more for You, I hope these have not been posted already, these are photos of cars that I have built/ restored.subytech wrote:I really don't think anyone cares how off topic this gets! The only reason I subscribed to this build is for the top notch hard core automotive porn! The fact that you are doing one of the most comprehensive builds on a first gen legacy is just a bonus!
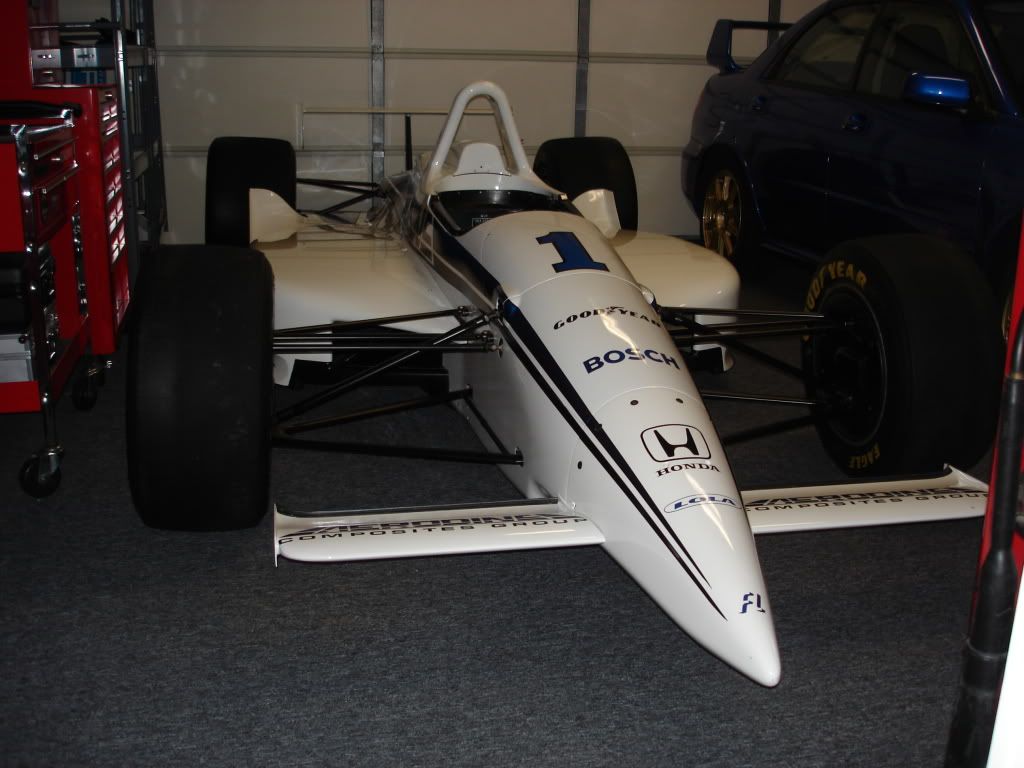

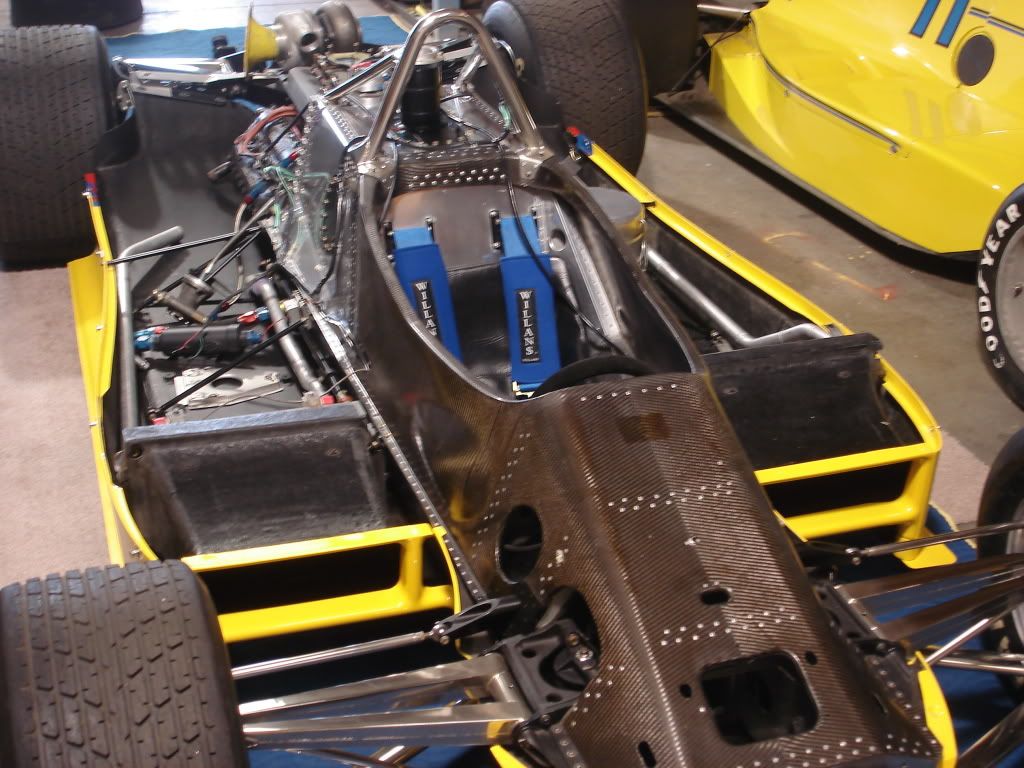
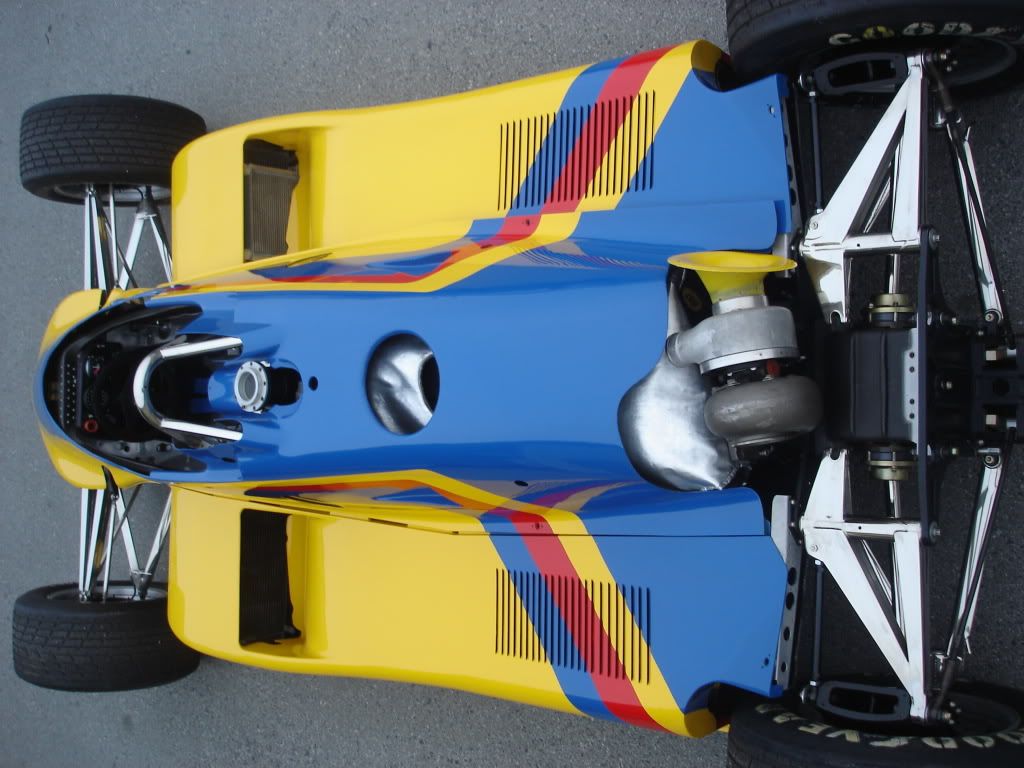
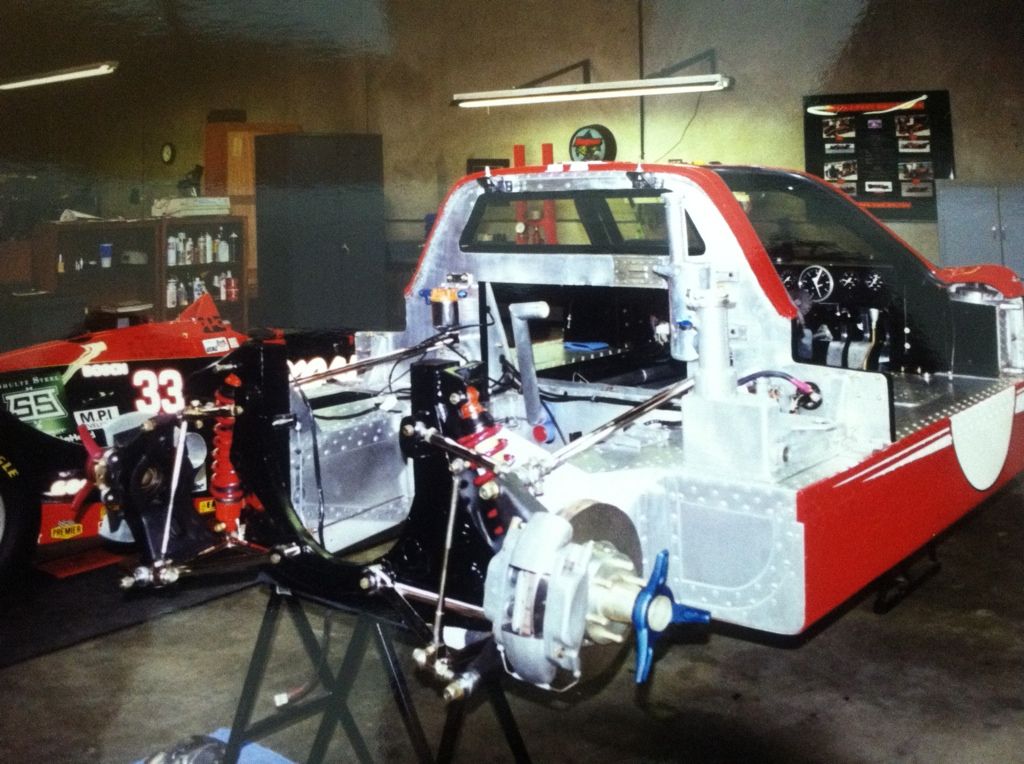


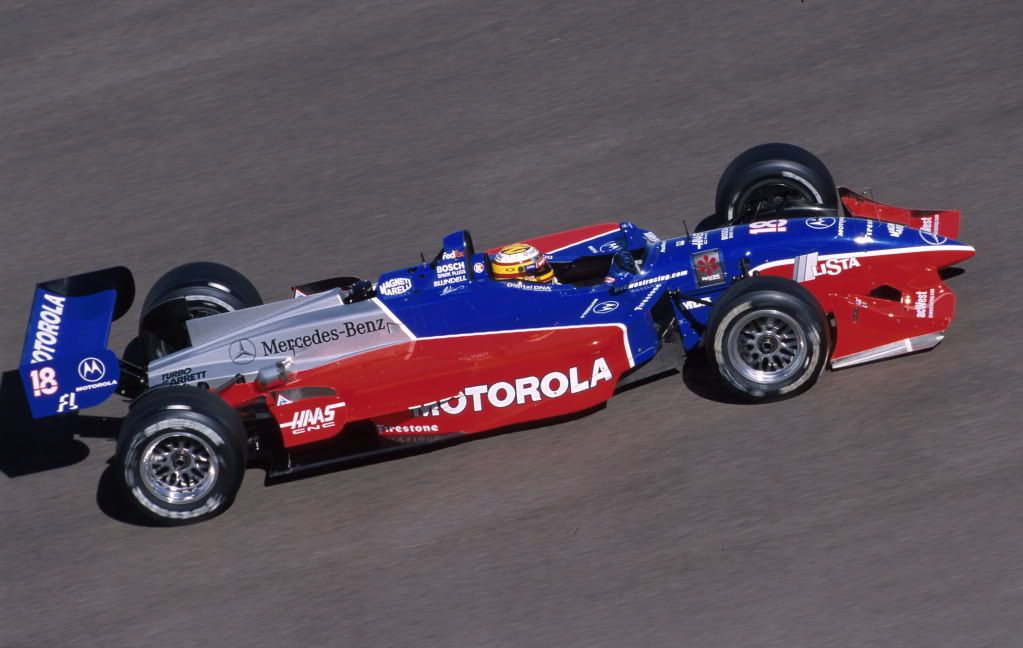
Thanks, I appreciate you taking a look at this build, lots of things to do, it should stay fairly interesting till the end, I have the engine to build yet which I will detail in more photos and wheels and brakes to decide on and the turbo and exhaust yet to be done for this car. Keep watchingCFK wrote:Im Not really Sure what to sayThis is some next Level Sh!t

Love the cleanliness and attention to detail !!! Absolutely Inspiring
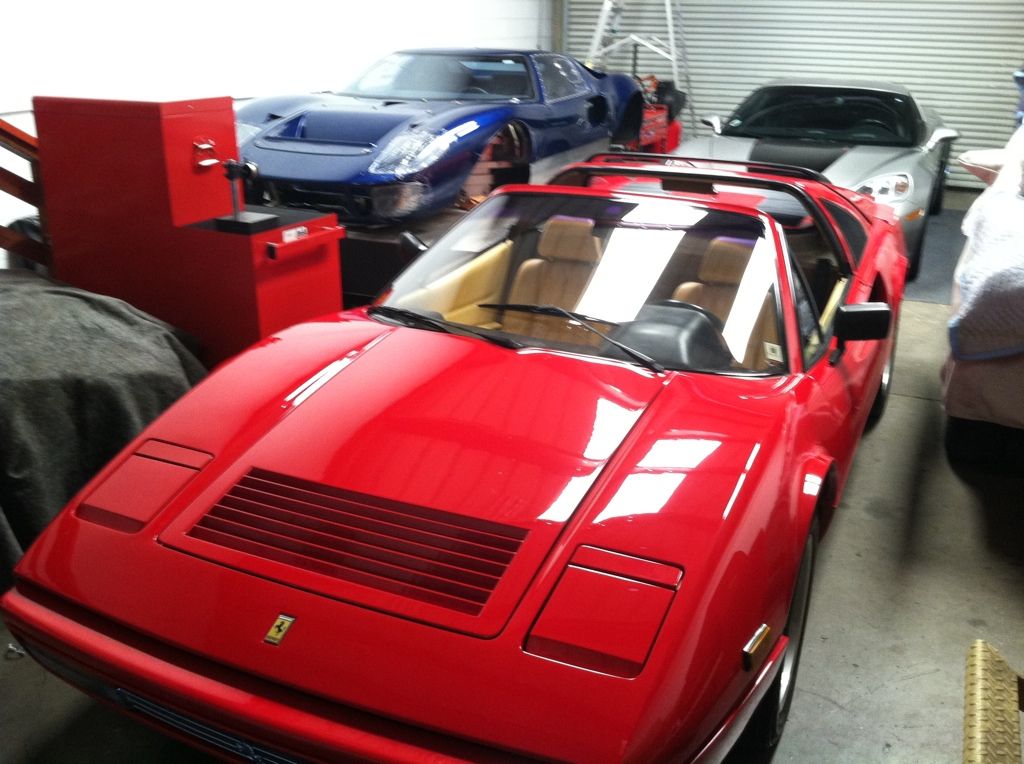
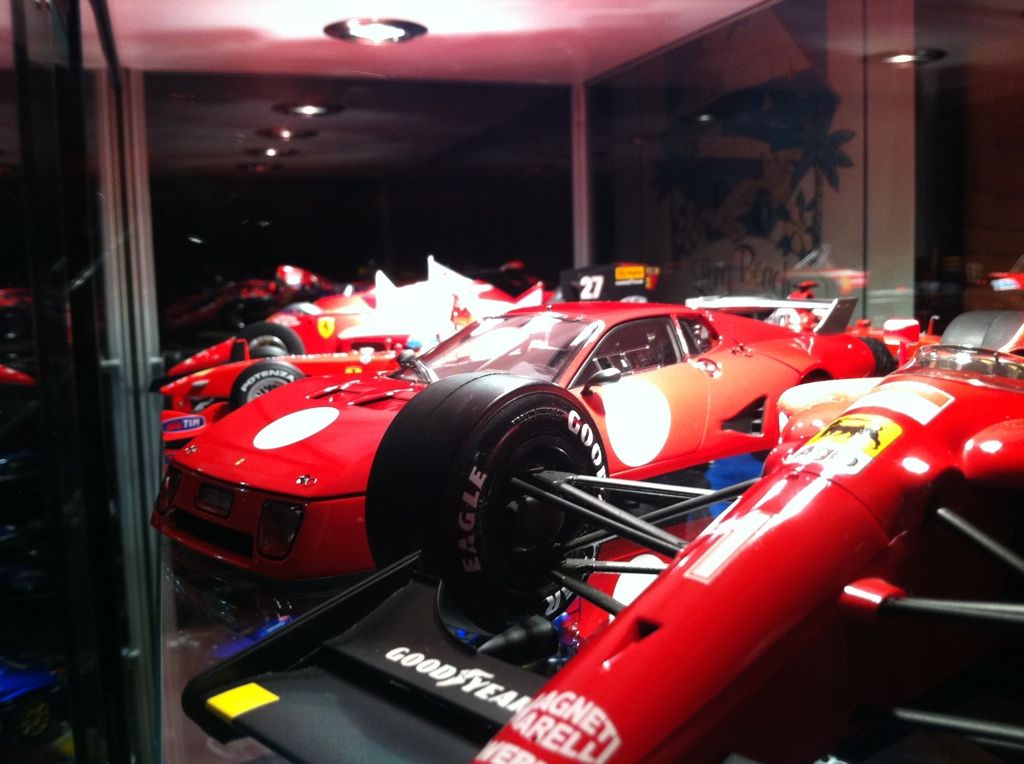
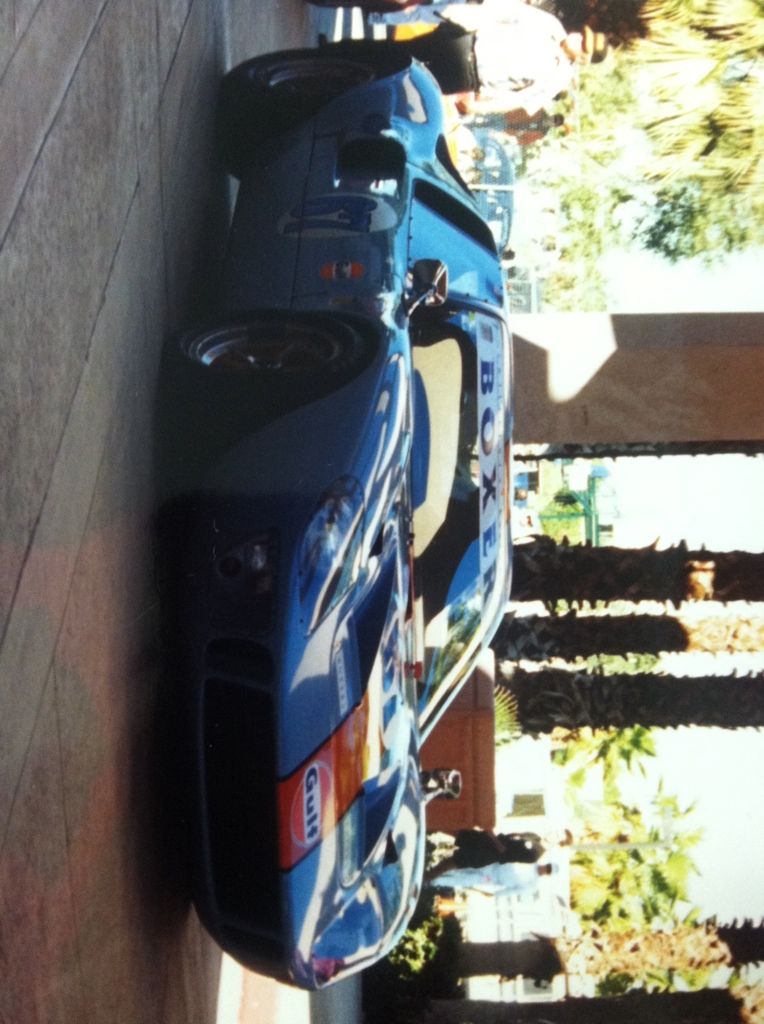
Those models look great. What's the story behind the Ferrari 512BB LM? I see your photos of the real car too.BC622B05STI wrote: Most of the cars have some story behind them, I have worked on many of the cars with teams etc so it is nice to have the models of those cars
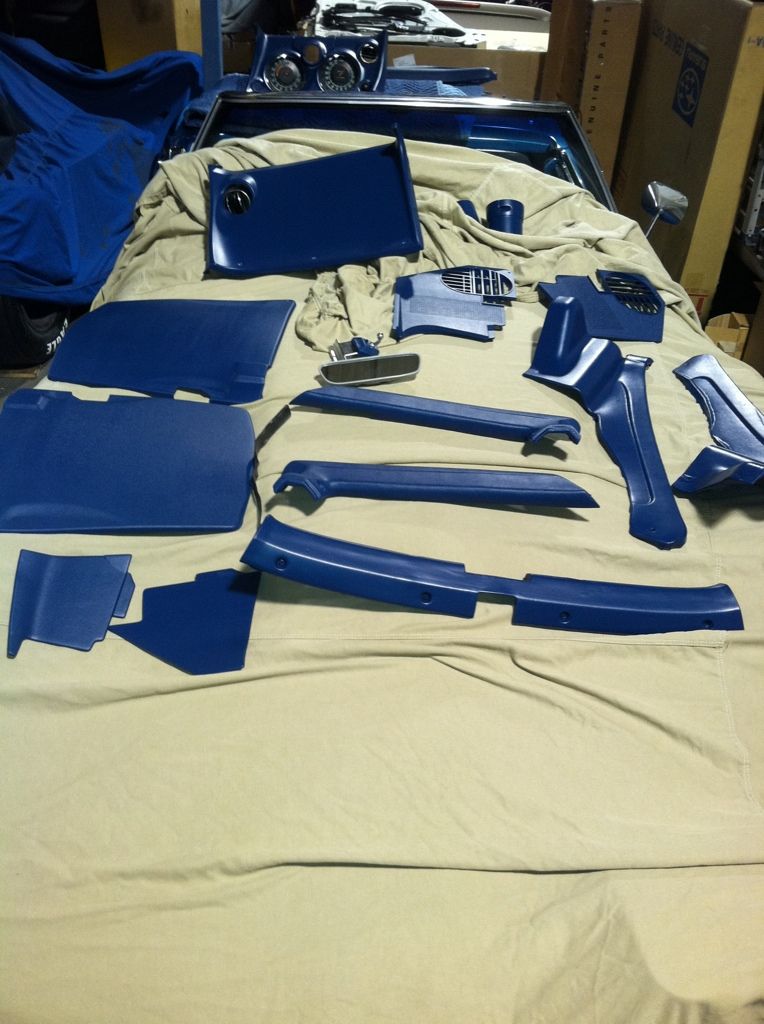
I have to apologize for not responding to this question as I is a good one and makes a big difference to your interior. I use a wax and tar remover( which I will add photos of the products I have used) and then spray the panels with the adhesion promoter, both these steps are probably the mostimportant ones, they ensure that the spray sticks. Once you have cleaned the plastic with the grease and wax remover and then sprayed with the bulldog adhesion promoter then I spray with a airbrush. It's a little tricky to spray the dash with that so a regular Automotive paint gun for painting cars can be used.Legacy777 wrote:What did the rear triangle trim set you back? I really need a new one on my car.
Also, you mentioned, you "resprayed" the plastic interior parts. Can you elaborate on what you did?
Thanks

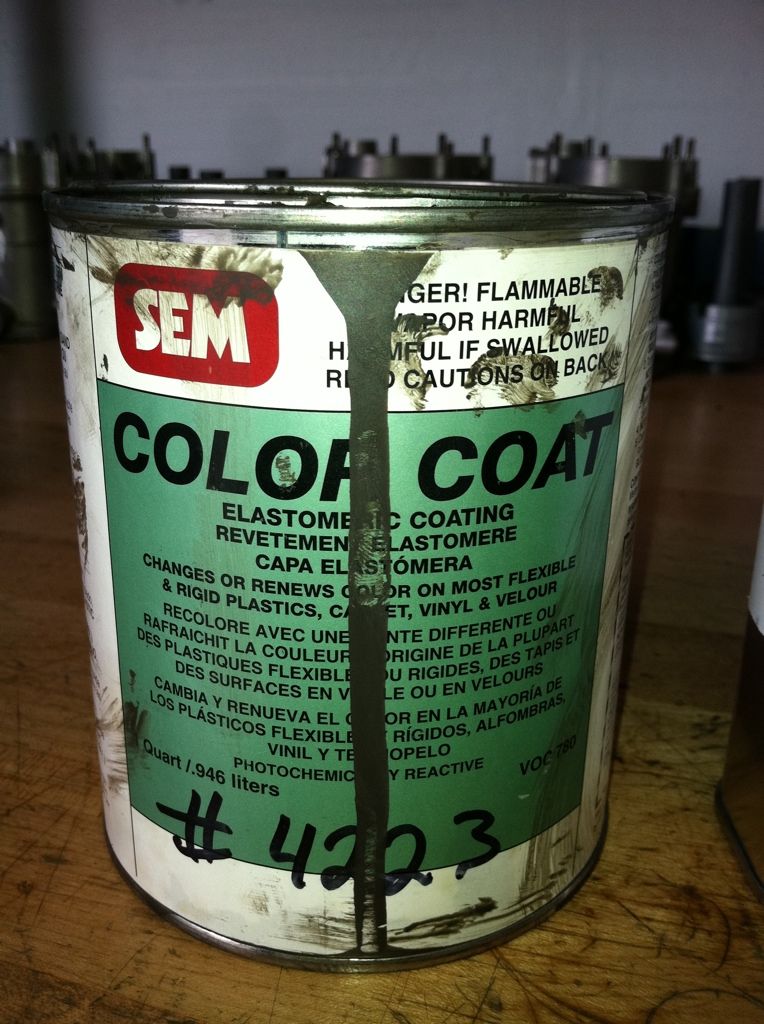
Thanks for the follow up on the interior painting. Just like any painting....prep is about 90% of the work.BC622B05STI wrote:I have to apologize for not responding to this question as I is a good one and makes a big difference to your interior. I use a wax and tar remover( which I will add photos of the products I have used) and then spray the panels with the adhesion promoter, both these steps are probably the mostimportant ones, they ensure that the spray sticks. Once you have cleaned the plastic with the grease and wax remover and then sprayed with the bulldog adhesion promoter then I spray with a airbrush. It's a little tricky to spray the dash with that so a regular Automotive paint gun for painting cars can be used.Legacy777 wrote:What did the rear triangle trim set you back? I really need a new one on my car.
Also, you mentioned, you "resprayed" the plastic interior parts. Can you elaborate on what you did?
Thanks
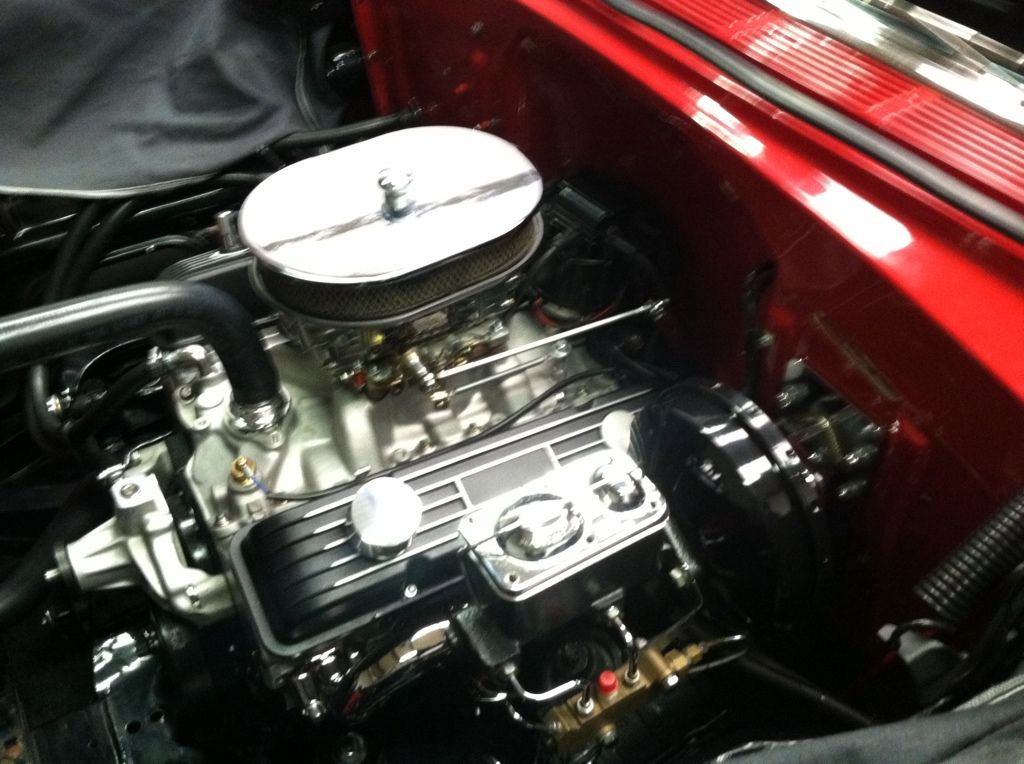
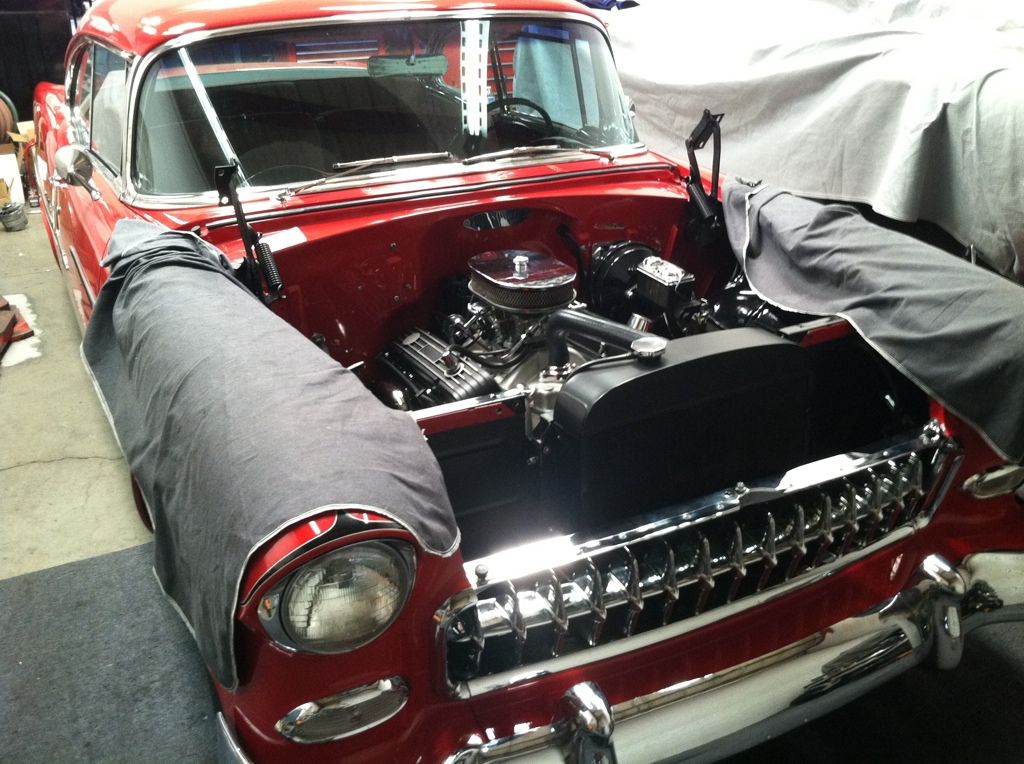
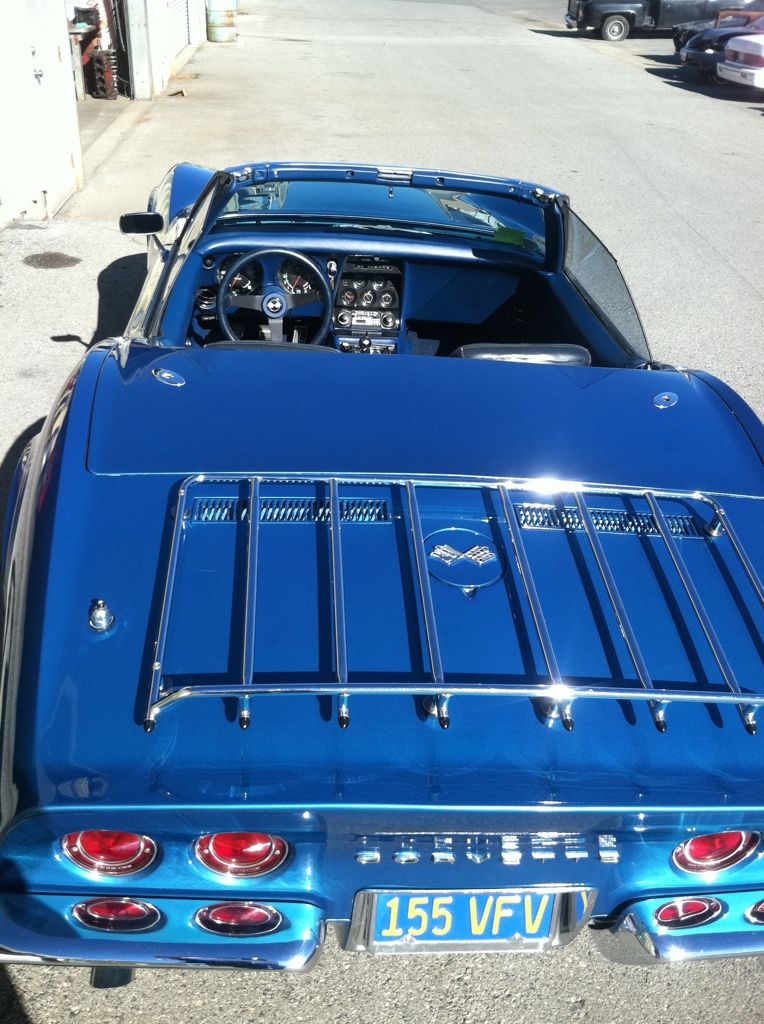
I just finished painting a 68 Corvette 427 interior with a small automotive style paint gun and my airbrush on the smaller panels and it worked well
The most important part would be the prep, there are products in a spray can that work ok but I like to use air brush because it applies the color in a very light coat and it's hard to tell it's been sprayed
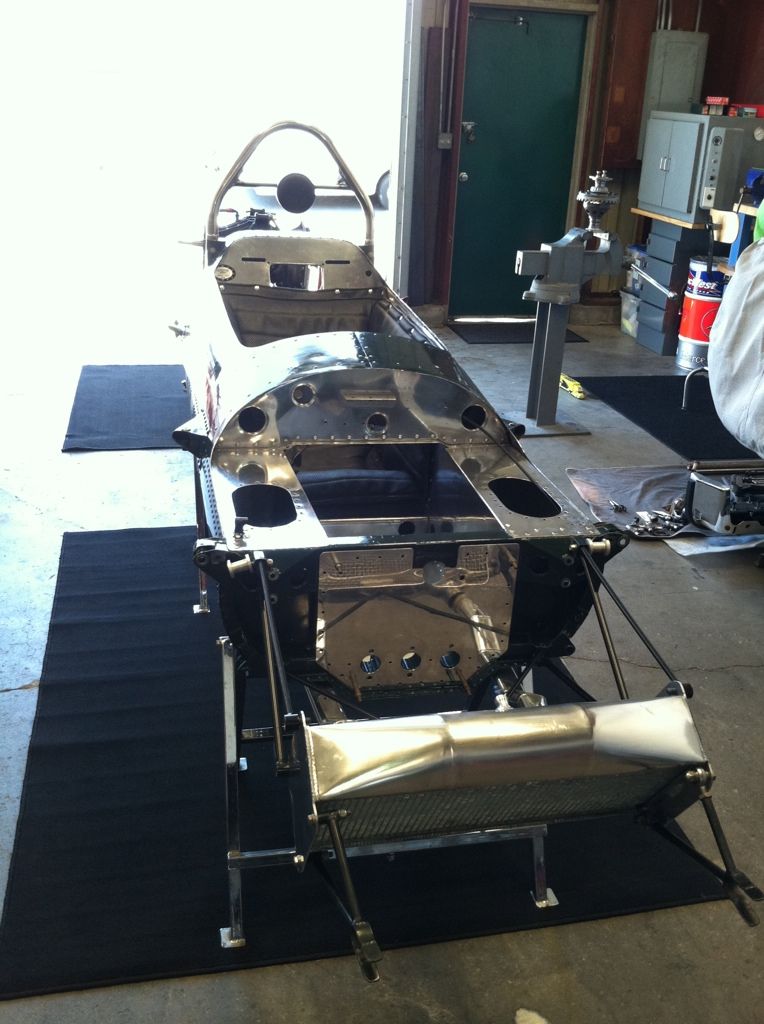
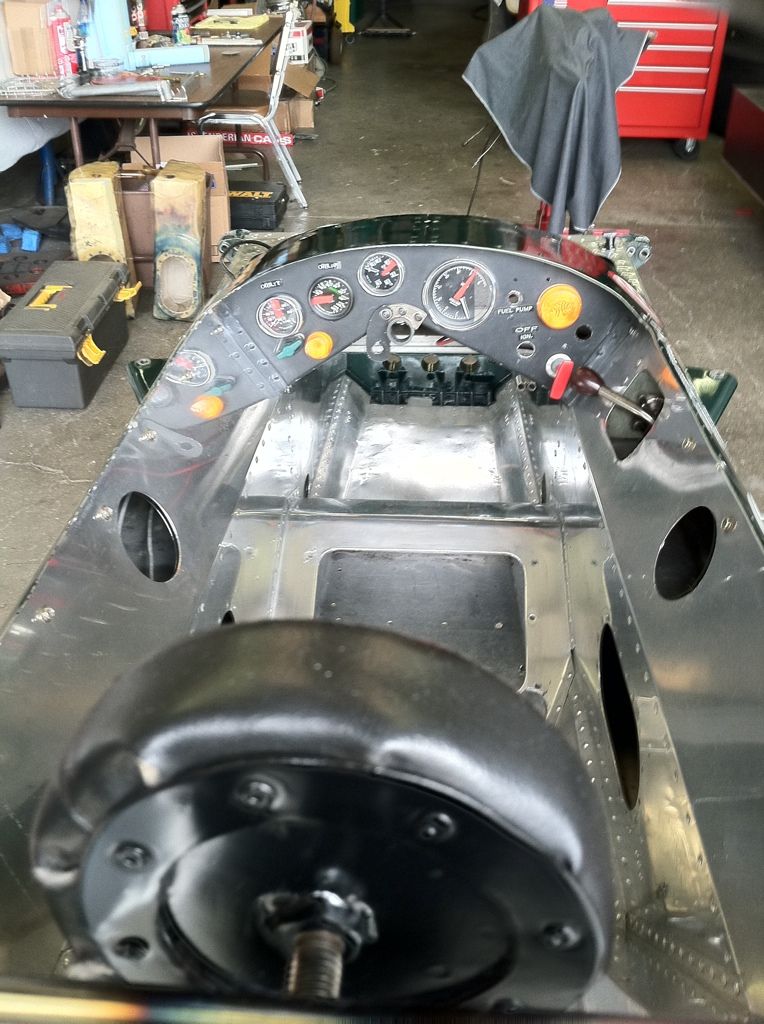
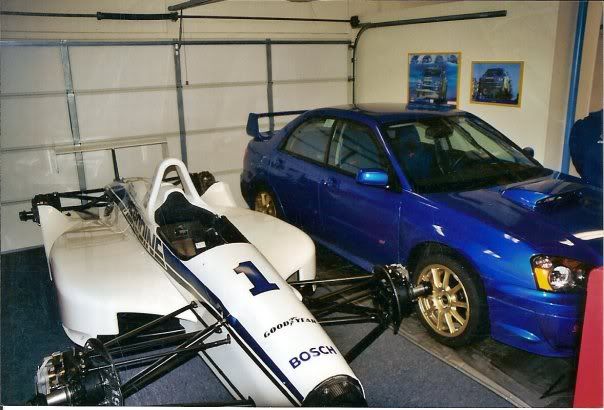
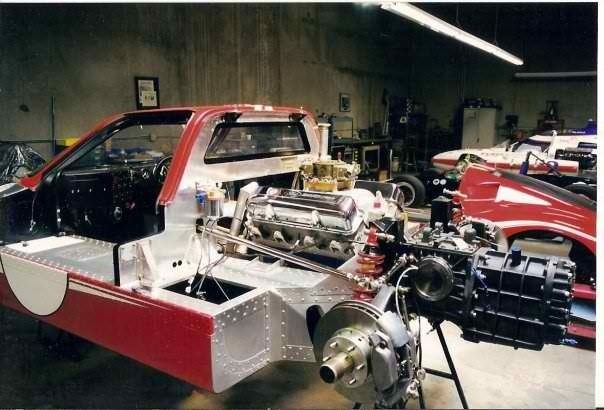
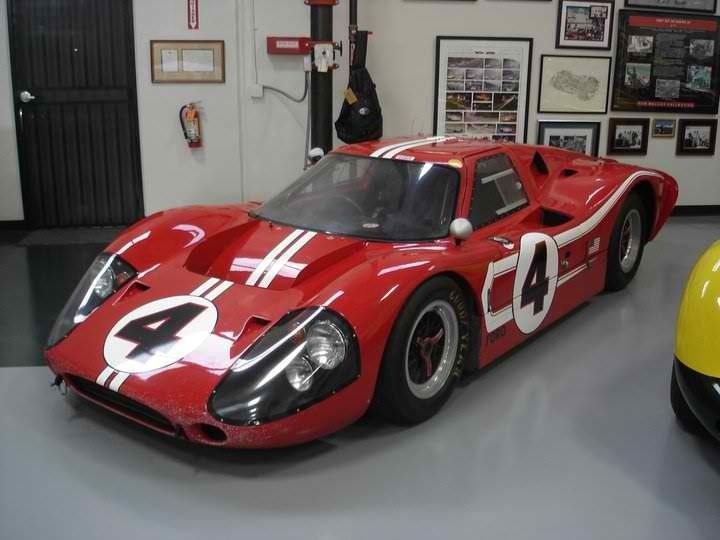
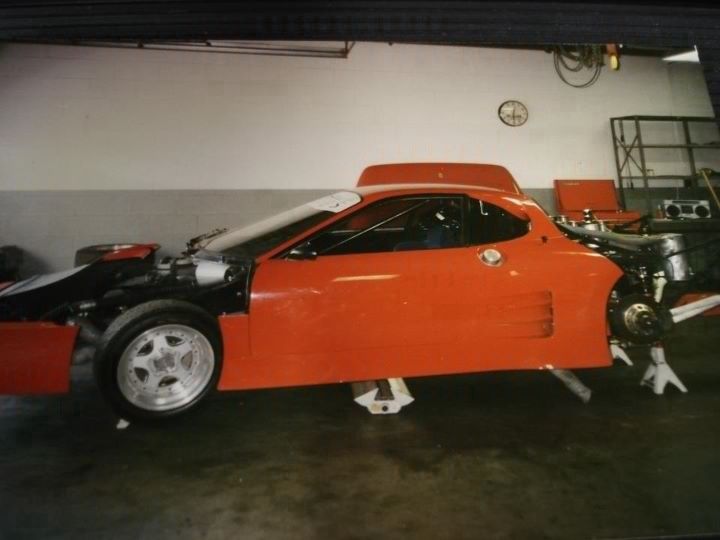
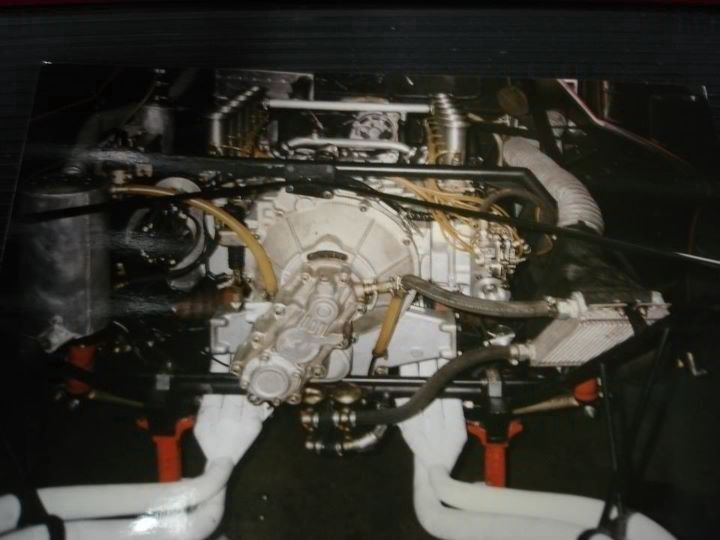
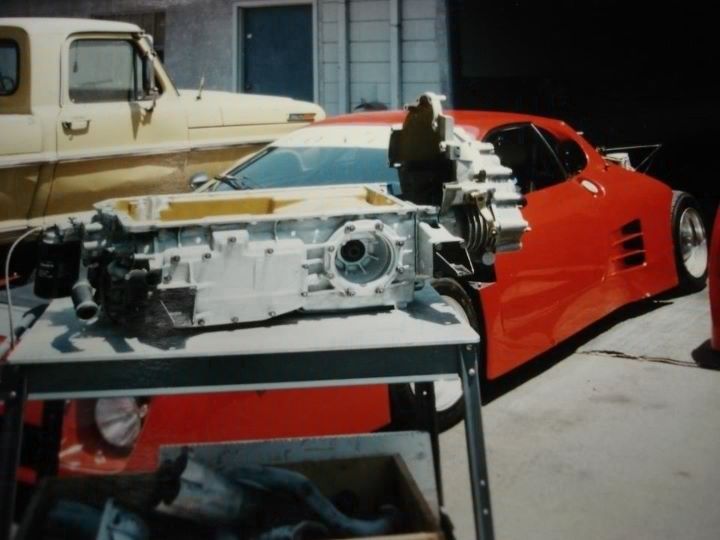
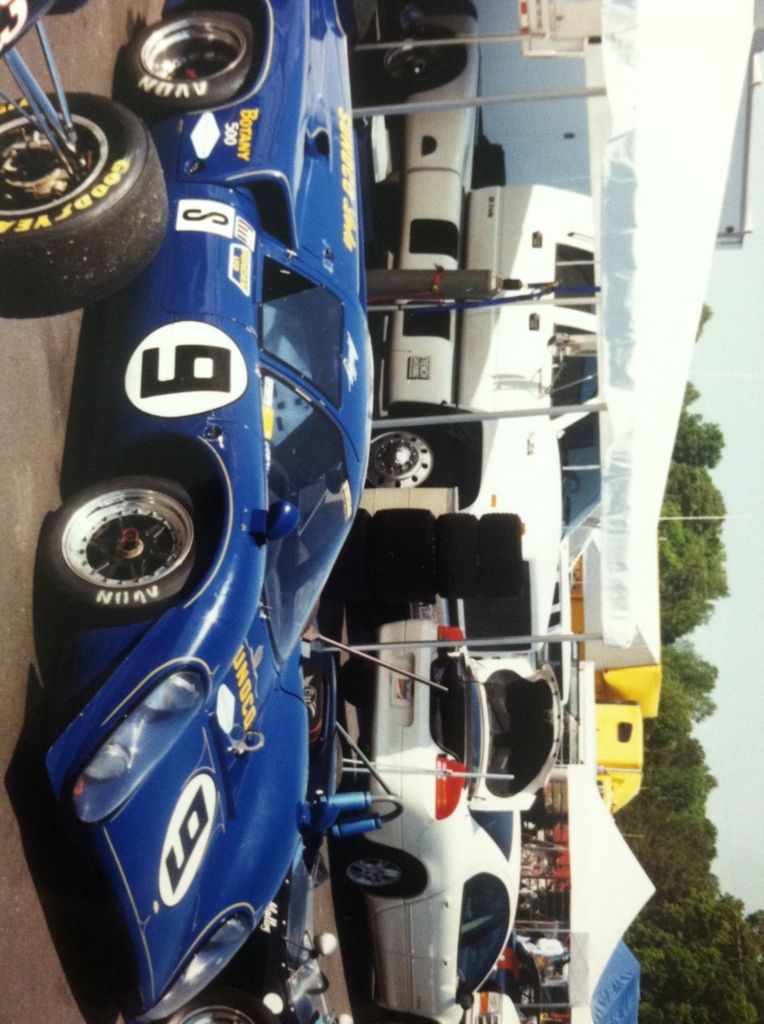
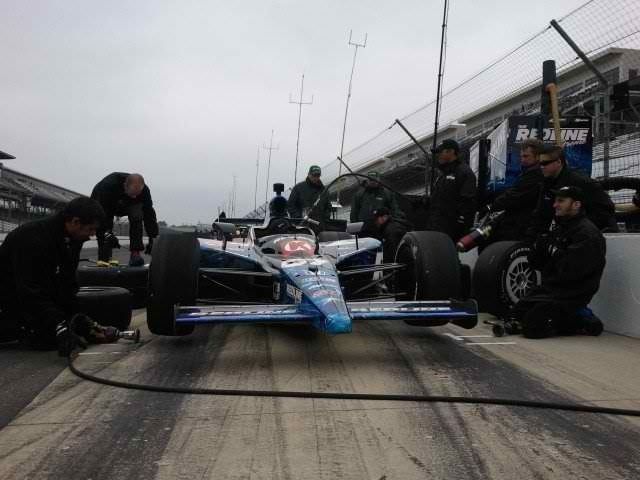
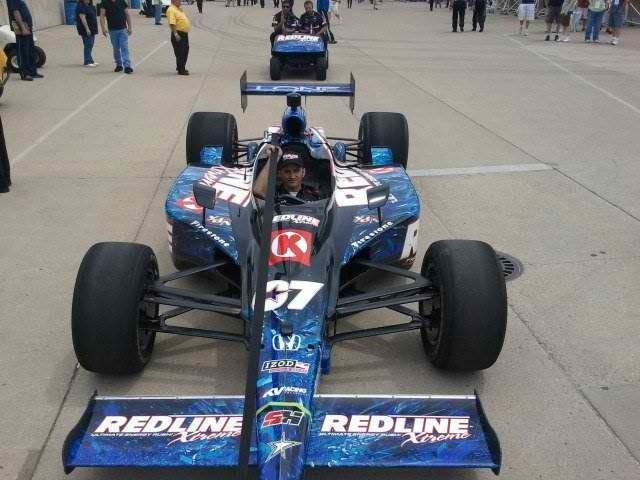
The Ferrari 512 was the last one from the factory, it belonged to a Japanese millionaire as did the Ford GT40. The GT40 Was a complete restoration and the Ferrari was in good shape but someone had washed the car and water went straight into the. Engine through the intake ducts in the rear bodywork so we rebuilt the engine and replated the suspension and went through the brakes etc. These were the firs two cars I restored and I did these while working for my dads business, I later went on to restore Another GT40 on my own but these were interesting because they were a significant departure from the Legacy Rally car I had been working on prior to this. The projects were the first ones for me Here also as I had just moved to the US. I believe Both projects spanned over several years as we were still doing engine work and other smaller projects!AWD_addict wrote:Those models look great. What's the story behind the Ferrari 512BB LM? I see your photos of the real car too.BC622B05STI wrote: Most of the cars have some story behind them, I have worked on many of the cars with teams etc so it is nice to have the models of those cars

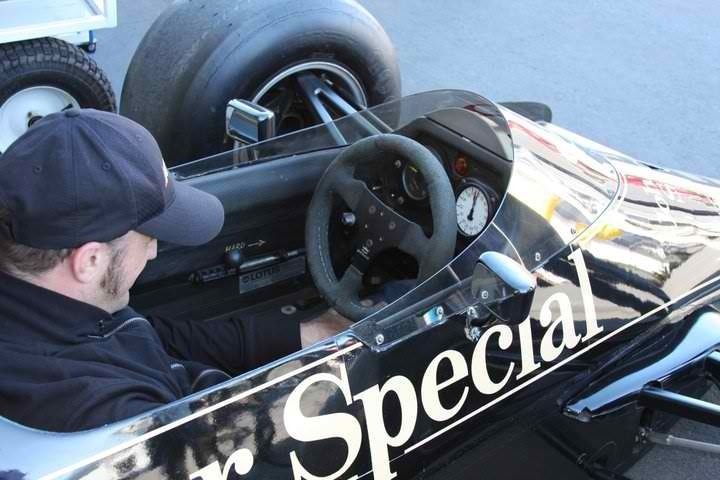
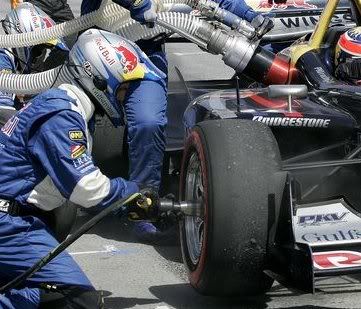
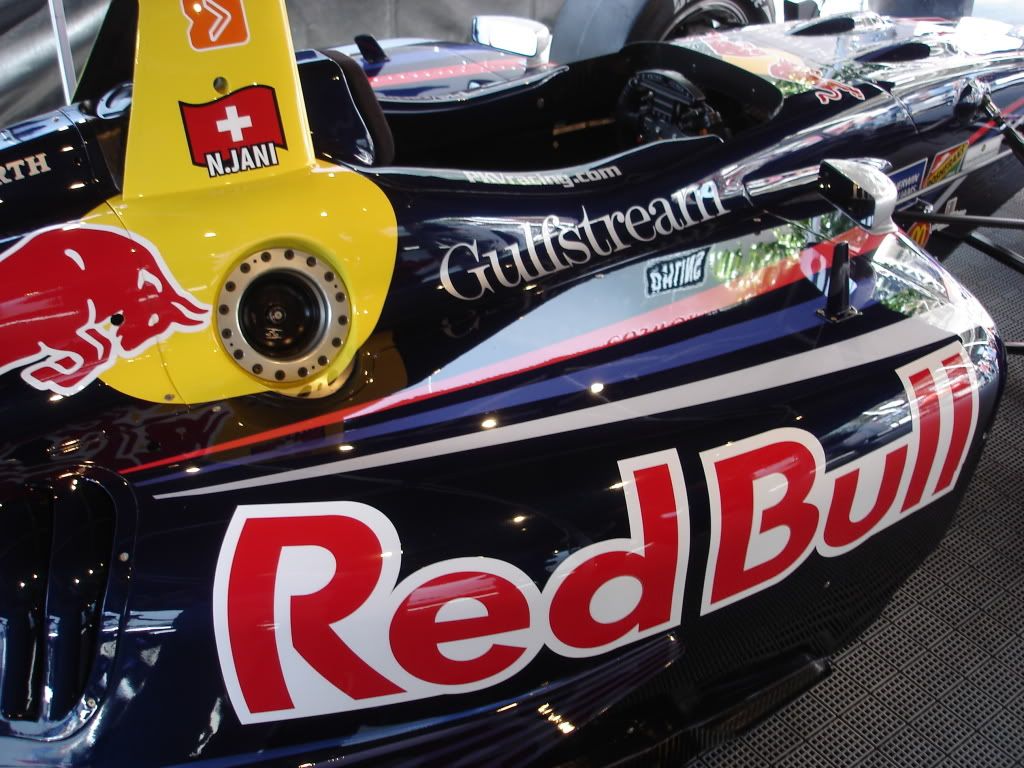
If your plastic panels were quite dirty then I would recommend washing in soapy water as you have stated. The wax and grease remover is the most important step and I take a lot of time using many new clean rags to make sure the parts are clean, I use the white shop towels and then I can see if the panels are clean by looking at the towels when they are clean then I know the panel is clean. I leave these to sit for a while but from my experience with painting plastic panels they will dry just fine, you can see this occurring, after sitting for a while I spray with the bulldog adhesion promotor and then I let this dryand then the plastic vynal spray with the airbrush. I have had very good results doing it this way and never any problems with the grease and wax remover but it needs to sit for a while before adhesion promotor. I don't think the extra steps you are planning to take will be a problem, although I don't know how the Alcohol will react with certain plastic either, I have never used alcohol on panels prior to paint before, I hope that works ok.CFK wrote:All very amazing stuff and Awesome Photos !!! This one's my favorite :
Clearly it appears you know what your doing. I don't, but am currently spraying all my exterior pieces and am learning alot after just spraying my car. Before every step I used wax and grease remover, but in my "How to paint a Car" Book it says you should use glass cleaner after the wax & Grease remover, I never did this step after wiping down my car before paint and now am a bit worried after hearing some horror stories from my Paint Supplier. Granted it's probably 1 in a 100, but apparently your only supposed to use W & G remover before sanding after washing with soap and water at the very beginning. Since it is a Petroleum base it can react with some products and reduce adhesion.
So I have just purchased Plastic Parts cleaner & Final Wipe Solvent since they are both Alcohol based and will not leave any residue. The only problem is I have only 6 exterior pieces left and the rest in all finished. Im keeping my fingers crossed


